Here we present a tutorial with all the steps so you can install Ubuntu Server 26 on VirtualBox.
1. Prerequisites
Before starting, make sure you have the following files and tools:
- VirtualBox installed (preferably version 7.x or higher).
- Ubuntu 26.04 LTS Server ISO downloaded from the official Canonical website.
2. Virtual Machine (VM) Creation
Expert Note: VirtualBox has an “Unattended Installation” feature. For tutorial purposes and full control of partitions and packages, the ideal is to skip this option and do the manual process.
Open VirtualBox and click on New.
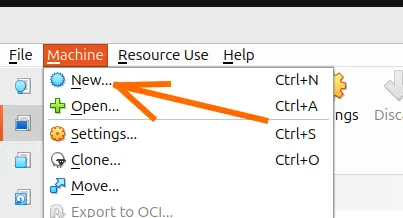
Configure the basic parameters:
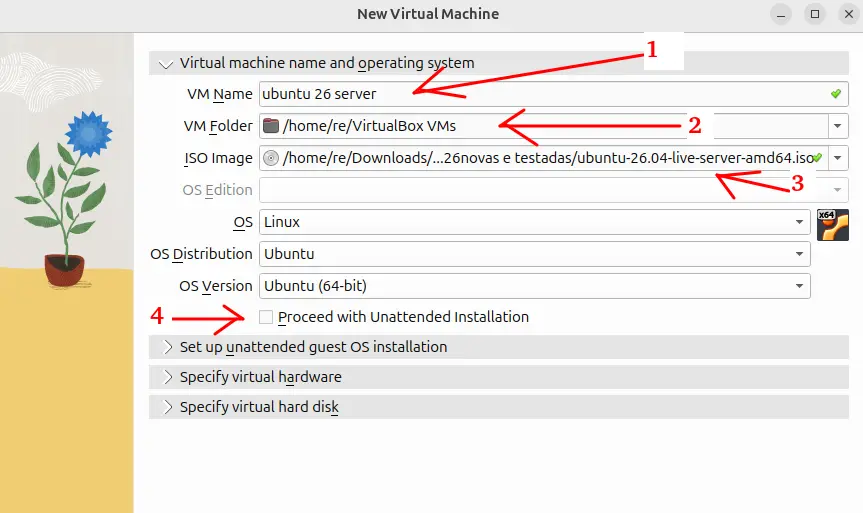
1 . Name: ubuntu 26 server (or the name of your choice).
2 . Folder: Path where the VM will be saved.
3. ISO Image: Select the Ubuntu 26.04 Server .iso file you downloaded.
4. Check the option: “Skip Unattended Installation”.
Click on Next.
Hardware and Resources
Base Memory (RAM): Allocate at least 2048 MB (2 GB). The recommended for good performance in tests is 4096 MB (4 GB).
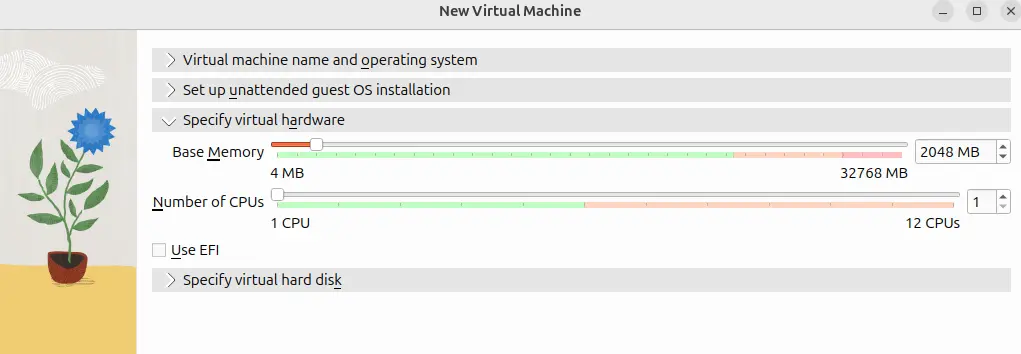
Processors: Allocate at least 2 vCPUs to avoid bottlenecks during installation and package compilation.
Click on Next.
Virtual Hard Disk
Choose Create a Virtual Hard Disk Now.
Disk Size: Set at least 25 GB (enough for the base system and small labs).
Keep the default format (VDI) and dynamically allocated (the space will only be occupied on the host as it is used).
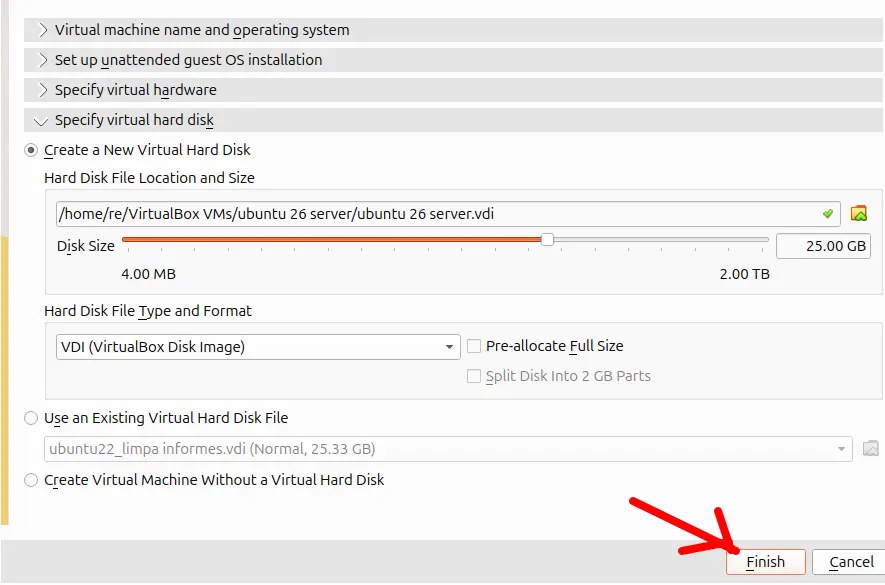
Click on Next and then on Finish.
3. Network and Storage Fine-Tuning
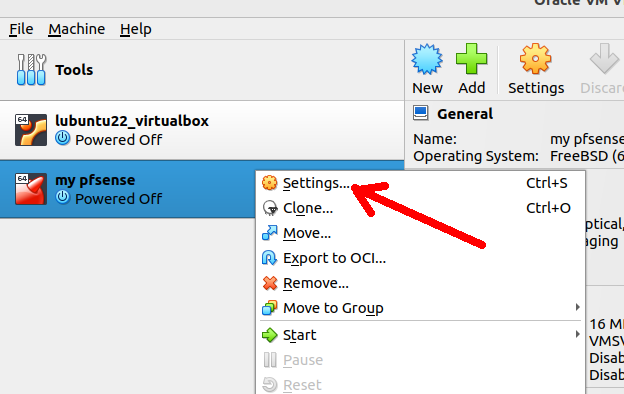
Before clicking Start, we need to ensure the VM’s communication. Select the created VM and click on Settings.
Network Configuration
- Go to the Network tab.
- Adapter 1: By default, it comes in NAT (guarantees internet to the VM, but the Host does not see it directly).
- Infrastructure tip: If you need to access the server via SSH directly from your Host’s command prompt, change the mode to Bridged Adapter or add a second adapter as a Host-only Adapter.
Click on OK and then on Start to boot the machine.
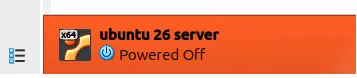
4. The Ubuntu Server Installer (Subiquity)
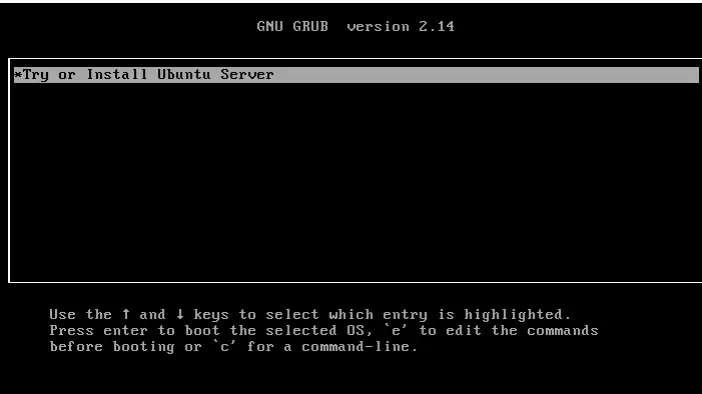
When starting the VM, select the Try or Install Ubuntu Server option and press Enter. The textual installer (Subiquity) will load.
Language: Choose the installer language (usually English is preferred on servers to make log reading easier, but feel free to choose).
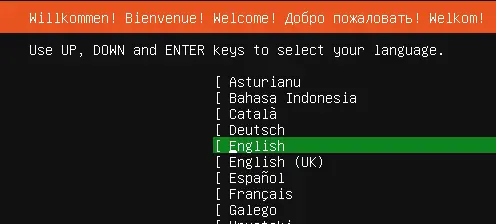
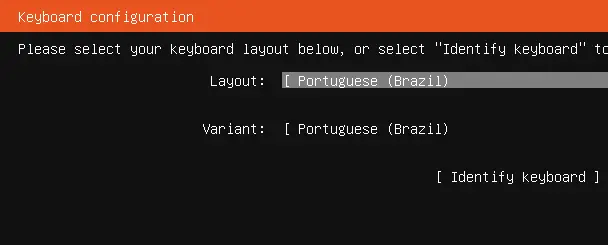
Keyboard Configuration: Choose your preferred keyboard layout.
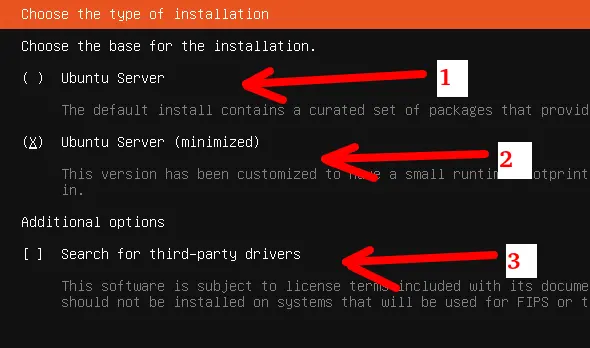
Choose Type of Install: Select Ubuntu Server (the Minimized version removes important troubleshooting tools to save space, use only if strictly necessary).
We will choose option 2 from the figure below.
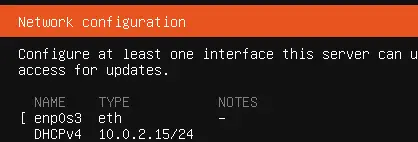
Network Connections: The installer will try to get an IP via DHCP. If you chose Bridged or VirtualBox NAT, it will get an IP from your local network or VirtualBox NAT. Write down this IP. Click on Done.
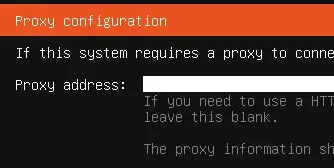
Proxy: Leave it blank (unless your corporate/academic network requires it).
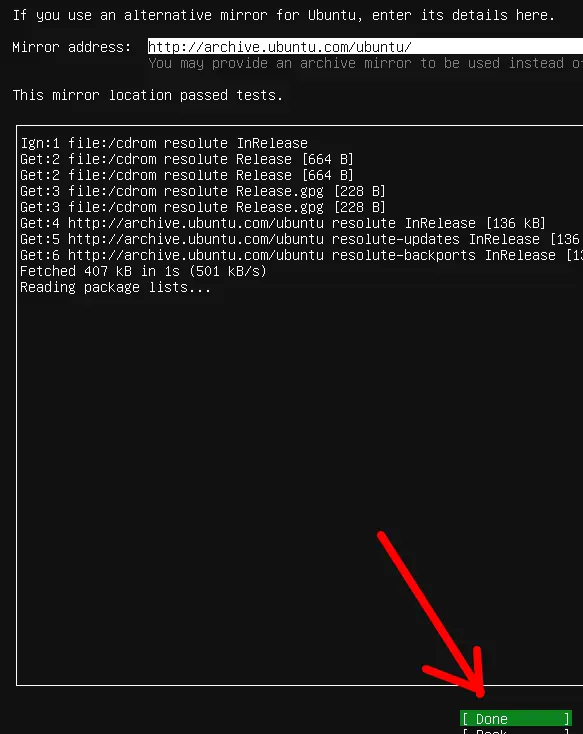
Now, let’s see the search for new repositories in the figure below.
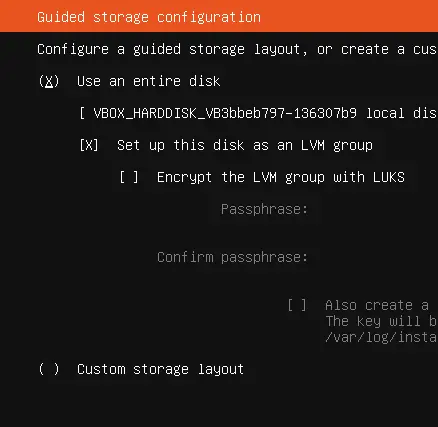
Guided Storage Config (Partitioning):
Keep the Use an entire disk option checked.
Attention: Uncheck the Set up this disk as an LVM group option if you want a traditional and straightforward partition structure, or keep it checked if you plan to expand disks dynamically in the future.
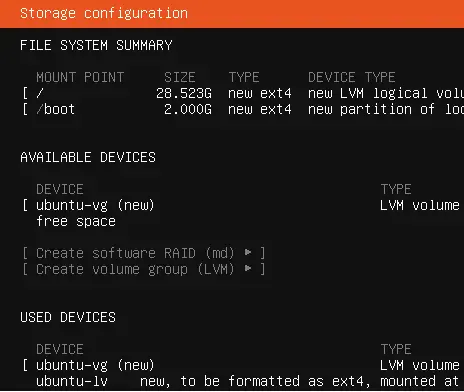
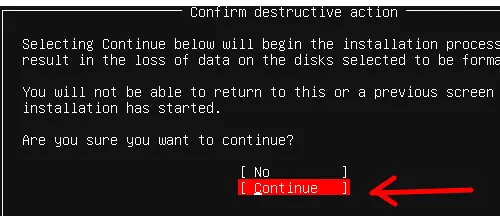
Proceed to the confirmation screen and select Continue (this action will format the virtual disk).
Profile and Credentials
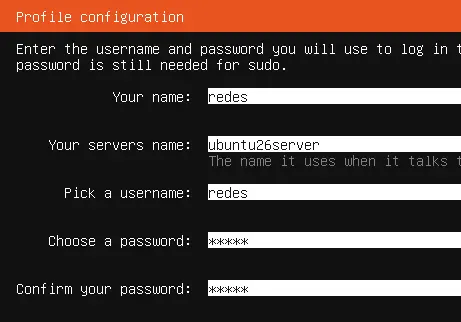
Profile Setup: Fill in the administrator user data:
Your name: Your full name.
Your server’s name: Hostname on the network.
Pick a username: Username for login.
Choose a password / Confirm password: Set a strong password.
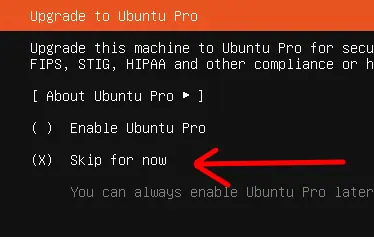
Ubuntu Pro: Select Skip for now (can be activated for free later, if needed).
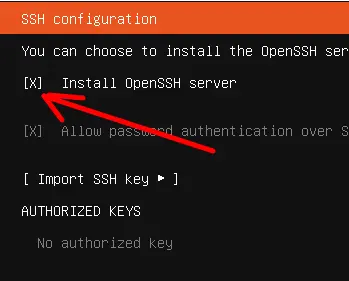
SSH Setup: Crucial! Check the [X] Install OpenSSH server option. Do not skip this step, it will allow you to manage the server remotely.
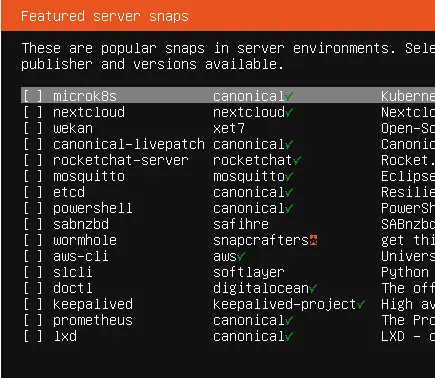
Featured Server Snaps: This screen offers pre-configured packages (like Docker, Nextcloud, microK8s). Keep them all unchecked to ensure a clean installation. Select Done.
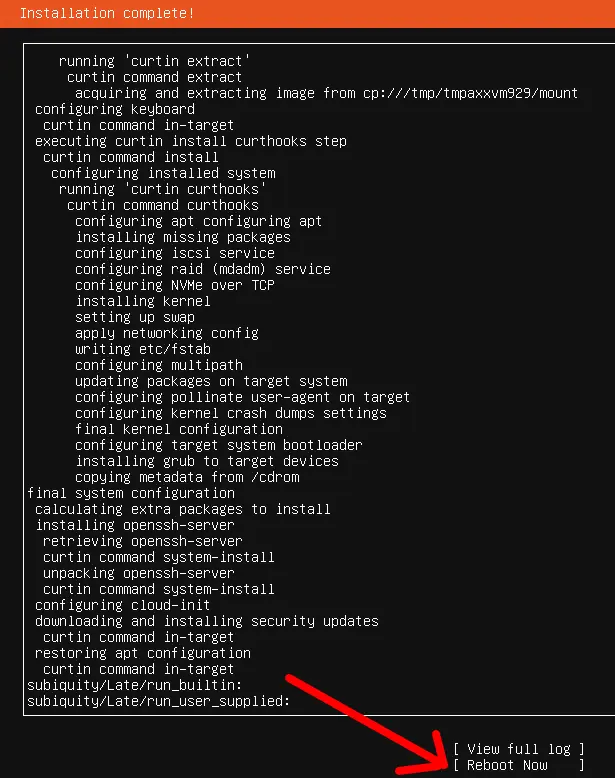
The installation process will begin. This may take a few minutes depending on your internet connection (as the installer fetches security updates).
5. Finishing the Installation and First Access
When the installer finishes, the Reboot Now option will appear at the bottom of the screen. Select it.
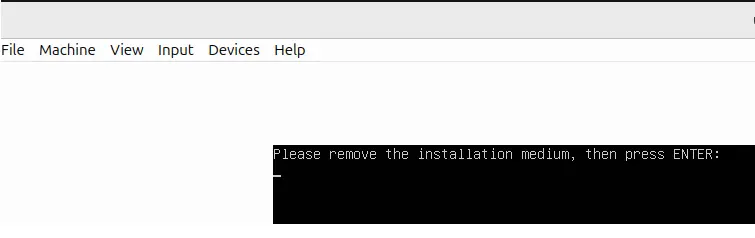
VirtualBox usually unmounts the ISO automatically. If the screen asks “Please remove the installation medium”, just press Enter inside the VM console.
After the reboot, the textual login prompt will be displayed:Bash login:
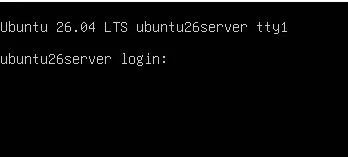
Enter the user and password created in the previous step.
If you need to know the IP of your Ubuntu 26 server, you can use the command below.
ip aSee more:
VirtualBox Internal Network: Setup & Isolation Guide
Configure VirtualBox NAT Network: VM Communication and Internet Access Guide
Why use Kali Linux inside VirtualBox?
How to Install Kali Linux on VirtualBox: Step-by-Step Guide for Beginners

Juliana Mascarenhas
Data Scientist and Master in Computer Modeling by LNCC.
Computer Engineer