We present the installation of the Raspberry Pi (Raspbian) operating system in VirtualBox.
This way, we can test applications before putting them into production on the Raspberry Pi.
In addition, Raspbian is a lightweight operating system and can be used on older machines.
So, we present how to download the Raspbian ISO image and then, we present the steps for installing Raspbian on VirtualBox.
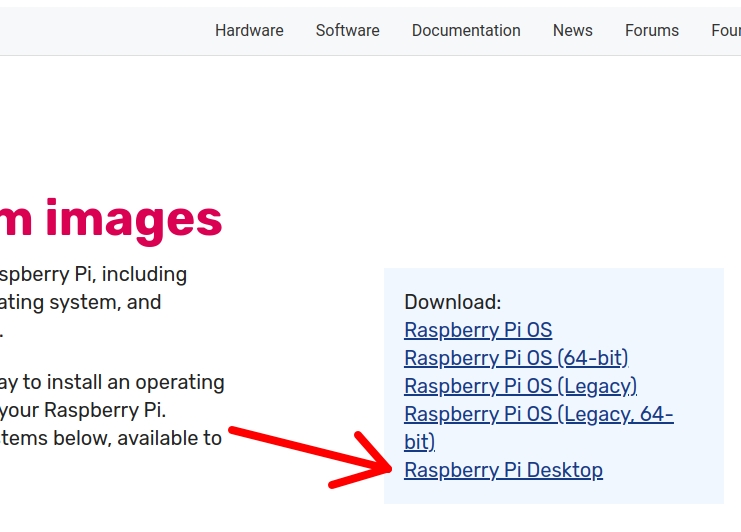
Raspbian Download
To download, access the page: https://www .raspberrypi.org/software/operating-systems/ then select Raspberry Pi Desktop.
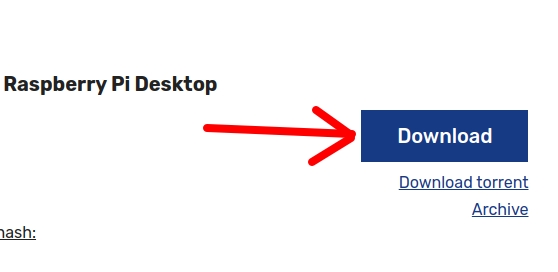
Then click on the Download icon.
Creating Raspbian virtual machine in Virtualbox
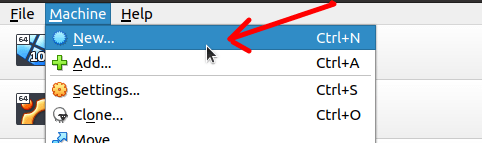
Now let’s start VirtualBox and click on the menu and choose the new virtual machine “Machine – > New”.
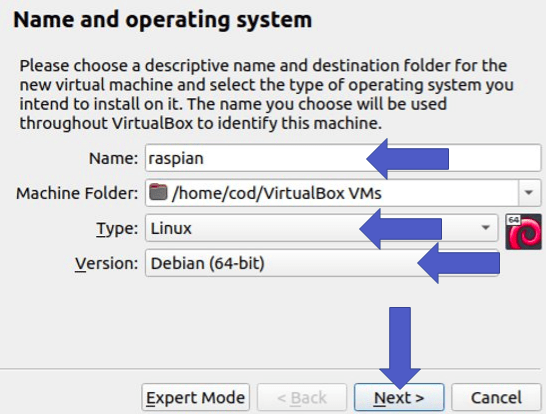
Now let’s enter some information into the Raspbian virtual machine.
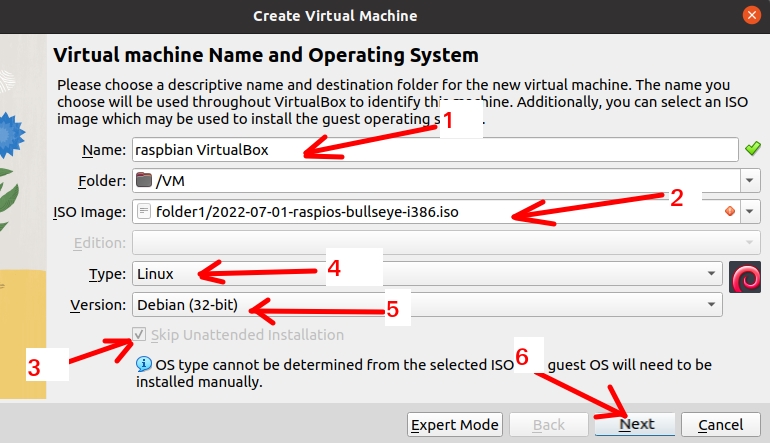
Name: let’s enter the name of our virtual machine.
Folder: the directory where the virtual machine will be stored.
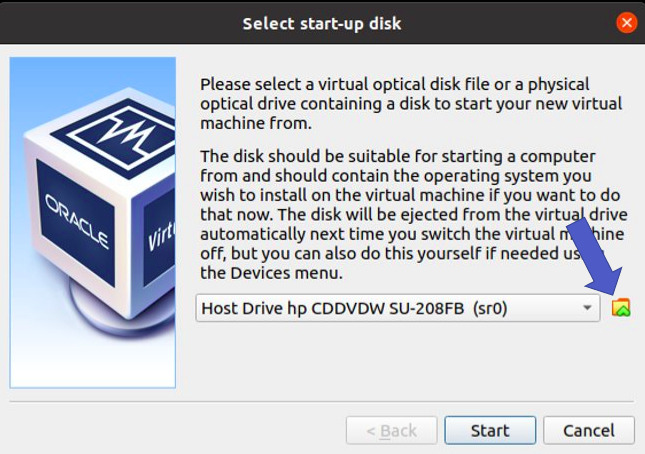
ISO Image: select the Raspbian image we downloaded.
We want a manual installation so we will click on “Skip Unattended Installation“. However, if you wish you can check this option and the installation will be automated.
Type: let’s choose the Linux option.
Version: let’s choose Debian(32-bit).
After entering the information, click on “Next“.
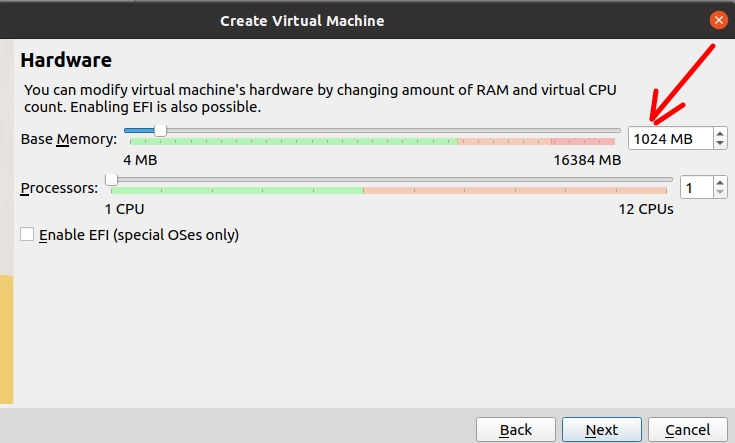
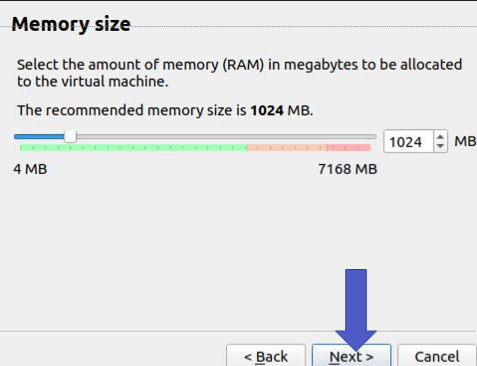
Now let’s choose the amount of RAM that will be used in the virtual machine and the virtual CPU. As the Raspbian system is lightweight, we will use 1024 RAM and just one virtual CPU.
Then we will click on “Next“
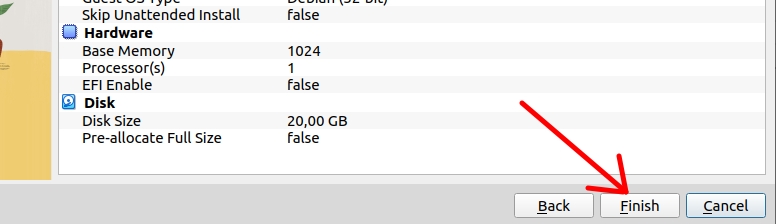
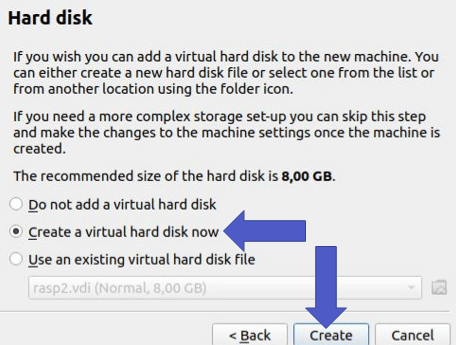
Now let’s select the size of the virtual disk. For this installation we can enter values smaller than 20GB.
We will use 20GB but keep in mind that this size will only be reached if you install a lot of programs and put a lot of data on the disk.

Next, we will click on “Finish” to complete this step.
Starting Raspbian on VirtualBox
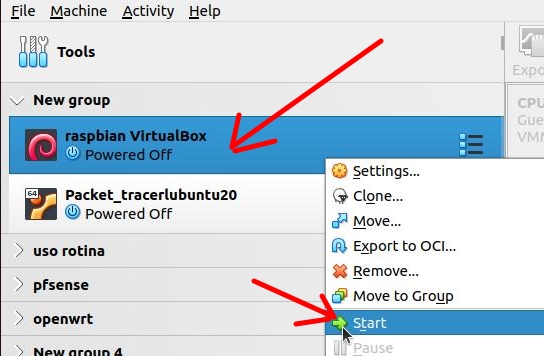
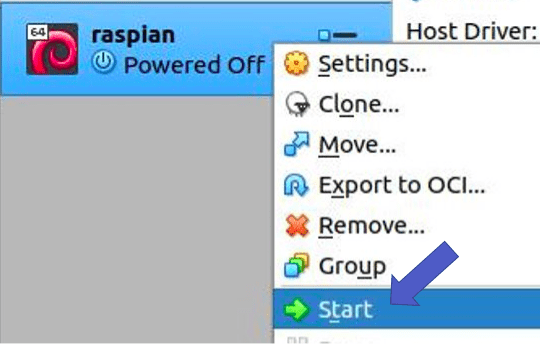
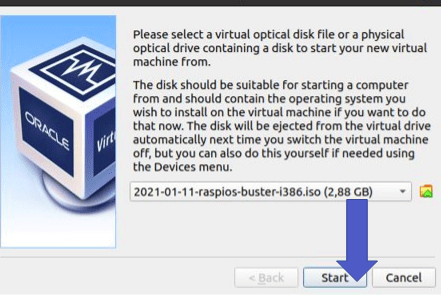
Now, we can go back to VirtualBox and double-click on the machine we created or we can right-click and select the “Start” option.
Raspbian Guided Installation
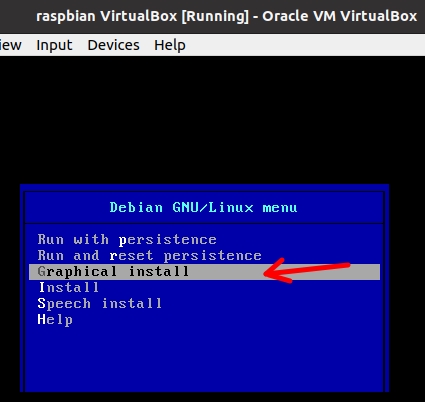
Then, the virtual machine will begin the installation process. In this case, we will choose the “Graphical install” option.
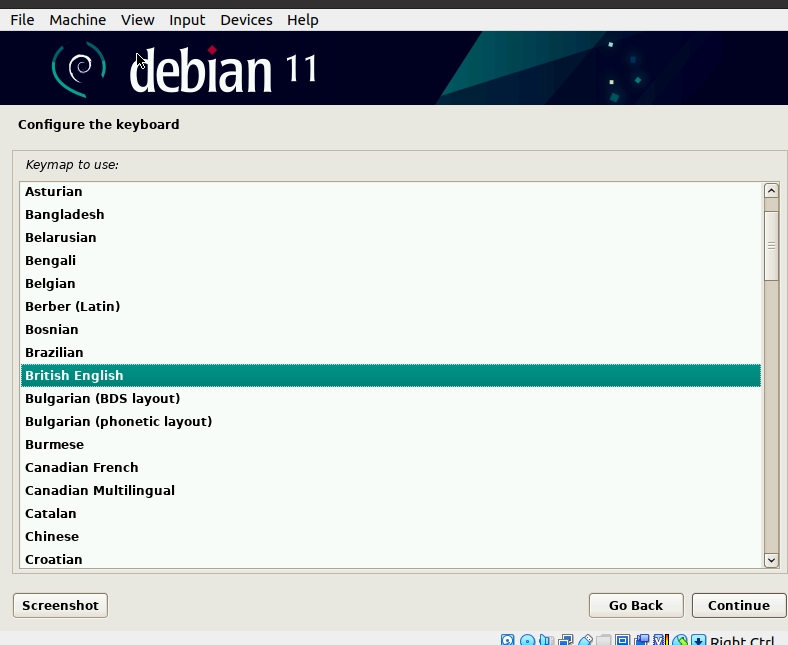
Now, let’s select the type of keyboard we are going to use. In this case, select your keyboard type and click “Continue“.
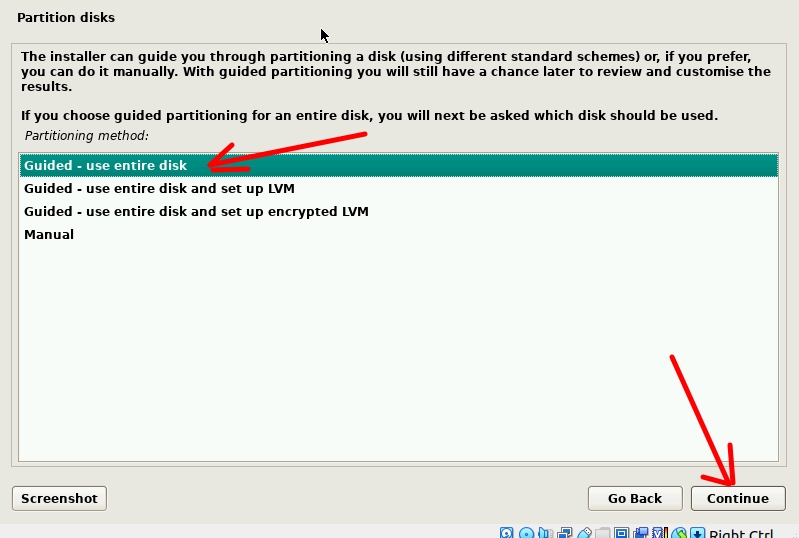
Next, let’s wait a little and we will see the screen below. On this screen below, we will select “Guided – use entire disk” and then we will select “Continue“.
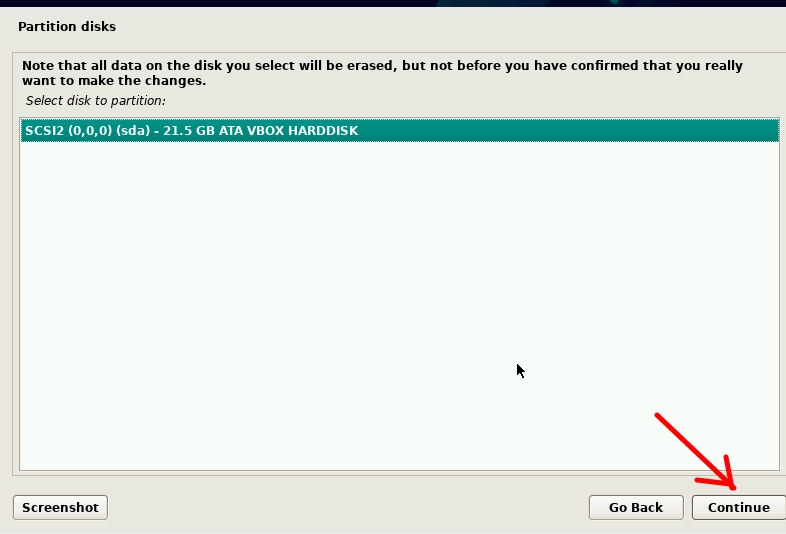
Now, we will see a window showing the partition that will be used and we will click on “Continue“.
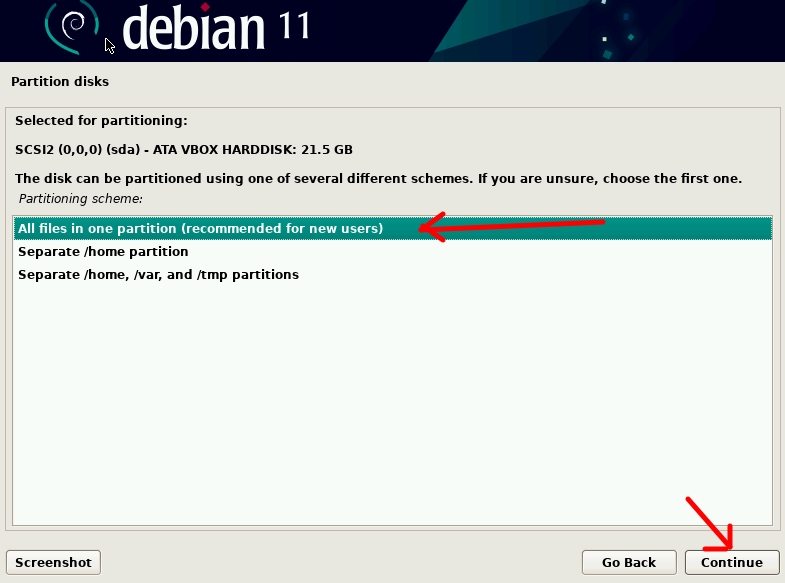
After that, we will select the option “All files in one partition” and then we will select “Continue“.
Now, let’s select the “Continue” option to finish the installation.
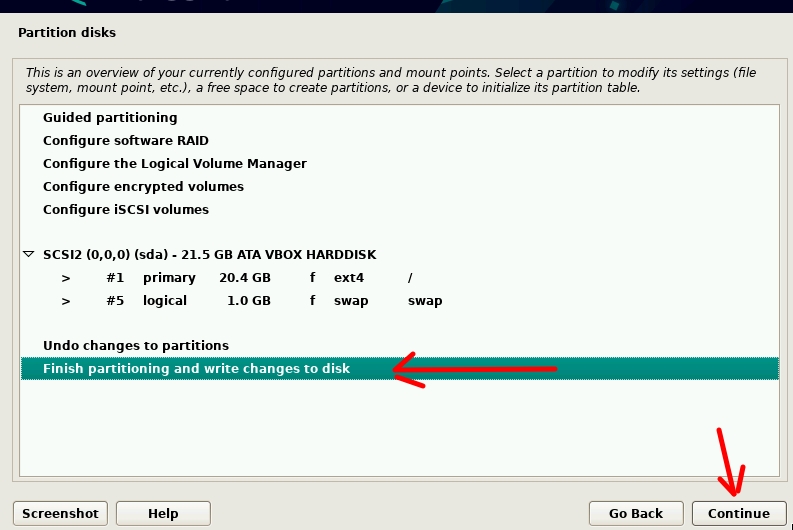
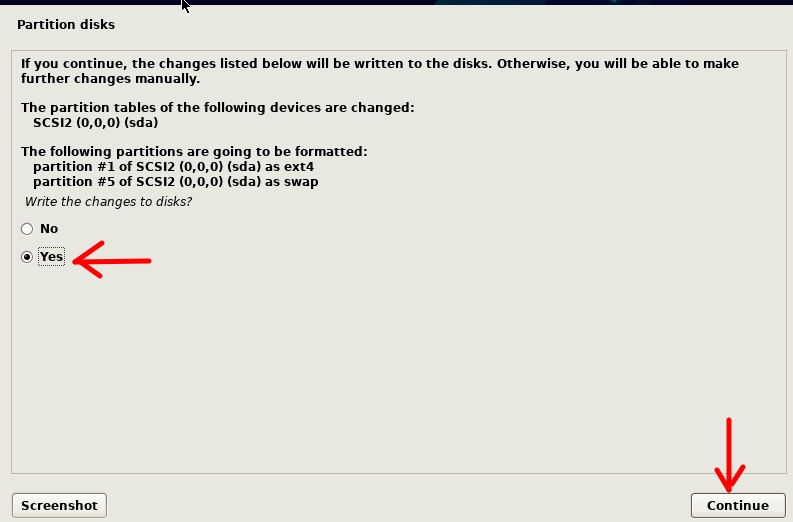
Next, we will click on “Yes” to confirm writing to the disk and then click on “Continue“.
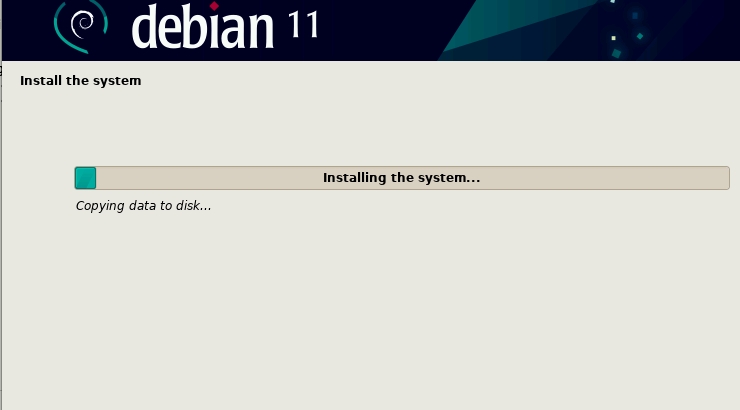
Then we will see the installation starting.
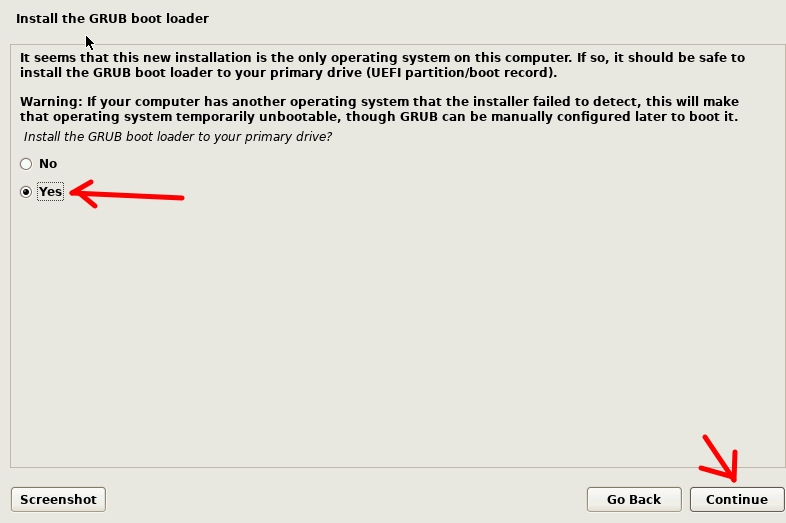
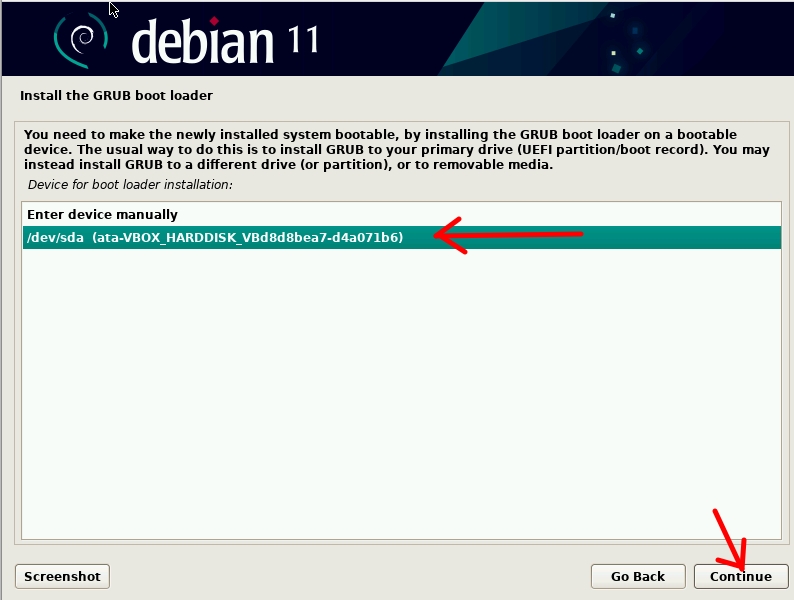
Now, let’s inform you that we are going to use the Grub boot loader and to do this we will click on “Yes” and then “Continue“.
Next, we will select our partition and then we will select “Continue“.
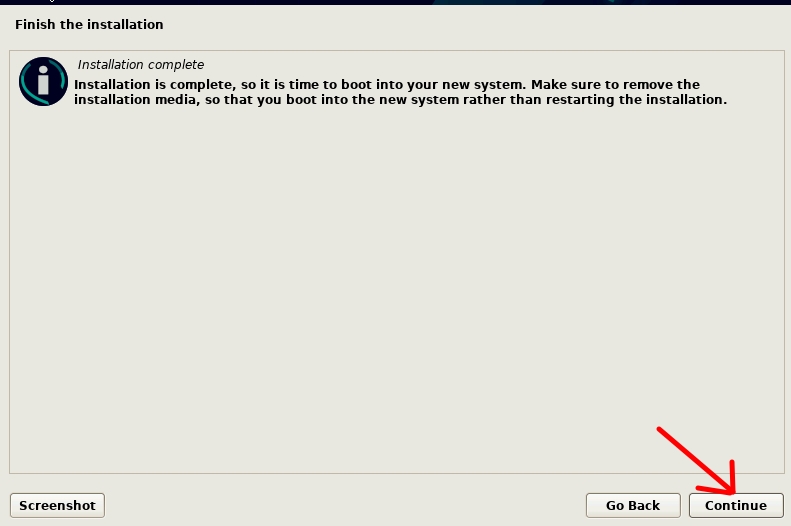
Now let’s finish the installation by clicking “Continue“.
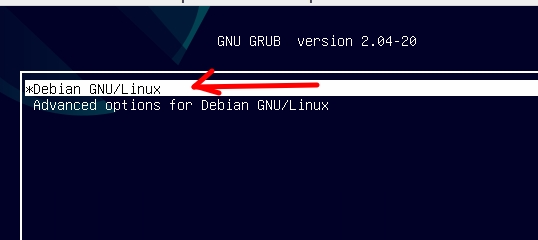
Soon after, the virtual machine will restart and a screen like the one below will appear. In this case, we will select “Debian GNU/Linux” and press ENTER.
Raspbian initial settings in VirtualBox
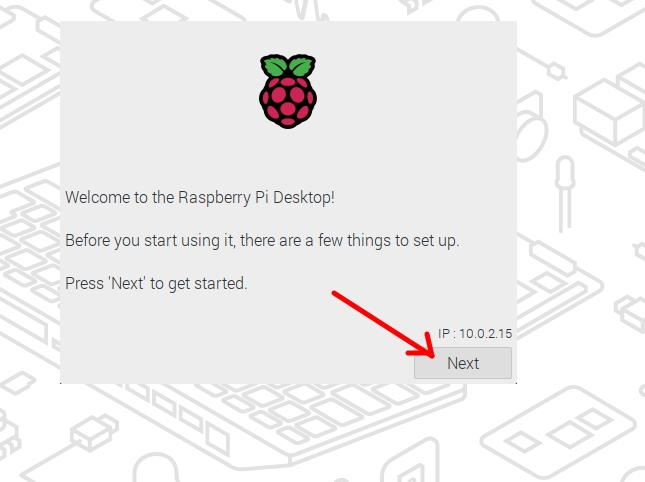
Then we will see the first welcome screen and click on “Next“.
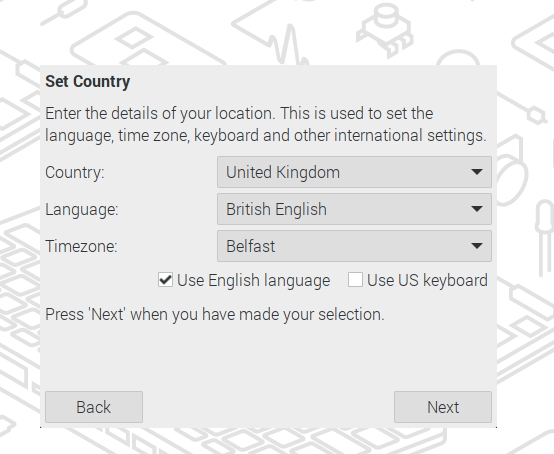
Then you can choose the country, language and timezone. And then select “Next“.
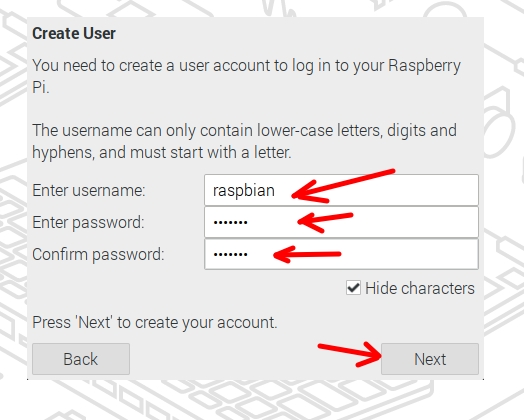
After that, we will create a username and password.
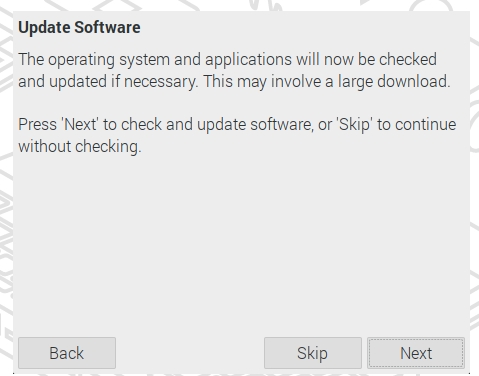
Then a question will appear whether we want to update or continue without updating with “Skip”. For this tutorial scenario, skip was selected.
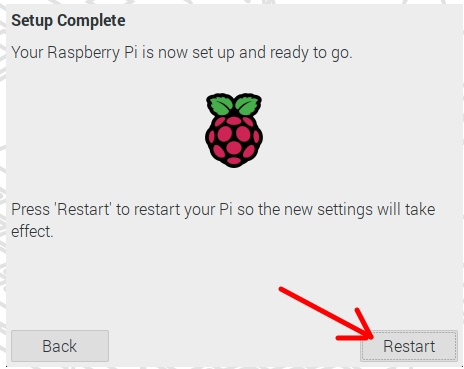
Now, let’s select “Restart” to start our virtual machine.
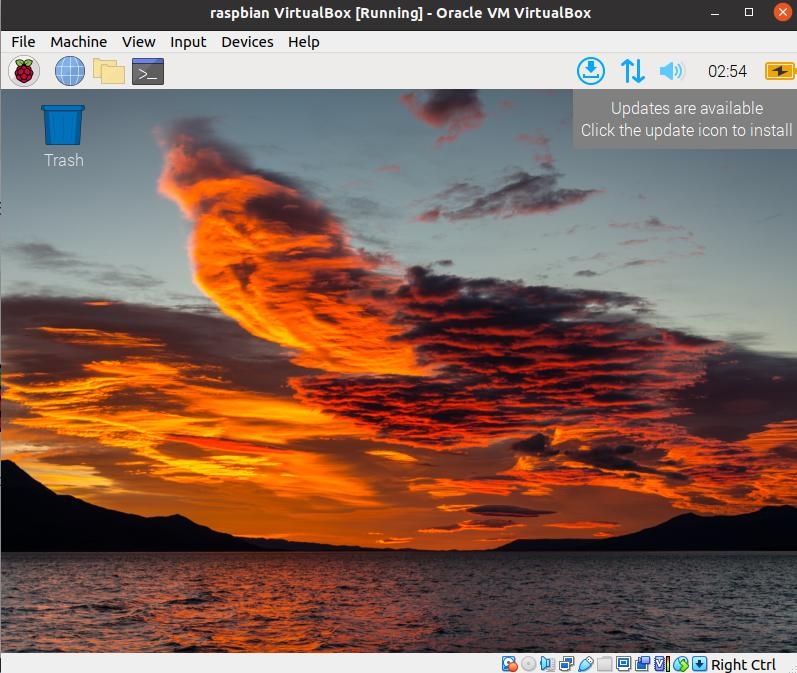
And finally, after restarting the virtual machine will display the initial screen below.
Installing Raspbian on old VirtualBox
After downloading the image, let’s open the virtualbox and select new, add a name for the VM. Also, select Linux and 64bit.

Right after that, let’s select the amount of memory = 1024.
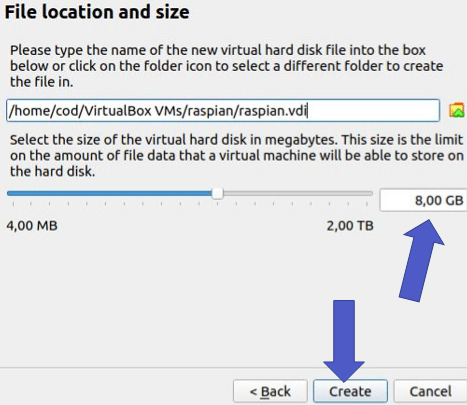
So let’s create the disc.
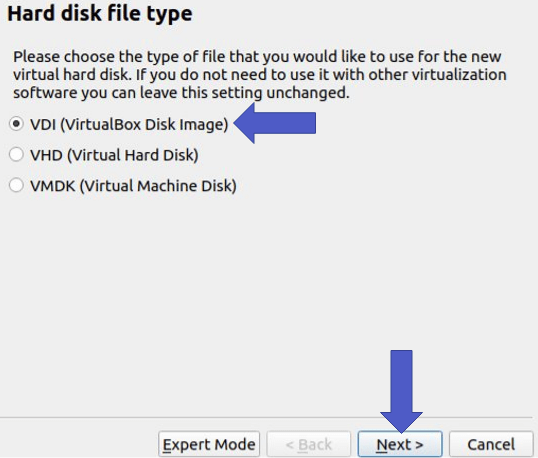
It will be of the VDI type.
Then the disk will be dynamically allocated, saving space.
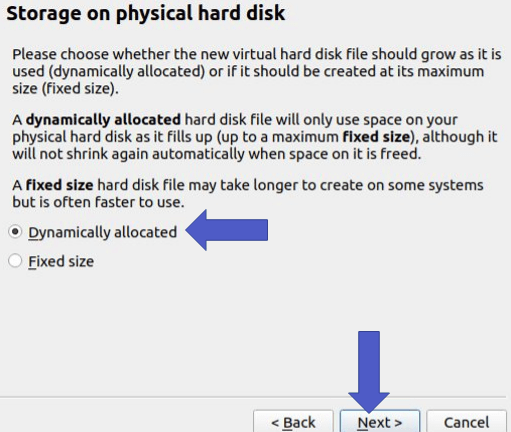
This configuration provides the virtualizing of the Raspberry Pi – Raspbian without taking up unnecessary space. We will use 8GB for the virtual disk space.
So let’s start the machine.
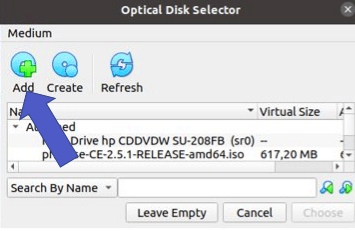
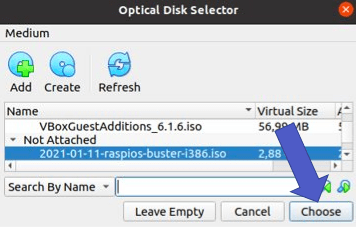
So let’s select the image we downloaded.
Now let’s start the installation.
Let’s Go to Graphical Install Session (Click Here).
Comparing Raspbian with other operating systems
The table below demonstrates a comparison between Raspbian, Debian and Ubuntu. In this comparison, we are checking the resource consumption of the virtual machine.
Among the resources compared, we are checking the minimum RAM memory, the minimum virtualized processing core and the minimum disk space.
| Operational system | Minimum Disk Size | Minimum RAM Memory | Minimum CPU |
| Raspbian | Approx. 2 GB | 512 MB | 1 CPU core |
| Ubuntu | Approx. 15 GB (Desktop), 5 GB (Server) | 1 GB (Desktop), 512 MB (Server) | 1 CPU core |
| Debian | Approx. 2 GB (Base Install) | 512 MB | 1 CPU core |
More tutorials:
Turn the raspberry pi into a WIFI router
Installing OpenWRT in VirtualBox.
How to install OpenWrt on Raspberry Pi
How to install Zabbix on Raspberry Pi
Raspberry Pi: installation and configuration

Juliana Mascarenhas
Data Scientist and Master in Computer Modeling by LNCC.
Computer Engineer

How to Configure NAT in Packet Tracer (Step-by-Step)

Zabbix FIM: How to Setup File Integrity Monitoring
Configure DHCP in Packet Tracer: Server & Router Guide

Cheap SSDs: The Hidden Dangers of TLC, QLC & DRAM-less

Zabbix Tags Guide: Organizing and Filtering Monitoring Alerts
If you manage a Zabbix environment, you’ve probably been there: a crowded “Problems” screen, where…

Flooding Routing Algorithm: How It Works & Use Cases
Let’s talk about one of the most primitive and, at the same time, most robust…