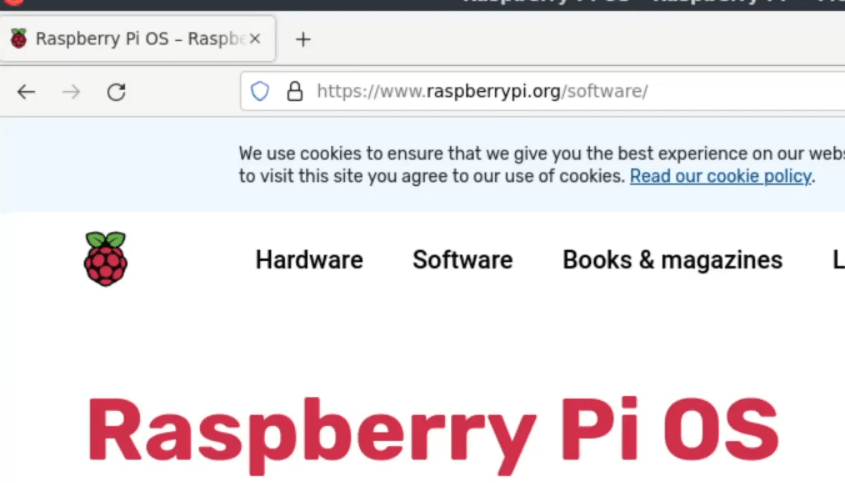
Let us introduce the raspberry pi installation and make the first access. For this, we will access the raspberry pi website: www.raspberrypi.org/software/ .
Inside the site, we go to the download area and download the Raspberry Pi Imager.
The Raspberry Pi Imager is available for Linux, Windows and macOS.
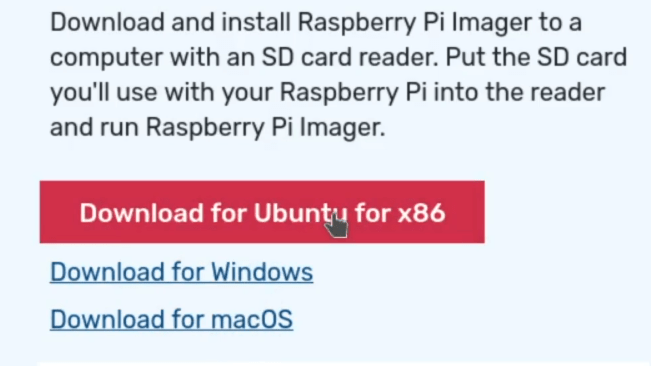
Let’s download the installer Raspberry Pi Imager from the downloads folder.
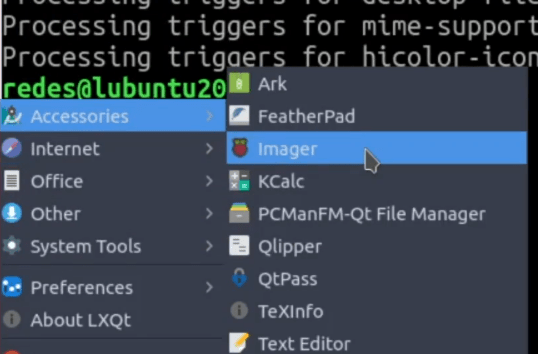
After that, let’s run the command:
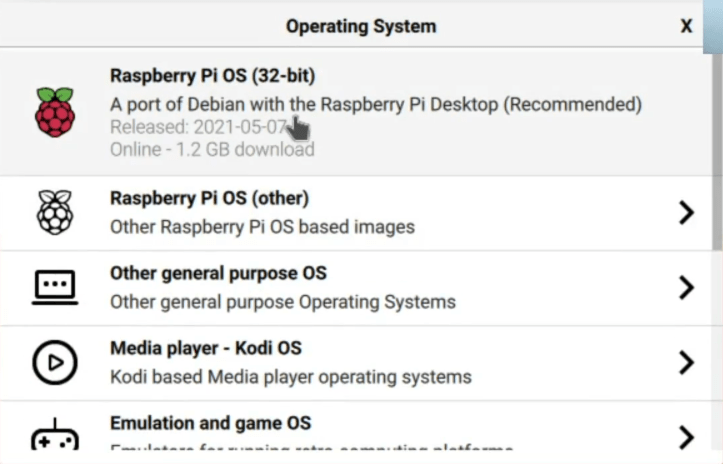
sudo dpkg -i imager_1.6.2_amd64.deb After installation, we can run the Imager application. After that, let us choose the operating system for Raspberry Pi Imager.

In our case, we chose the first option. After that, we will choose the location where the system will be installed. And then click on WRITE.
After that, the installer will ask for confirmation and start the installation. After installation, remove the flash drive with the microSD and insert it into the raspberry pi.
Raspberry pi configuration
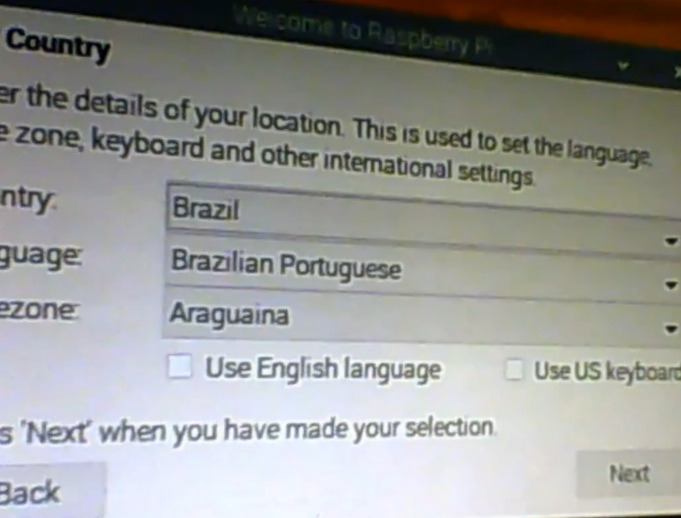
Initially, a configuration screen appears, showing the country and language options. Then, we Select the one that best suits our case.
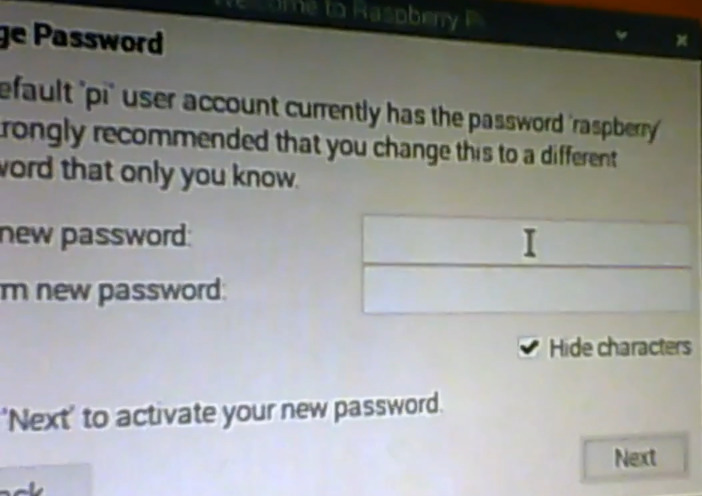
After that, enter our password. Then we have the option to update packages, but we will skip that option in this case.
In the upper right corner, let’s select the network. In our case, we chose the wireless network and entered the password for our local network.
Setting up the SSH server
Now let us start the SSH server. This way, we can remotely access the raspberry pi from other devices.
In addition, using ssh simplifies the configuration of servers that will later be installed on raspberry pi.
To start the ssh service, type:
systemctl start ssh.service Checking the SSH port
Then we can check if port 22 is in listen mode with the command
netstat -anlt Now let’s check which IP the raspberry pi acquired. For this we will use the command:
ifconfig Accessing the Raspberry Pi
Now, inside another machine, let’s make an access using ssh to the raspberry pi. For this, let’s use the command:
ssh pi@192.168.0.109 Pi= the default raspberry pi user
192.168.0.109 = the IP that my raspberry pi acquired on my network.
Remember to replace this IP with the IP that your raspberry pi acquired on your local network.
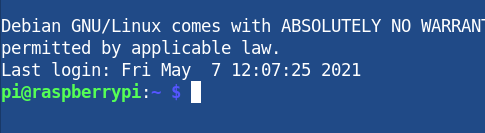
Finally, we have remote access to raspberry pi.
Congratulations on following the installation this far.
See also :
- Virtualizing the Raspberry Pi – Raspbian
- Android with VirtualBox
- pfBlockerNG Customize Blocklist
- OpenWRT in VirtualBox

Juliana Mascarenhas
Data Scientist and Master in Computer Modeling by LNCC.
Computer Engineer