Let’s learn how to install the zabbix server already configured and ready for use with the zabbix appliance.
This method of installing the zabbix server is easier as we do not need to install the zabbix packages, WEB server and database.
Therefore, using the zabbix appliance can be an initial alternative to get used to zabbix and start your training with the tool.
Zabbix Appliance Download
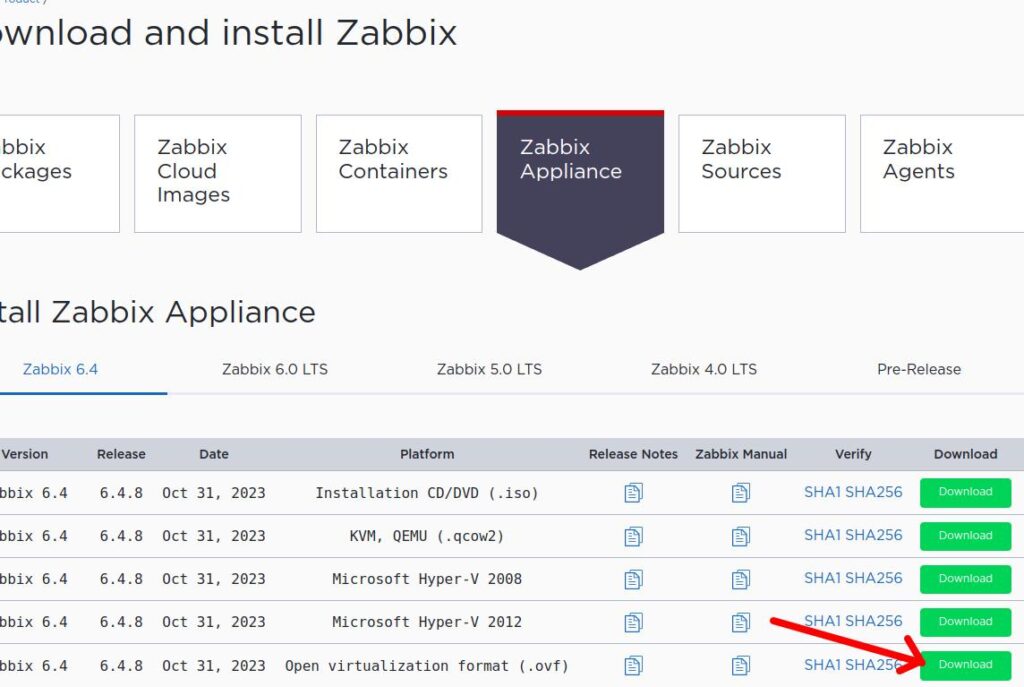
In this tutorial we will use a zabbix appliance in a VirtualBox virtual machine. And to do this, let’s navigate to the zabbix page and select the Download tab and choose the Appliance option.
https://www.zabbix.com/download_appliance
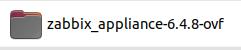
Now that we’ve downloaded it, we can double-click or right-click and extract the zipped package.

Once unzipped, we will have a directory with the name of the zabbix appliance and the version as in the example below.
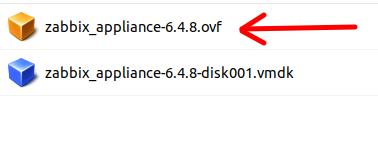
Now just enter the folder and we will have 2 files. Let’s double click on the file with the ending “.ovf”.
When you click on the file ending with “.ovf”, we will see a preconfigured screen for creating the zabbix appliance virtual machine in VirtualBox. In the screen below, we have made 3 configuration changes which we describe below.
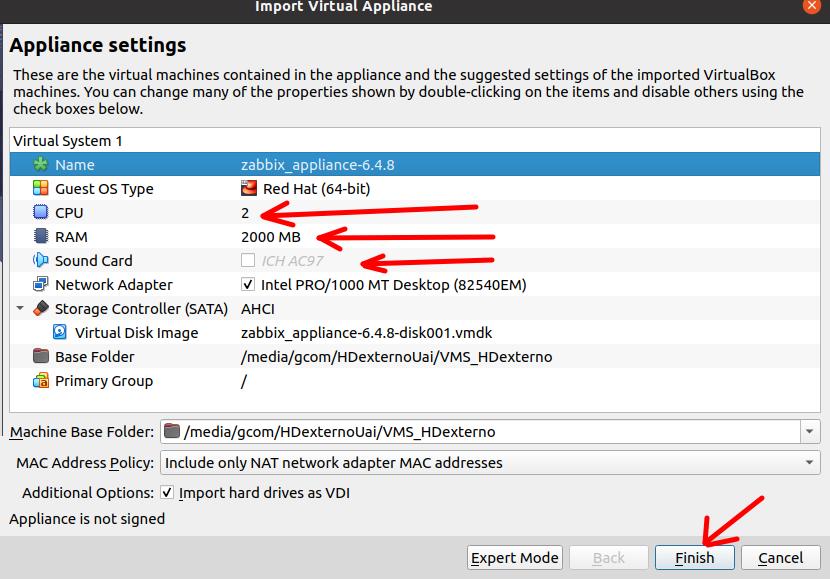
- CPU: the first change was to reduce the number of processors to 2. This is because for the laboratory we are using we do not need that much processing power.
- RAM: the second change was to reduce the amount of RAM memory to 2000MB. 2000MB of RAM will be enough for these laboratory practices with the zabbix server.
- Soud Card: I turned off the virtual machine’s sound card as I don’t see the need.
Then we will click on “Finish” to start the process of importing the virtual machine with the zabbix appliance.
Configuring the zabbix appliance machine
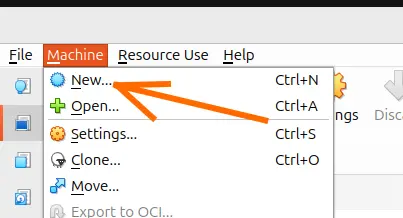
Now let’s right click on the zabbix appliance virtual machine to change the network configuration.

To configure the network, we will select the virtual machine and click on “Settings”.

Correcting graphics controller configuration
Before changing the network, let’s check that there is an error in the virtual machine configuration and we need to correct it.
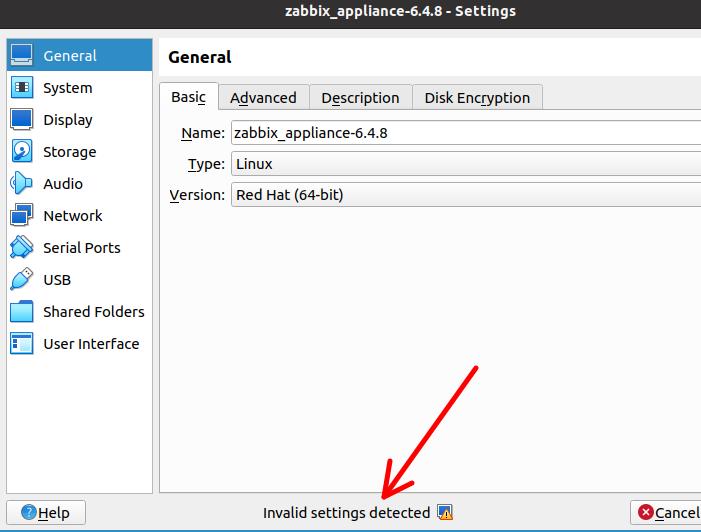
To find out what the error is, let’s hover the mouse over the icon that is showing the error.

We can see in the figure above that the wrong configuration is related to the “Display” mode used. Furthermore, the message already indicates the recommended “Display” configuration (VMSVGA).
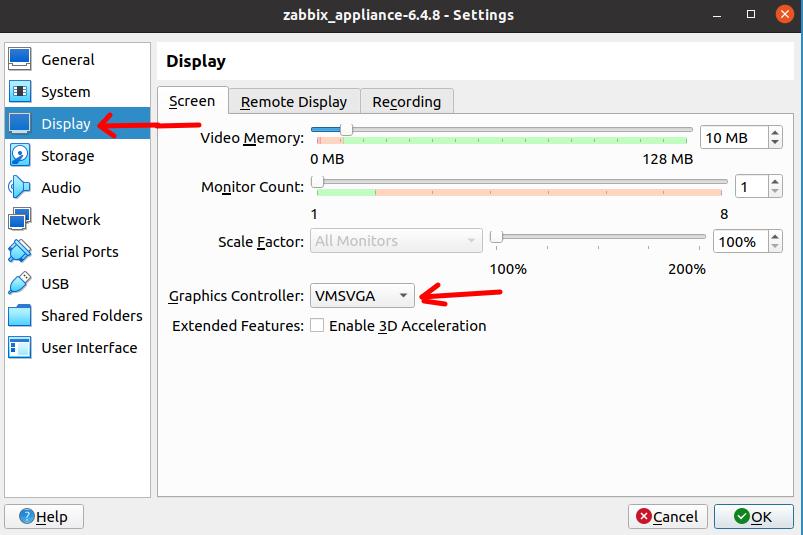
Now, let’s click on “Display” in the side menu and then change the “Graphics Controller” to VMSVGA. After making the change, we can see that the configuration error message disappears.
Configuring the zabbix appliance network
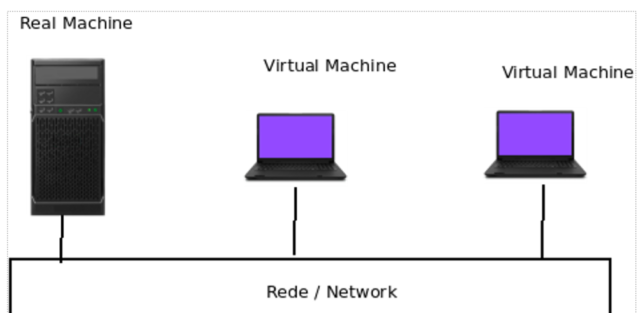
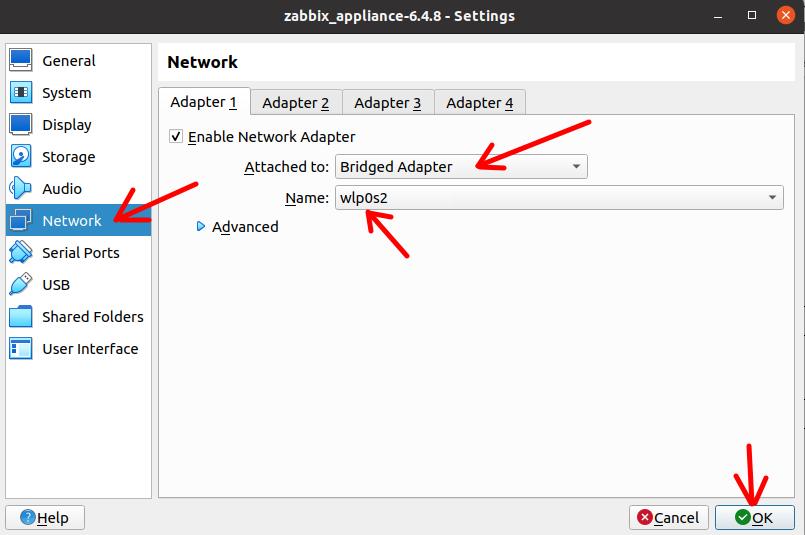
Now, let’s configure the network that the zabbix appliance will use. To do this, we will click on “Network” and then change the network mode to “Bridge Adapter”. Changing to “Bridge Adapter” we will have the zabbix appliance virtual machine mirroring the network interface of the real machine.
In addition, we need to specify which interface the virtual machine will use, in our case we are using the “wlp0s2” interface because the machine is using a wireless interface.
In your case, the interfaces may have other names.
After all this, we will click OK.
Starting Zabbix appliance on VirtualBox
Now, let’s double click on our zabbix appliance virtual machine.

After starting up we will see a screen asking for login and password. To do this, we will use appliance login = root and Password = zabbix.
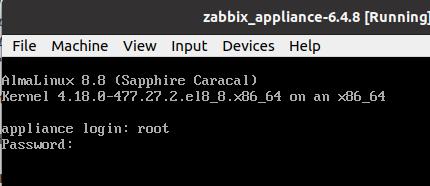
rootzabbixAfter logging into the system, we will see a message that informs the credentials to log in to the zabbix server WEB interface.
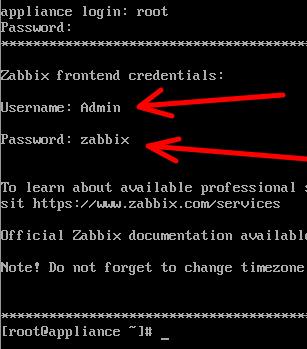
In this case we can see that the User name will be Admin and the password will be zabbix.
AdminzabbixDiscovering the zabbix appliance IP
To find out the IP of the zabbix appliance, we can use the command below.
ip a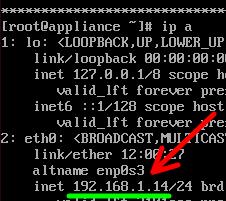
And we will see the IP that your zabbix appliance received via DHCP. In other words, what was the IP that the virtual machine that has your zabbix appliance received from your router that is also giving IP to your real machine.
In our case, the figure above shows that our zabbix appliance IP will be 192.168.1.14.
Accessing the zabbix server through the browser
Now that we know the IP of the zabbix appliance, we can access it through the browser. To do this, we can open a browser on our machine and enter the IP of our zabbix appliance.
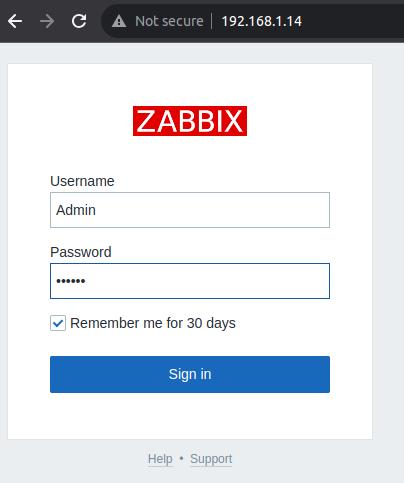
Next, we will enter the login and password: Username = Admin and Password = zabbix .
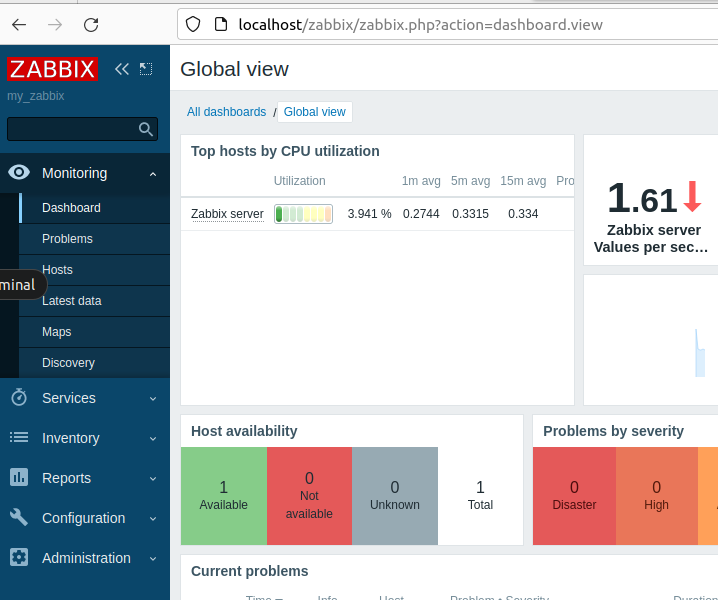
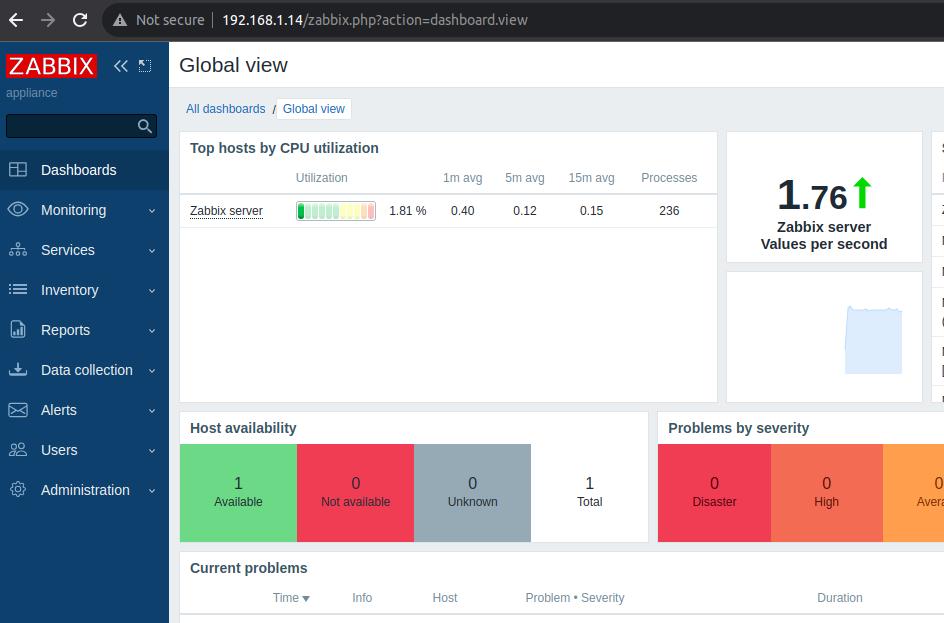
And finally we will see the initial screen of the zabbix server which shows that our installation was a success.
Why use zabbix appliance?
- Ease of Installation: Zabbix Appliance is a kind of pre-configured Zabbix Server package. This means that it comes ready to use, saving you the trouble of having to configure everything manually, as is necessary when installing Zabbix Server on your own. Instead, simply “turn on” the Appliance to start using it.
- Previous and Recommended Configurations: The Appliance already comes with recommended configurations for the Zabbix Server. This saves time and effort in the initial configuration, as it is not necessary to adjust the default settings for the system to function properly.
- Simplified Management:With the Appliance, Zabbix Server administration is simpler. Updates, fixes and enhancements are built into the Appliance image, so this reduces the initial worry about getting a minimal update installation quickly.
- Time Saving: Installing Zabbix Appliance is much faster and more straightforward than manually configuring Zabbix Server. This agility is especially useful when there is little time available or limited resources for installation.
- Initial Security Configuration: The Appliance already comes with some predefined security settings, such as firewall settings. This is especially useful for those who are just starting out and don’t have much experience with firewalls, offering a layer of security right from the initial installation.
These are some of the reasons why Zabbix Appliance can be a more practical and faster option to start using Zabbix Server, especially for those looking for ease and reduced time in configuring and managing the monitoring system.
See more:
How to install Zabbix on Raspberry Pi

Juliana Mascarenhas
Data Scientist and Master in Computer Modeling by LNCC.
Computer Engineer
Tutorial: Using Port Forwarding in Packet Tracer
Tutorial: Web Server in Packet Tracer (Client-Server)

Email Server & Webmail Setup: Postfix, Dovecot, SnappyMail
Install Ubuntu Server 26 on VirtualBox (Step-by-Step)

How to Configure NAT in Packet Tracer (Step-by-Step)