We will teach you how to install Ubuntu on VirtualBox. To do this, we will carry out a simple and straightforward installation.
Ubuntu is a very good and intuitive Linux distribution to start in the Linux world. If you don’t already use Linux, my suggestion is that you start with Ubuntu.
Step 1: Download the Ubuntu Image
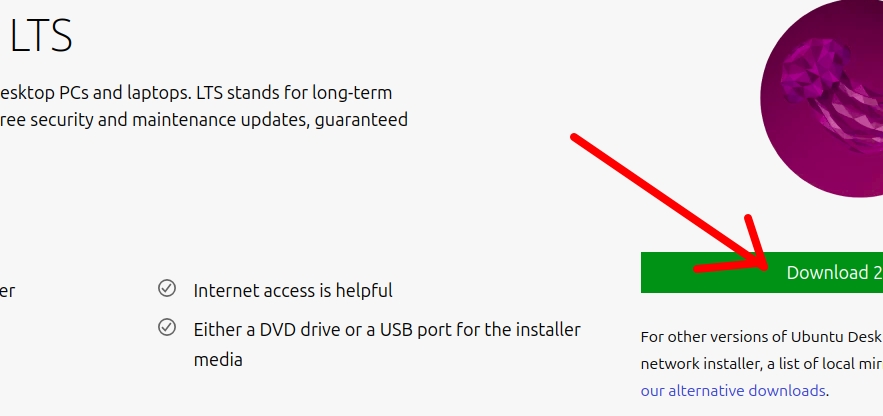
Initially, we will download the Ubuntu “.iso” image. To do this, we will access the link below and click on “Download Ubuntu Desktop”.
https://ubuntu.com/download/desktop

Next, we will select the Download option we want and the version of Ubuntu. After that, you will choose the location on your computer where the “.ISO” image will be stored.
Most of the time we prefer to use LTS versions due to having updates for a longer period of time. For example Ubuntu22 LTS can be updated until April 2027.
Step 2: Create the Ubuntu virtual machine in VirtualBox
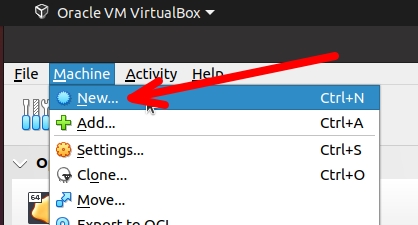
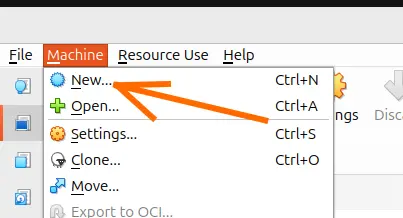
Initially, we will open VirtualBox and then click on “Machine” and “New”.
Now we will see a screen like the figure below where we will enter some information.
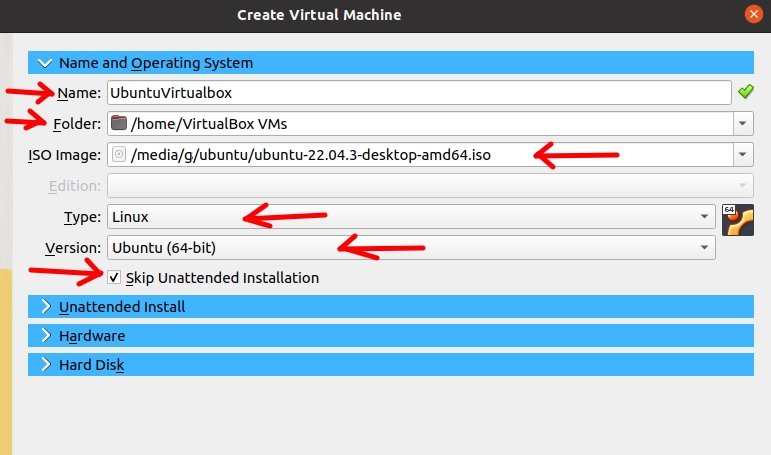
- “Name” = Name of your Ubuntu virtual machine.
- “Folder” = Location where you will save your Ubuntu virtual machine.
- “ISO Image” = Location where you downloaded the Ubuntu “.iso”.
- “Type” = type of operating system, in this case it is LINUX.
- “Version” = Let’s sweat “Ubuntu (64-bit)”.
- Selecting “Skip Unattended Installation” = allows manual installation.
RAM and processor
Now, click on “Hardware” and let’s choose the amount of RAM memory and processor core we are going to use.
For this installation we are using the configuration below.
- 2048 RAM.
- 1 core for Virtual processor.
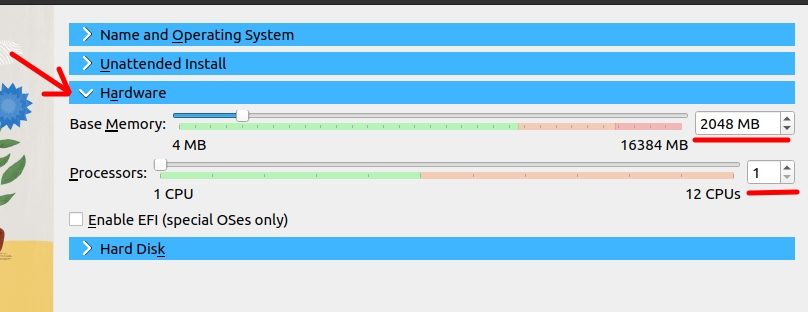
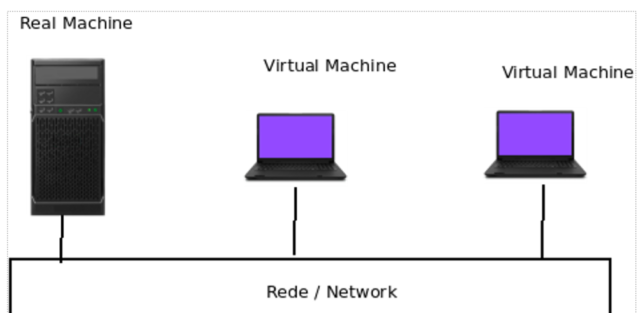
Note. Remember that you can change these values depending on the type of application that will be used on the virtual machine and also on the amount of resources that the host system, “your real machine”, has.
Disk Size
In this step, we will click on “Hard Disk” and then we will see a configuration similar to the figure below.
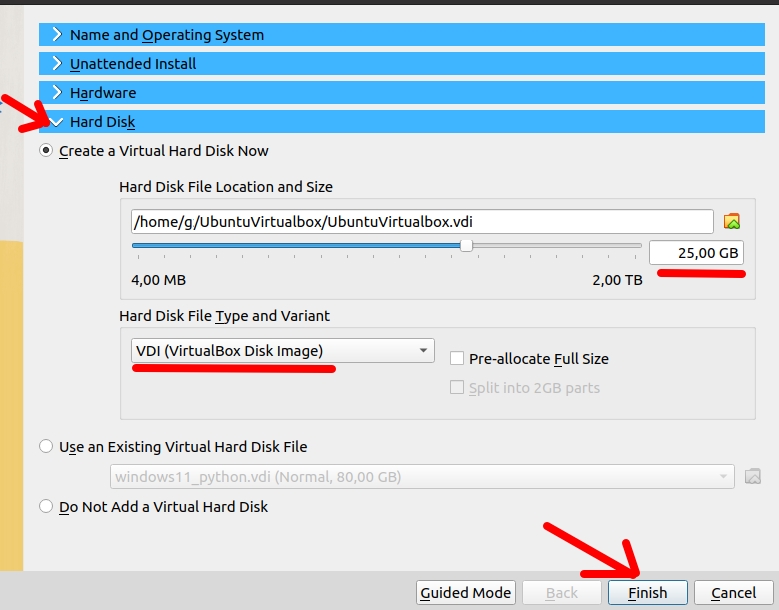
In this case, we are using a maximum virtual disk size of 25GB.
However, as we are not using the “Pre-allocate Full Size” space, we will only use the maximum disk size as we install applications or occupy the disk.
Next, we will click on “Finish”.
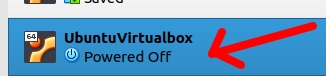
Step 3: Starting Ubuntu Installation on VirtualBox
Now let’s double click on the virtual machine we created. Alternatively, we can right-click and select “Start”.
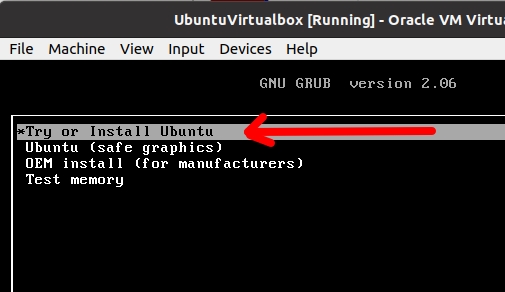
Next, we will see the GRUB menu screen and choose the first option to install Ubuntu “Try or Install Ubuntu”.
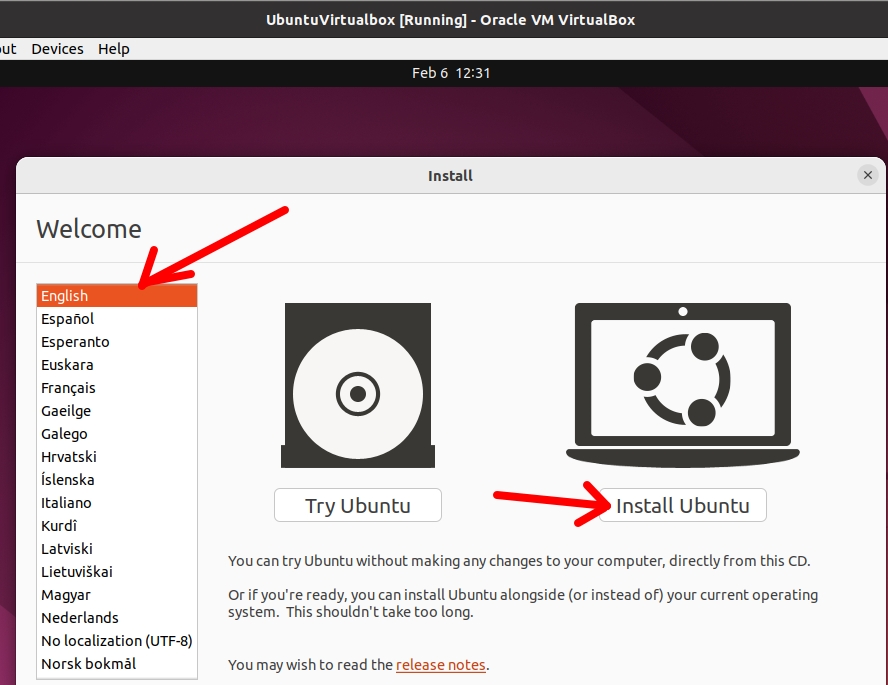
After that, we will select the language and click on “Install Ubuntu”.
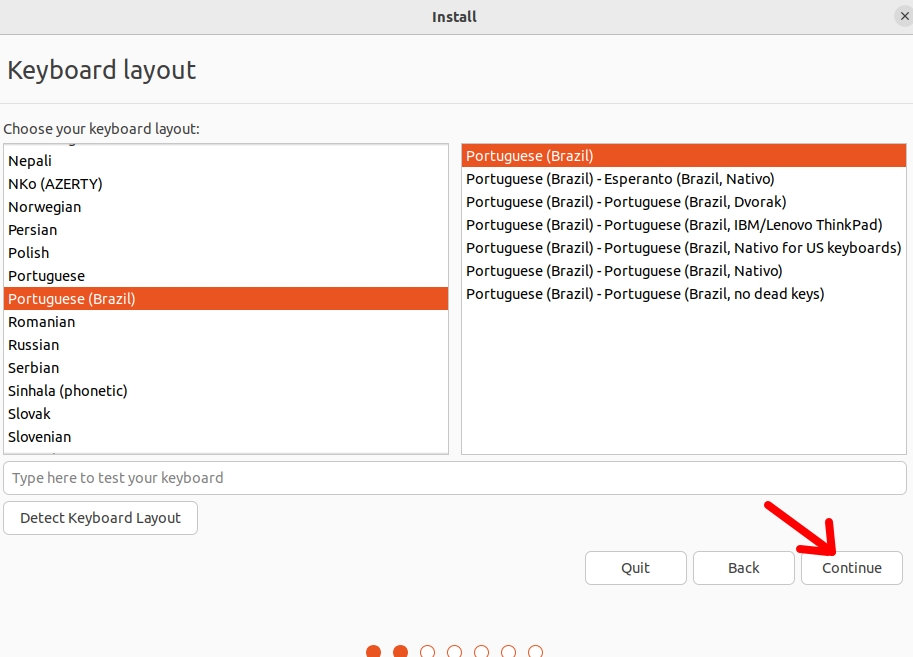
Then select the type of keyboard that meets the needs of the language you have chosen. In my case, I will choose the one from my country.
Now, let’s choose the type of installation we want. If we choose the normal installation we will have a greater number of applications installed on the virtual machine, such as office, games and others.
However, keep in mind that this will make your virtual machine take up more disk space.
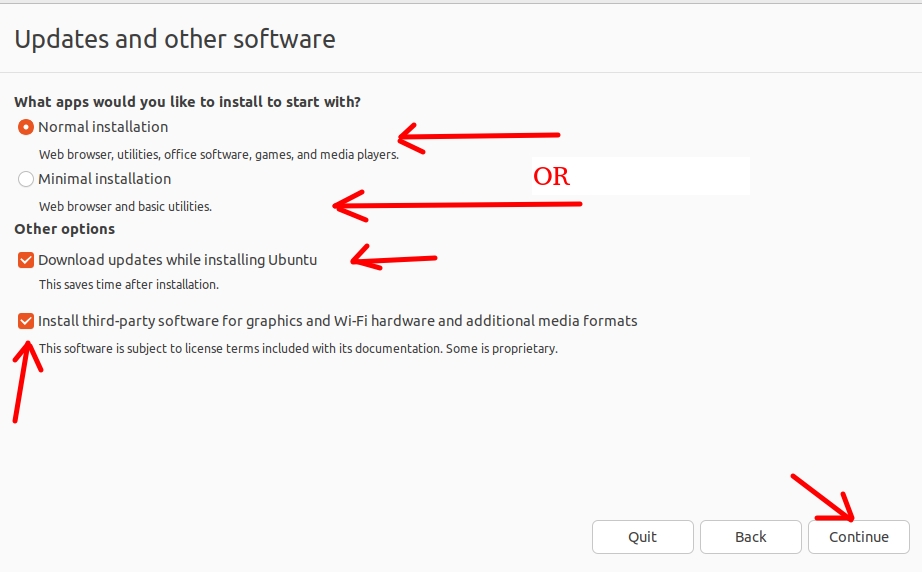
Then we can choose to download updates while installing and also install third-party software for compatibility with network interfaces and different media formats.
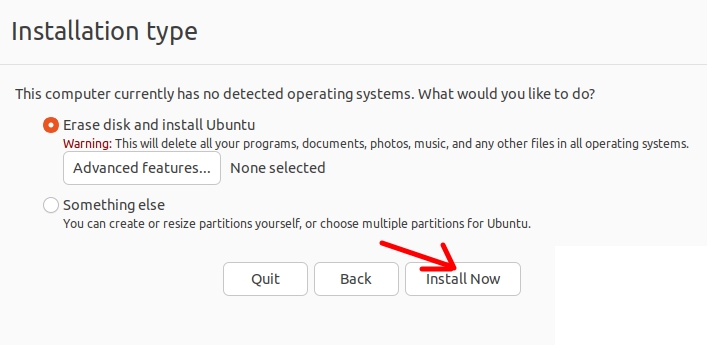
The next step is to choose the option to erase the disk and click on install now “Install Now”.
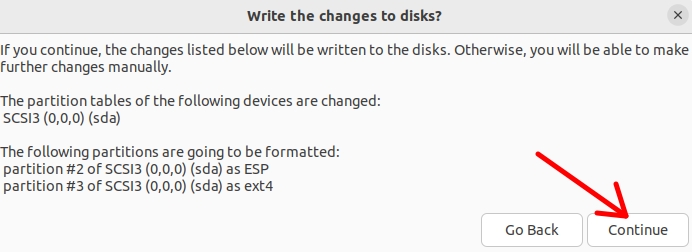
We will see a screen asking if we want to write the changes to the disk and we will confirm by clicking “Continue”.
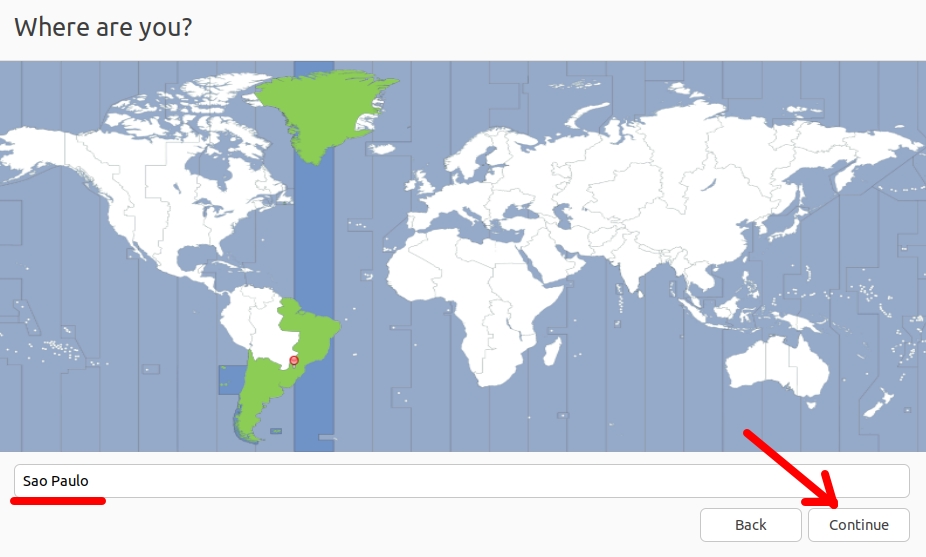
Then you can choose your time zone and click “Continue”.
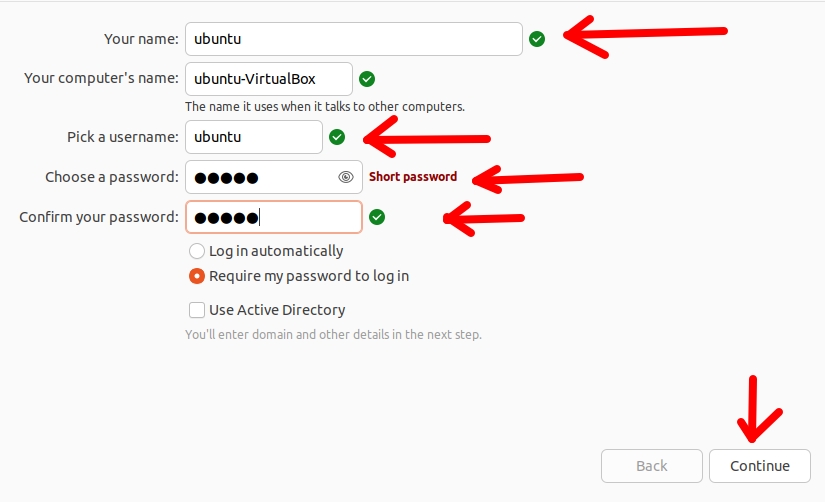
Now, choose a name for your machine and then choose a username and password. After that, click “Continue”.
Now let’s restart Ubuntu in VirtualBox.

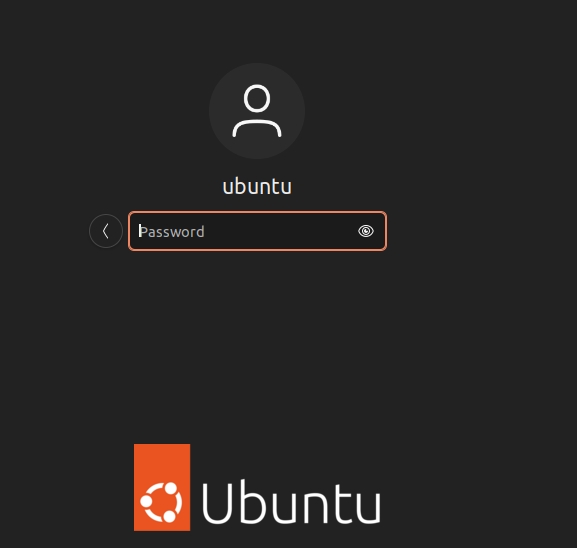
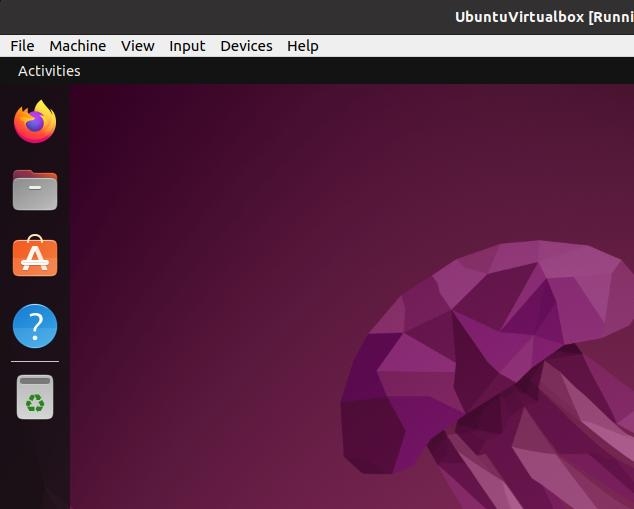
And finally we have our installation completed, let’s log in with the username and password that we defined previously.
Comparison with other Linux Distros on VirtualBox
Below I will show a comparison with two other Linux distributions. This comparison can help you decide which Linux distribution you will use in your VirtualBox.
Important: this data is a general estimate of what I have been using in test environments and depending on your needs, it can be used as a starting point to plan your virtual machine installations.
| Distribution | Minimum RAM | Minimum Virtual Processor Cores | Minimum Disk Storage |
| Ubuntu Desktop | 2 GB | 1 | 15 GB |
| Debian Desktop | 2 GB | 1 | 10 GB |
| Mageia (Mandriva) | 2 GB | 1 | 20 GB |
- Ubuntu Desktop: These are the recommended requirements for a relatively smooth user experience with the standard graphical interface. Ubuntu can run on less, but performance may be impacted.
- Debian Desktop: Debian is known for its flexibility and can run on less powerful hardware, especially if choosing a lighter user interface than GNOME or KDE Plasma.
- Mageia (formerly Mandriva): Mageia inherited many characteristics from Mandriva, aiming to be user-friendly and relatively lightweight. Requirements may vary depending on the chosen desktop environment.
Important to highlight:
- These estimates are for basic installations and may increase depending on usage (e.g. software development, video editing, etc.).
- Always check the official website or distribution-specific documentation for up-to-date information on system requirements, as needs may change with new versions.
- Performance may vary significantly with different hardware configurations and user preferences for additional software and running services.
See more:
Zabbix Appliance on VirtualBox
Install Windows 11 in VirtualBox
Virtualizing the Raspberry Pi – Raspbian

Juliana Mascarenhas
Data Scientist and Master in Computer Modeling by LNCC.
Computer Engineer
Tutorial: Using Port Forwarding in Packet Tracer
Tutorial: Web Server in Packet Tracer (Client-Server)

Email Server & Webmail Setup: Postfix, Dovecot, SnappyMail
Install Ubuntu Server 26 on VirtualBox (Step-by-Step)

How to Configure NAT in Packet Tracer (Step-by-Step)