Let’s introduce how to increase the disk size of your Virtualbox virtual machine. That way, we can save our virtual machine if we need more space to install applications and our virtual machine has already reached its maximum disk utilization.
I often hear questions like:
My virtual machine is full, do I have to create a new virtual machine?
The answer is no, you can increase the size of the virtual disk.
Increasing VirtualBox Virtual Disk
New versions of VirtualBox have a feature called Virtual Media Manager. This functionality allows you to increase the size of the virtual disk in a simple and direct way.
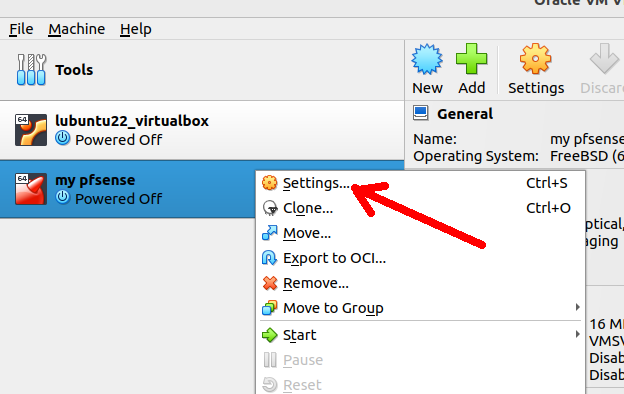
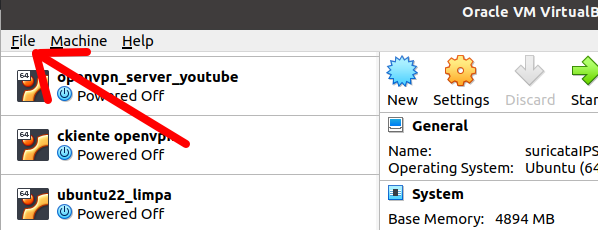
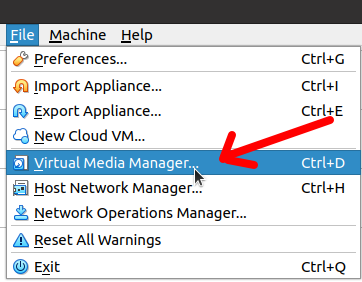
To do this, let’s access VirtualBox’s main screen and click on File. After that, let’s click on Virtual Media Manager, as shown in the figures below.
Now, let’s select the virtual machine disk that we want to grow. In this example, we are going to increase the size of the virtual disk of the “suricataIPStest” machine. We can see that the original size of the virtual disk was 10GB.
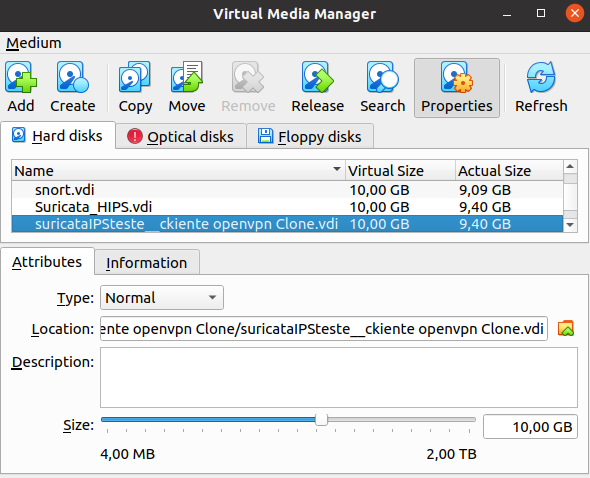
Now let’s increase the size of the virtual disk to 20GB.

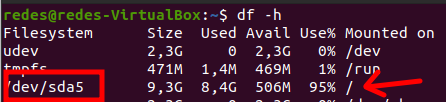
If we start the virtual machine and check the disk size, we will verify that nothing has changed. That’s because, we still need to increase the size of the disk partition in order to be recognized. To check the size of the disk we are using the command “df -h”. However, we can use any other way of checking disk size.
Below we have the command to check the disk size and we can see that nothing has changed.
df -h
Increasing disk partition
Now let’s shut down the virtual machine and download gparted. In this way, we are going to use gparted to increase our disk partition to be able to occupy the 20 GB.
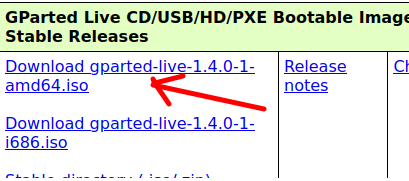
First of all let’s go to the gparted website below and download the ISO.
https://gparted.org/download.php
Adding Gparted ISO as Optical Disk
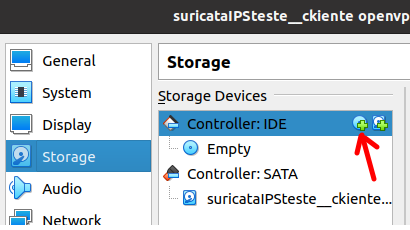
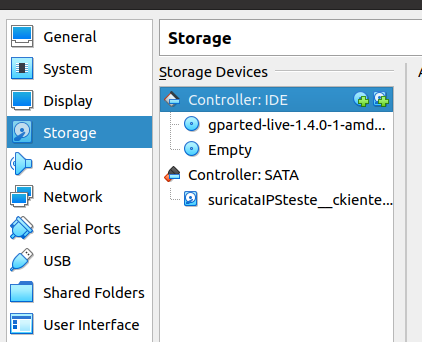
Now let’s add the gparted ISO image we just downloaded. To do this, we will access the virtual machine and click on Storage. In this way we will verify that there is a symbol of a CD ROM, let’s click on this symbol as shown in the figure below.
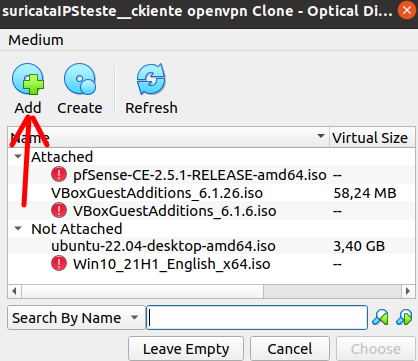
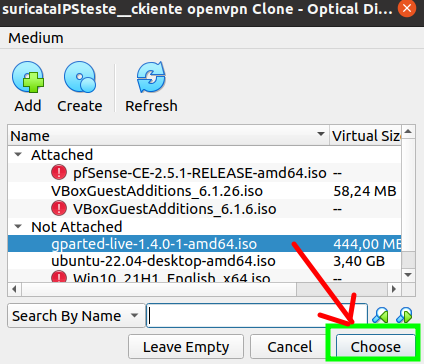
Now we have a screen to add the ISO we downloaded earlier. So let’s specify where the ISO is.
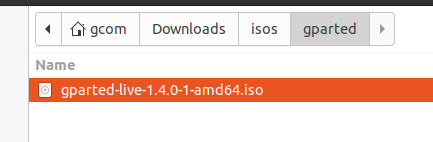
After choosing the ISO, let’s click on choose as shown in the figure below.
We can see that now the name of Gparted appears as one of the storage devices.
Starting the virtual machine
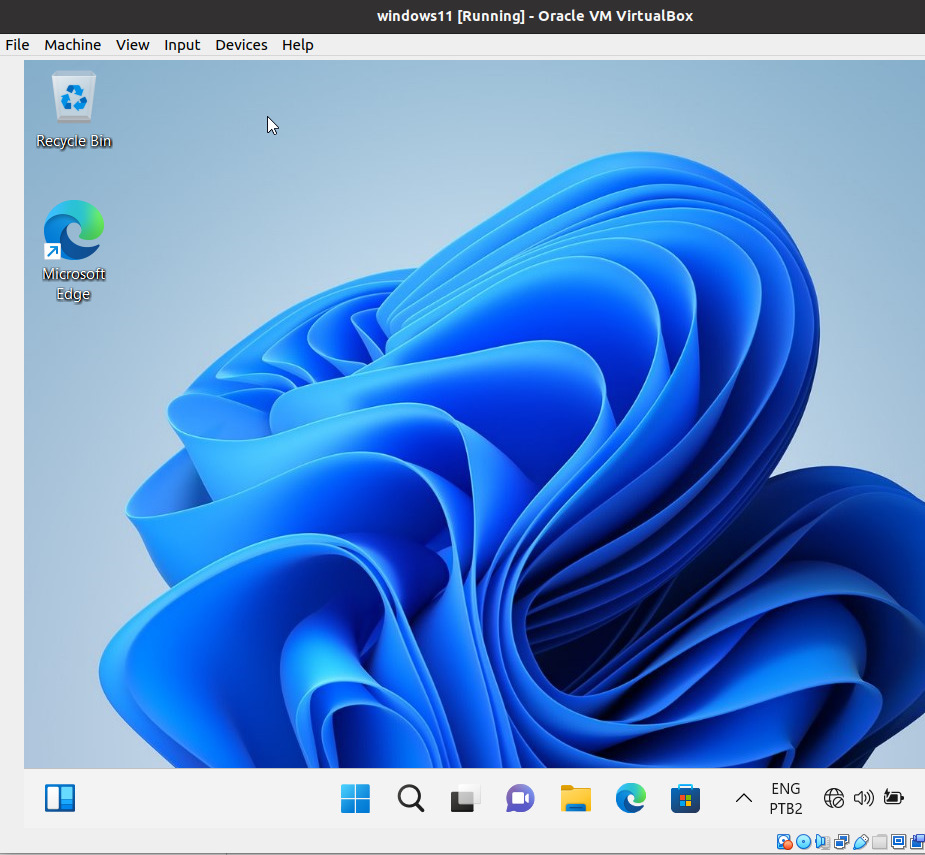
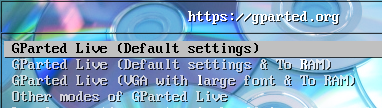
Now, let’s start the virtual machine.
Note. If necessary, press F12 to change the boot order of the virtual machine.
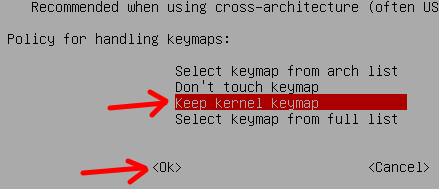
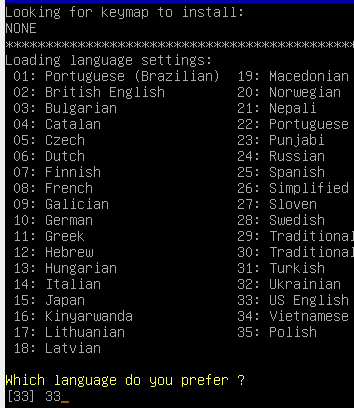
The figure below shows that we can specify the keyboard we want.
Increasing virtual disk partition
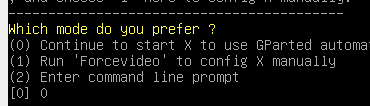
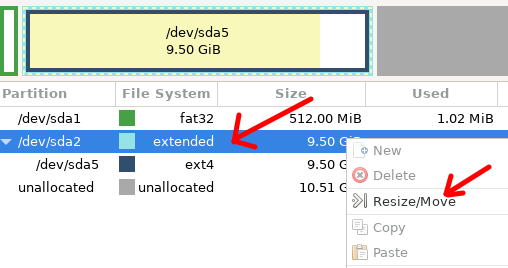
Next we will click on GParted and we will see the screen below. On this screen we have the disks of the virtual machine. In this way, we can observe that we have two divisions:
A partition of sda1 with fat32.
A partition of sda2 with (sda5 with ext4) and an unallocated part. Our goal is to increase the ext4 partition where our Linux system files are.
However, we need to use the amount of memory that has not yet been allocated. For this we will increase the size of the sda2 partition.

So, let’s right-click on the disk you want to increase in size. In our example the disk (sda2). Next, we’ll right-click and select the option to modify the size or move “Resize/Move”.
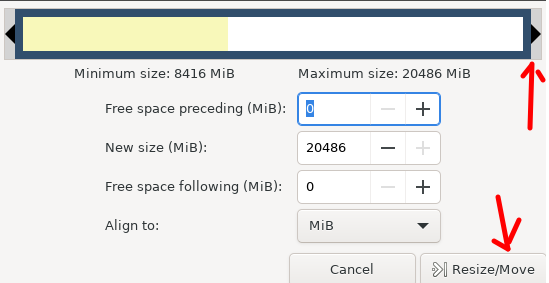
Now we have a partition size configuration screen. Let’s pull the top bar until it occupies the full size of the partition. That way the new partition will now be 20486 in size. Next, let’s click on change the size “Resize/Move”.
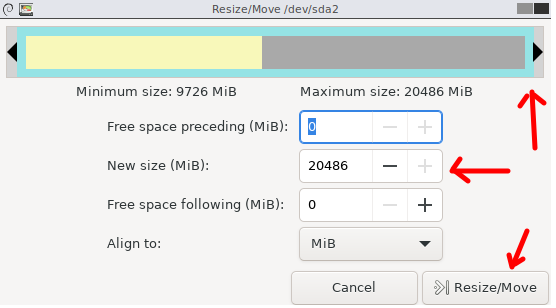
Now, let’s click on the icon in the figure below for the change to take place.
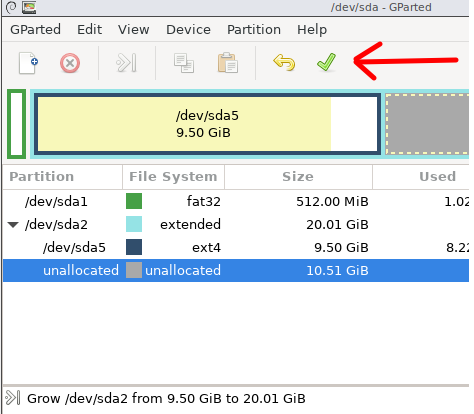
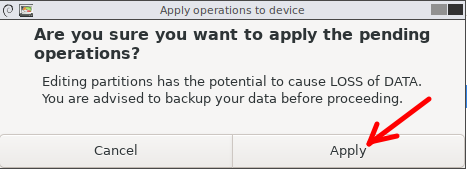
gparted will ask for our confirmation to continue performing the task. So, let’s confirm by clicking on apply “Apply”.

Increasing the file partition
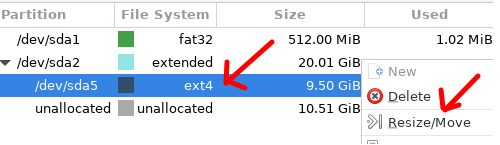
Now, let’s enlarge the partition where our operating system files are. To do this, we’ll right-click on sda5 and click on modify size “Resize/Move”.
Again, we will have a screen similar to the one we saw before. And let’s pull the top bar to occupy the total available memory.
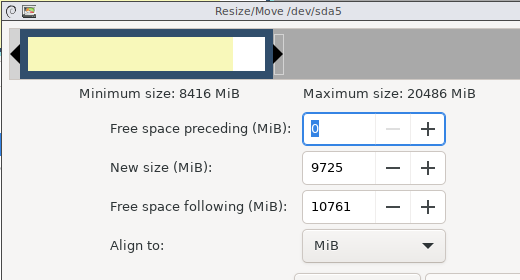
Now after increasing the size, let’s click on change size “Resize/Move”.
Again, let’s click on the icon in the figure below for the change to take place. And then we will confirm the operation by clicking “Apply”.
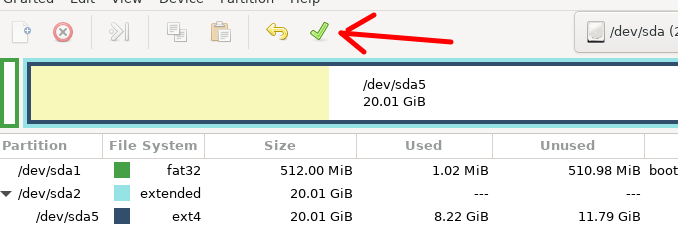
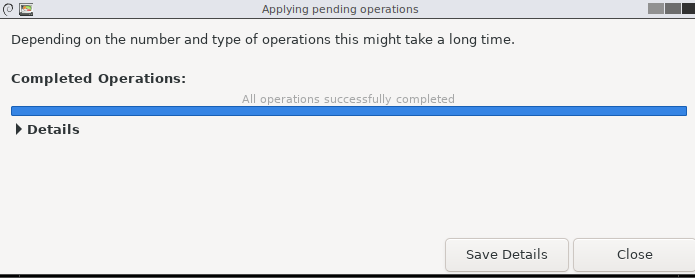
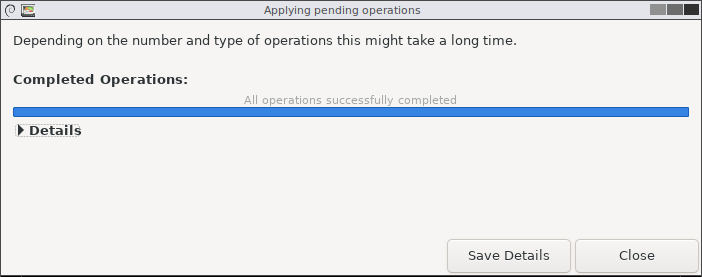
We can see that the operation took place satisfactorily as shown in the figure below.
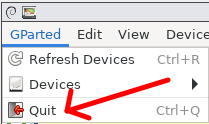
Now we can exit gparted. Let’s click on the icon in the figure below.
Deleting gparted disk from virtual machine
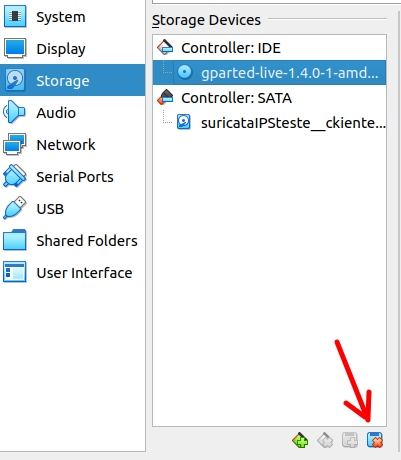
Now that we’ve done the procedure, we no longer need to keep the gparted disk attached to the virtual machine. Therefore, we can disconnect by clicking on the “gparted-live” disk and then clicking on the icon shown in the figure below.
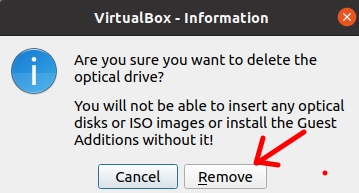
After that, we will have a confirmation message and we will click on remove and then OK.
Testing the virtual machine size
Now let’s restart the virtual machine and check the disk size. If you are using Linux in the virtual machine, we can use the command below to check the new size of your disk.
df -h
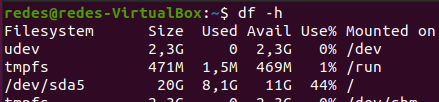
We can see in the figure above that our sda5 disk is now 20GB in size. Therefore, we concluded the operation satisfactorily. Therefore, we end this tutorial here.
Did you like the tutorial? Comment on our channel.
Other tutorials:
- Configure Failover in PfSense
- Install AdoptOpenJDK on Windows
- Install APACHE on WINDOWS
- Install OpenVPN Client on Windows

Juliana Mascarenhas
Data Scientist and Master in Computer Modeling by LNCC.
Computer Engineer