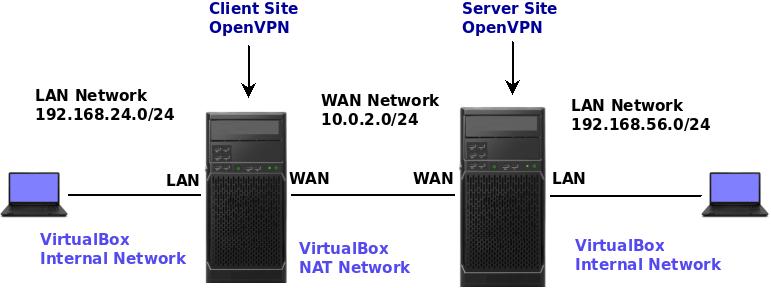
We will demonstrate how to force traffic from an OpenVPN Client (site to site) to pass through the OpenVPN Server in PfSense. In this case, all traffic from site_cliente_VPN will leave through Site_Server_OpenVPN.
Some people may ask: What are the reasons to force site-to-site VPN client traffic to go through the VPN Server?
Below, I will list some of the reasons.
- Focus on traffic security on the OpenVPN Server.
- Use a single proxy.
- Use a single domain Block
- Ensure that the output for certain websites always leaves the OpenVPN Server
Let’s use the scenario we used to install Site to Site VPN with pfSense.
I suggest you see the configuration used in “Site to Site VPN with pfSense”.

Searching for the VPN tunnel
Let’s go to Client_Site_OpenVPN and check the routes to identify the IP of the tunnel that connects to the Server_Site_OpenVPN.
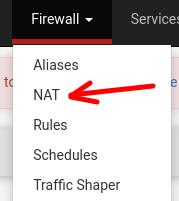
To do this, we will click on “Diagnostics -> Routes.”
Now, you will see a table similar to the figure below. Next, let’s look for the route that points to your VPN tunnel IP.
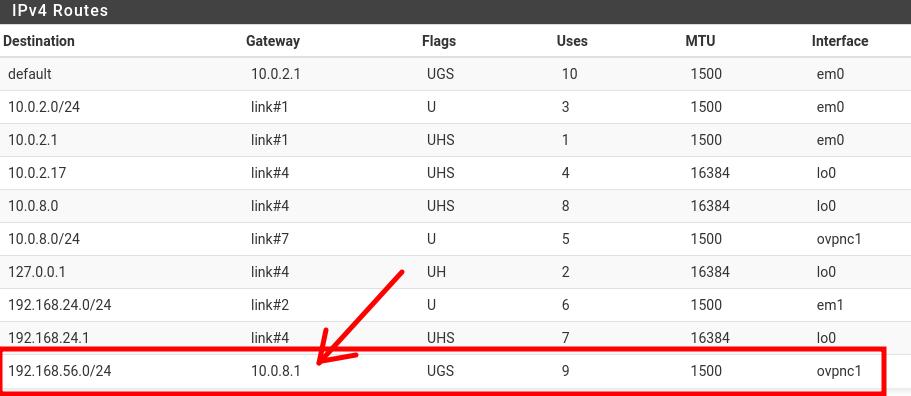
This route is associated with the OpenVPN server’s private network. In my case, the OpenVPN server has an internal network “192.168.56.0/24” . We can see in the figure above that to reach the network “192.168.56.0/24” the OpenVPN client has to send to “10.0.8.1” on the ovpnc1 interface.
Remember that ovpnc1 is the openvpn tunnel interface.
Configuring Openvpn Server
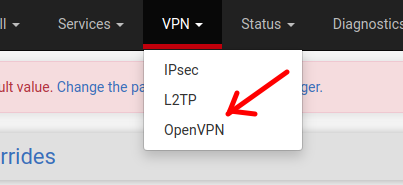
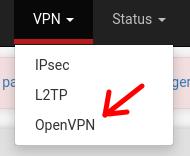
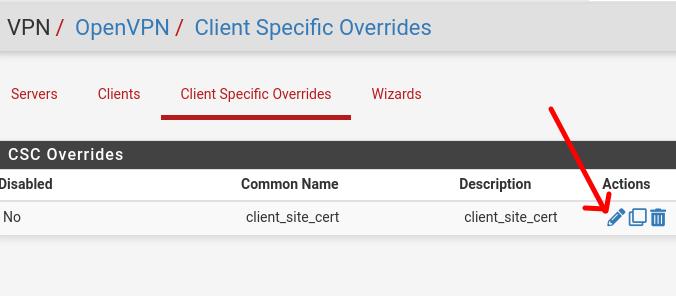
Now let’s go to Server_Site_OpenVPN and click on VPN -> OpenVPN -> Client Specific Overrides.
After that, we will edit by clicking on the pencil icon as in the picture below.
Let’s go down to the bottom of the page where we have the “Advanced” field.
And let’s add the routes for the OpenVPN tunnel IP.
push "route 0.0.0.0 128.0.0.0 10.0.8.1";
push "route 128.0.0.0 128.0.0.0 10.0.8.1";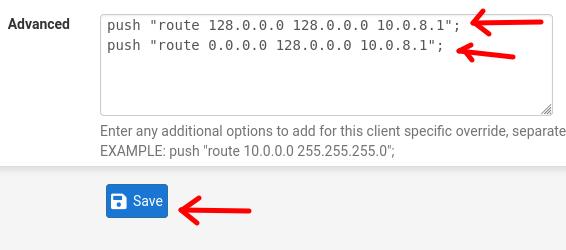
Next, we will click on “SAVE”.
In this case, we include the routes for default traffic by dividing it into two subnets. The first goes from 0.0.0.0 to 127.255.255.255 and the second subnet goes from 128.0.0.0 to 255.255.255.255.
The reason for splitting the two subnets is that we want that during the VPN client network route table hierarchy the traffic is sent over the VPN tunnel.
Create NAT rule for the VPN client network
Now we will have to create a rule in the Server_Site_OpenVPN‘s NAT to allow traffic coming from theC‘s LAN network >lient_Site_OpenVPN can go through the server’s NAT.
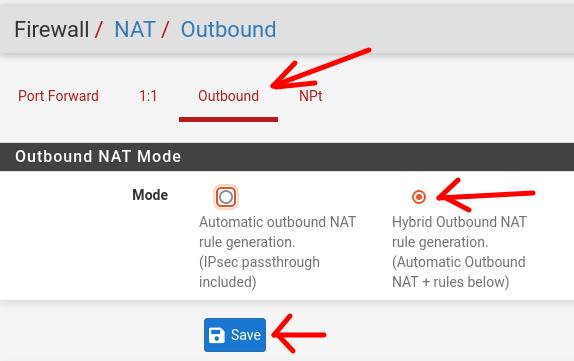
Now, let’s click on “Outbound” and then click on “Hybrid Outbound NAT” and then click on “Save”.
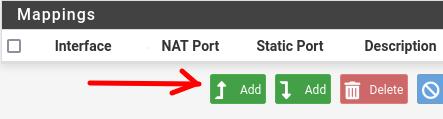
Next, within “Mappings”, we will click on “Add”.
Now let’s enter the rule for the Client_Site_OpenVPNLAN network (192.168.24.1).
Note. Remember to change the internal network to the network you use on your client.
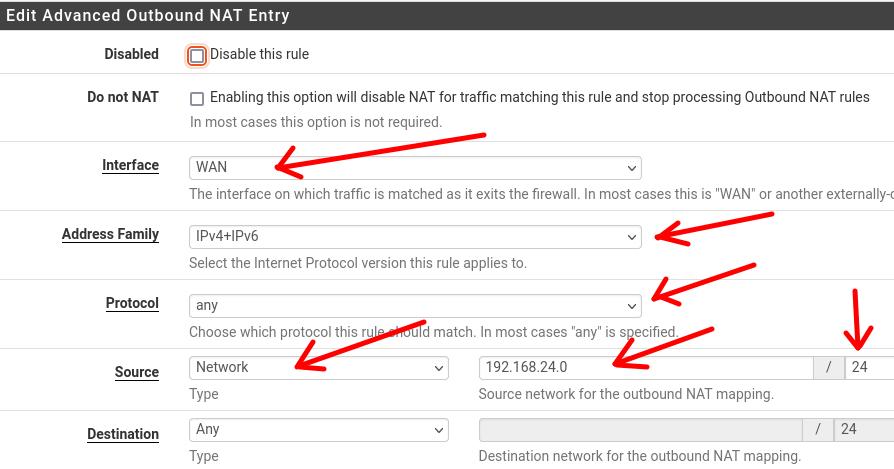
After entering the network “192.168.24.0 /24” as “source”, we will click on “Save”.

Restart the VPN Server
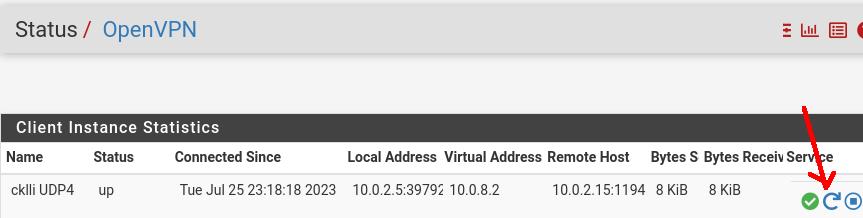
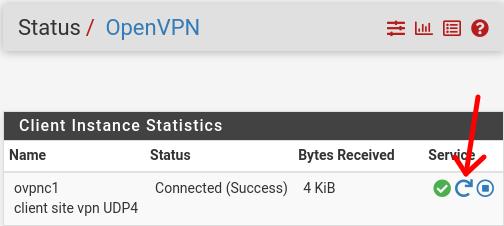
Now let’s restart the Server_Site_OpenVPN. To do this, let’s click on Status – > OpenVPN.

Next, we will click on the restart icon as in the figure below.

Restarting the Openvpn client
Now let’s go back to Client_Site_OpenVPN‘s pfsense and restart the VPN service.
To do this, as in the figure below, we will click on Status – > OpenVPN.

Next, we will click on the restart icon as in the figure below.
Testing VPN client network traffic
Now, let’s test if traffic to the Internet is leaving through the OpenVPN Server.
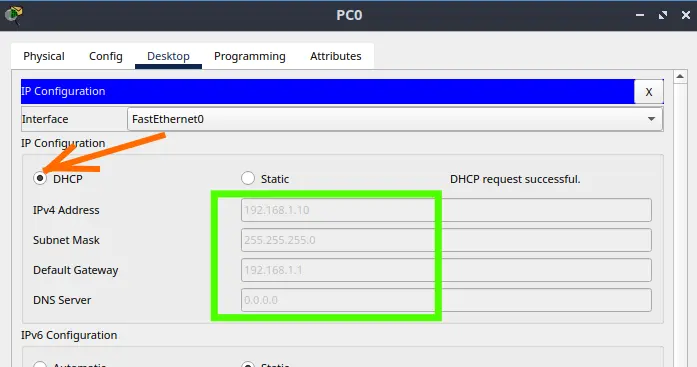
To test, we can open a terminal on a machine that is on the Client_Site_OpenVPN internal network (LAN). Next, let’s type the command below.
tracepath -n 8.8.8.8
In the figure above, we have the first hop as the LAN interface of the Client_Site_OpenVPN(192.168.24.1). Next, we have the WAN interface of theServer_Site_OpenVPN(10.0.8.1).
After that, we have the IP that I am using as a gateway for my VirtualBox’s Network_NAT network (10.0.2.1).
And finally we can see that the traffic from the Client_Site_OpenVPN LAN network is leaving through the Server_Site_OpenVPN .

Juliana Mascarenhas
Data Scientist and Master in Computer Modeling by LNCC.
Computer Engineer

How to Configure NAT in Packet Tracer (Step-by-Step)

Zabbix FIM: How to Setup File Integrity Monitoring
Configure DHCP in Packet Tracer: Server & Router Guide

Cheap SSDs: The Hidden Dangers of TLC, QLC & DRAM-less

Zabbix Tags Guide: Organizing and Filtering Monitoring Alerts
If you manage a Zabbix environment, you’ve probably been there: a crowded “Problems” screen, where…

Flooding Routing Algorithm: How It Works & Use Cases
Let’s talk about one of the most primitive and, at the same time, most robust…
More Links: