This article will demonstrate how to install Windows 11 in VirtualBox.
In this tutorial, we will use VirtualBox 7 because it has new features that facilitate the installation of Windows 11.
Download Windows 11 Image
The first step is to download the Windows 11 image. We suggest that you always download it from the official Microsoft page.
In our installation we used the link below.
https://www.microsoft.com/software-download/ windows11
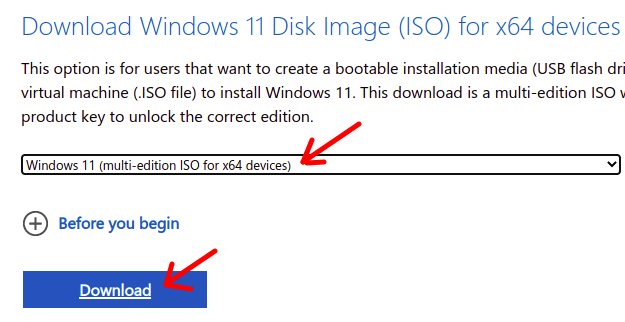
Then choose the option Download Windows 11 Disk Image (ISO) for x64 devices. The figure below demonstrates the option to download the ISO image.
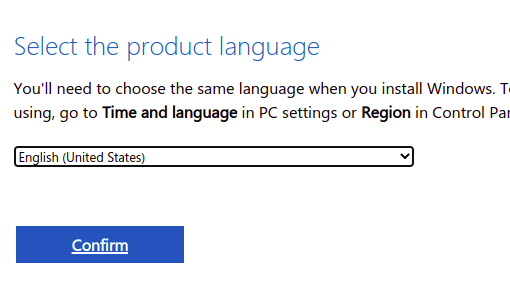
Next, choose the Windows language you want to download.
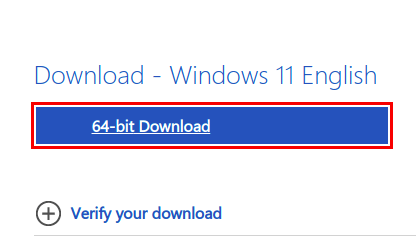
Then, the option to download the Windows image will appear. First, choose the directory where you will download the image.
Installing Windows 11 on Virtualbox
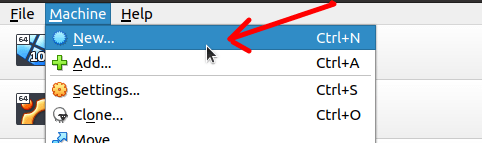
Now let’s start virtualbox and click on the “Machine – > New”.
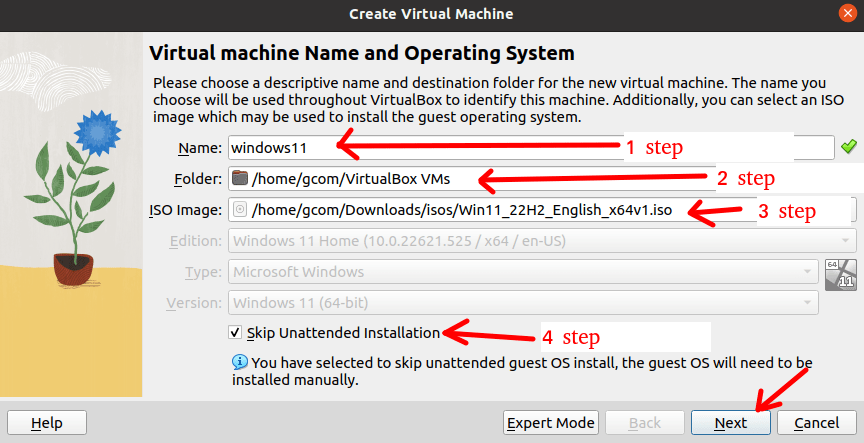
After that, we will see a screen to create the virtual machine. And then, we will do some steps described below and presented in the figure below.
Step 1: Name your virtual machine.
Step 2: The directory where the virtual machine will be stored.
Step 3: Select the Windows 11 image that we have downloaded.
Step 4: We disable the Unattend Installation to be able to do the installation manually.
Now let’s click on “Next”.
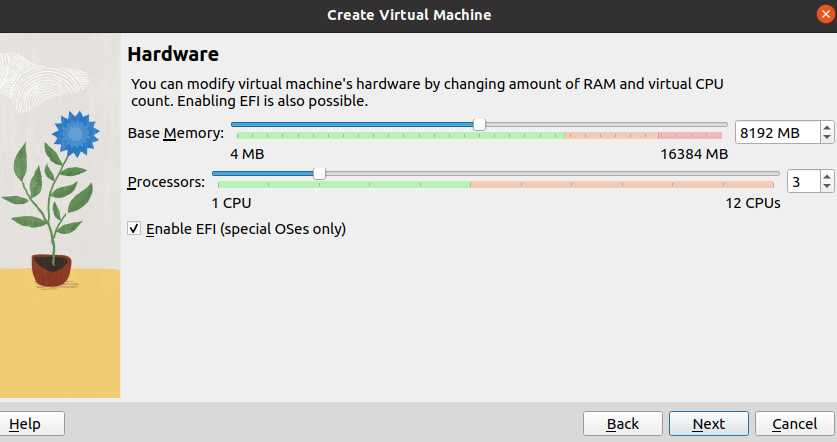
The figure below shows the next configuration screen. On this screen, we will enter the amount of RAM and the number of cores for our virtual machine. It is worth mentioning that it is interesting to make the amount of RAM and CPU available without going over the green line.
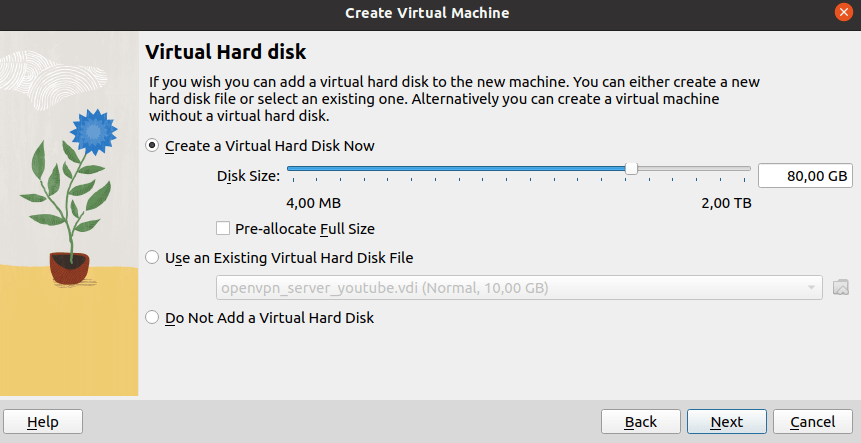
Now we will choose the size of our virtual disk to store the Windows 11 installation. In this case, we will use the size of 80 GB. However, as we are not using the “Pre-allocate Full Size” option, the virtual disk will start with a smaller size and may reach up to 80GB. In this way, we guarantee the dynamic use of our storage.
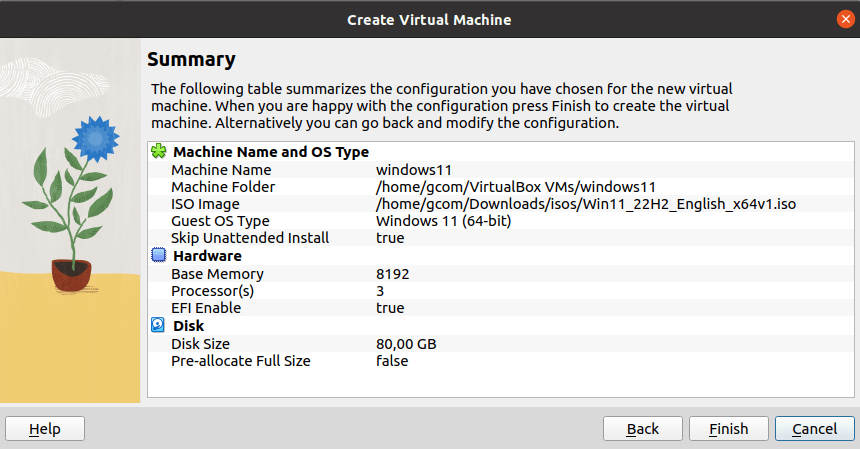
Very well, the figure below shows a summary of all our configuration and we can click on “Finish”.
Initial setup of Windows 11 in VirtualBox
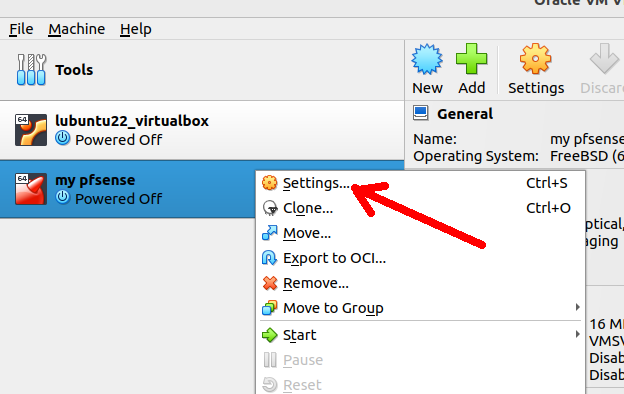
Now we are going to start our virtual machine with Windows 11. As in the figure below, we will click on our virtual machine to do this.

Next, a prompt will appear to press any key to boot from the CD.
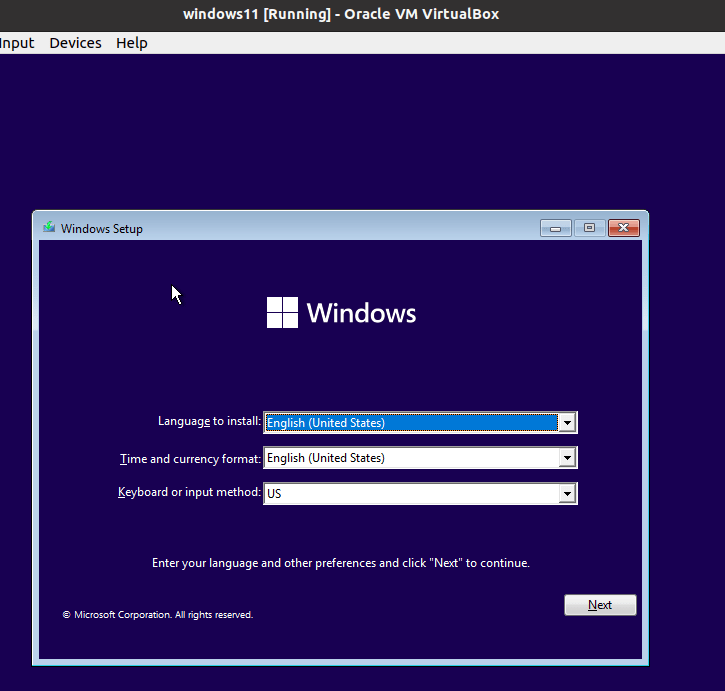
Now we can enter information about the language and keyboard used. Enter the information relevant to your interest.
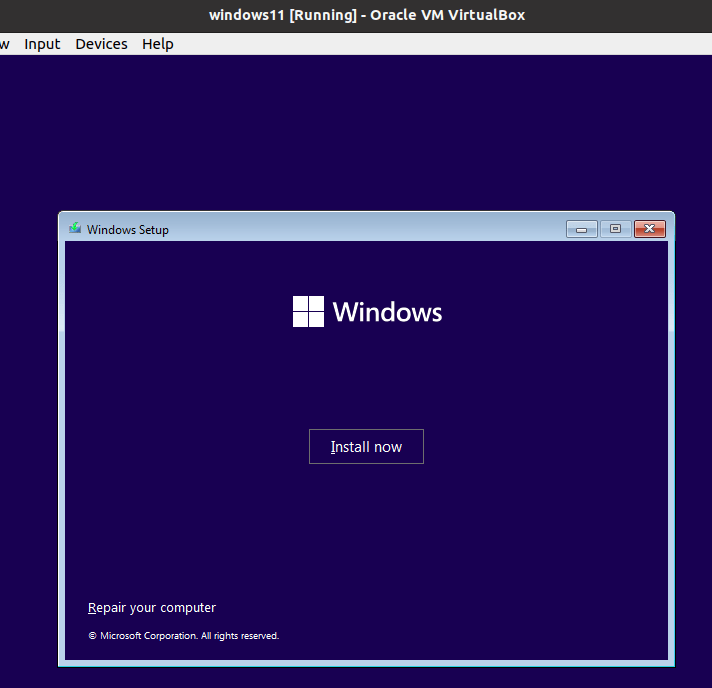
After entering the basic information, we will see a screen like the figure below and we will click on “Install now”.
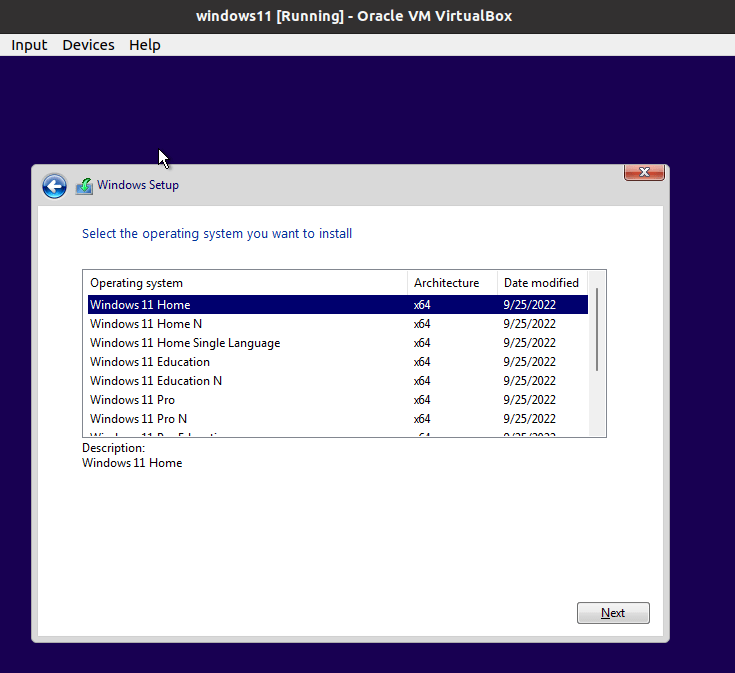
Once the installation process has started, we will be asked to enter the (Product key) as in the figure below or click on the option “I don’t have a product key” and then finish the installation with your microsoft account.
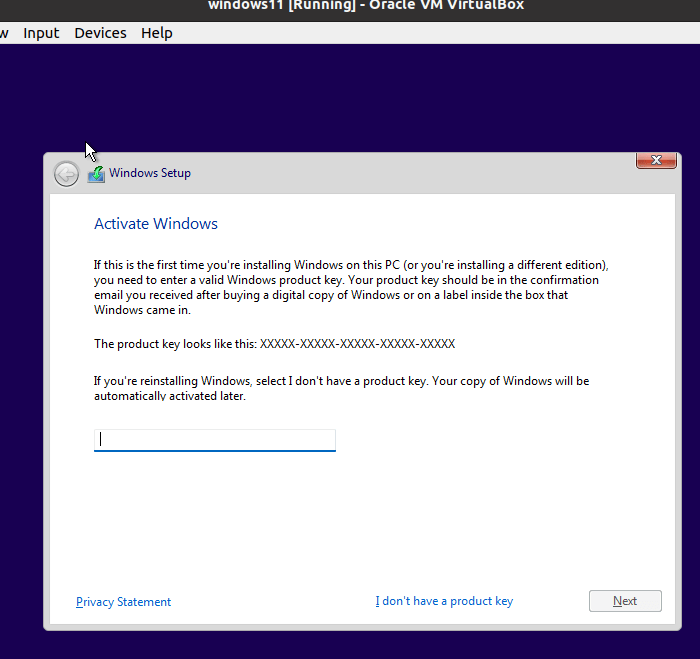
If we choose “I don’t have a product key”, we will need to inform the type of license we have.
Then we will have the screen for us to agree with the terms.
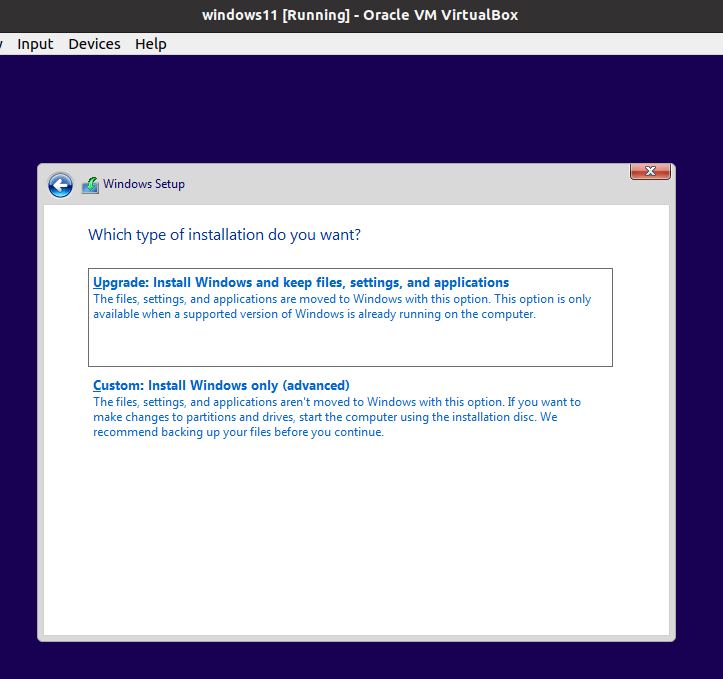
Now we have two options, the first is to upgrade Windows, and the second is to do a custom install. We will use the second option, “Custom: Install Windows only (advanced)”.
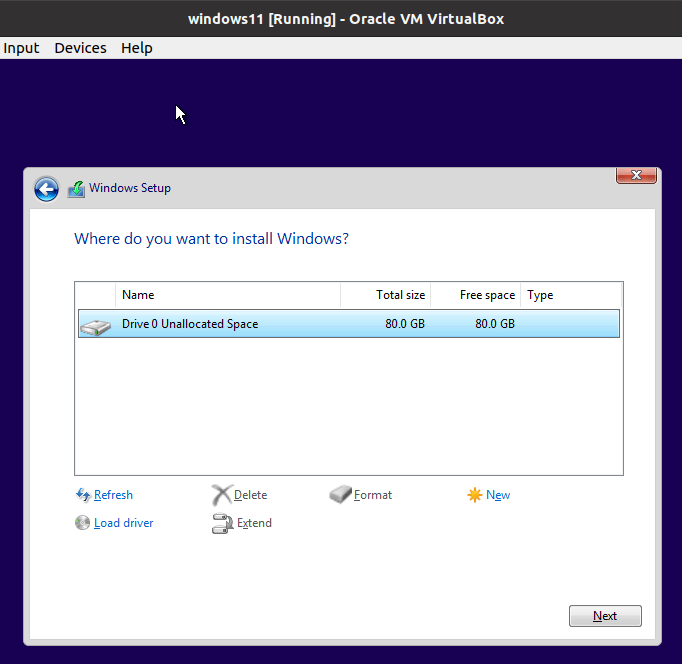
Next, we will see the screen to select the disk space that Windows will use. We can see that, in this case, we have 80GB of space. That’s because we previously configured the virtual machine to have a size of 80GB.
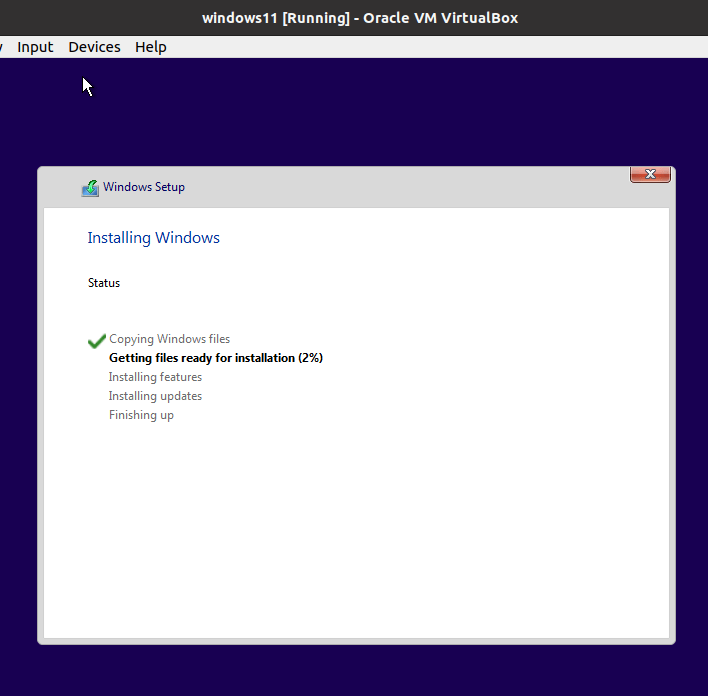
Now Windows will continue installing as shown below.
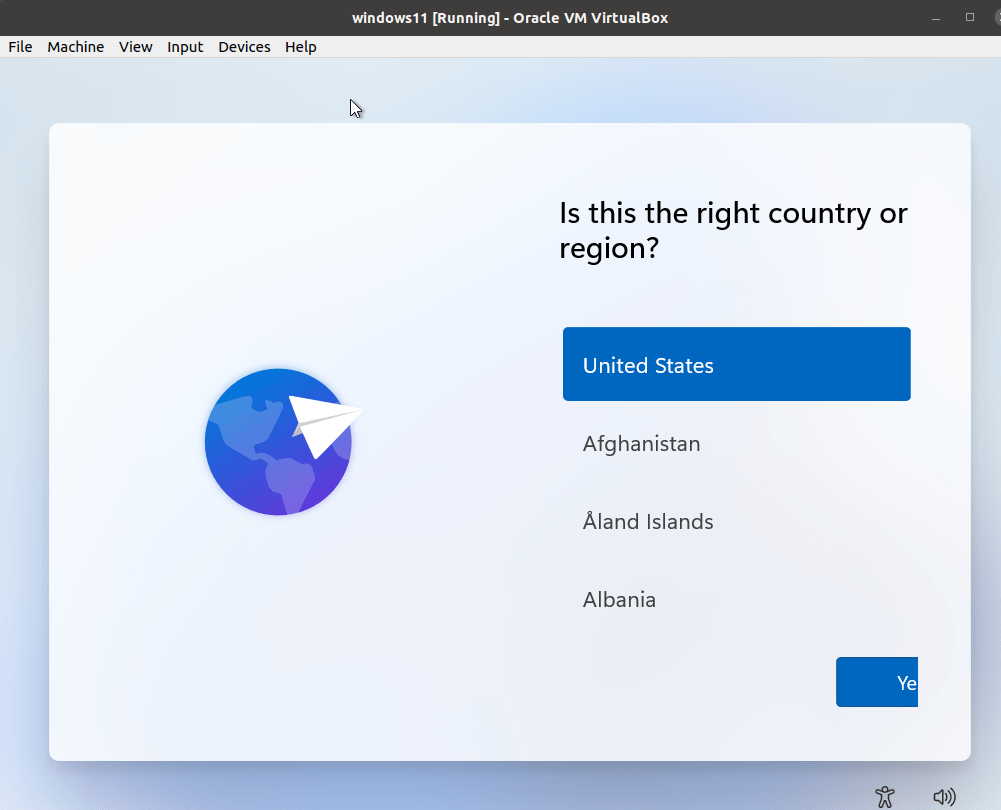
After a while doing the installations, we will arrive at the screen below. On this screen, we are going to choose the region of our country.
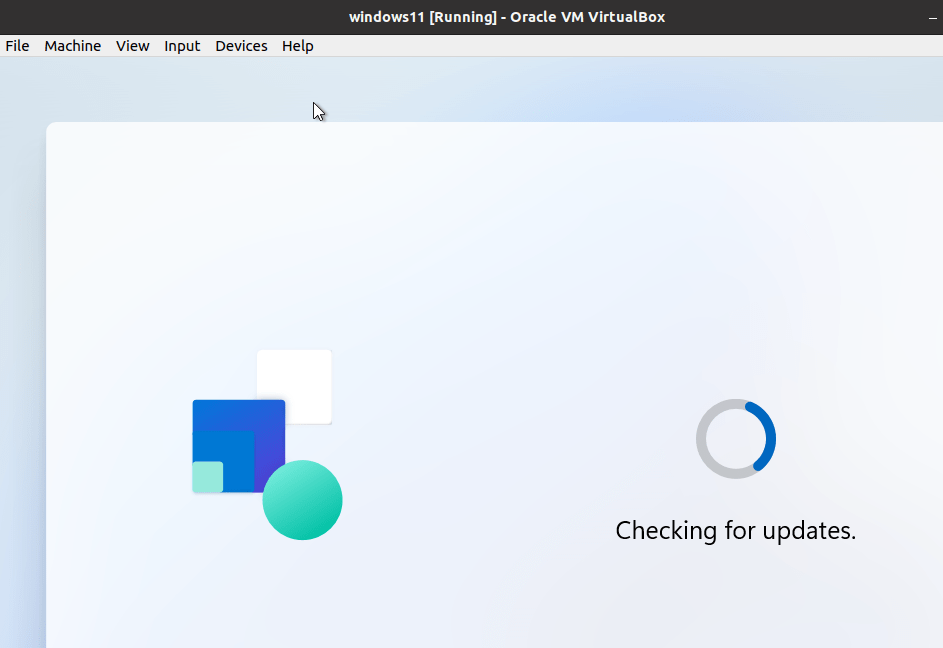
After that, Windows 11 will start doing Updates. In this case, the virtual machine has internet access because the host machine also has internet access.
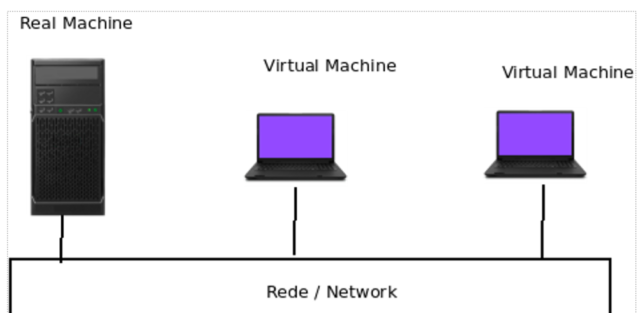
Note. We can see that the Windows 11 virtual machine has the network in NAT mode. This configuration allows you to simplify the virtual machine’s internet access. To understand more about NAT, see this article by clicking HERE.
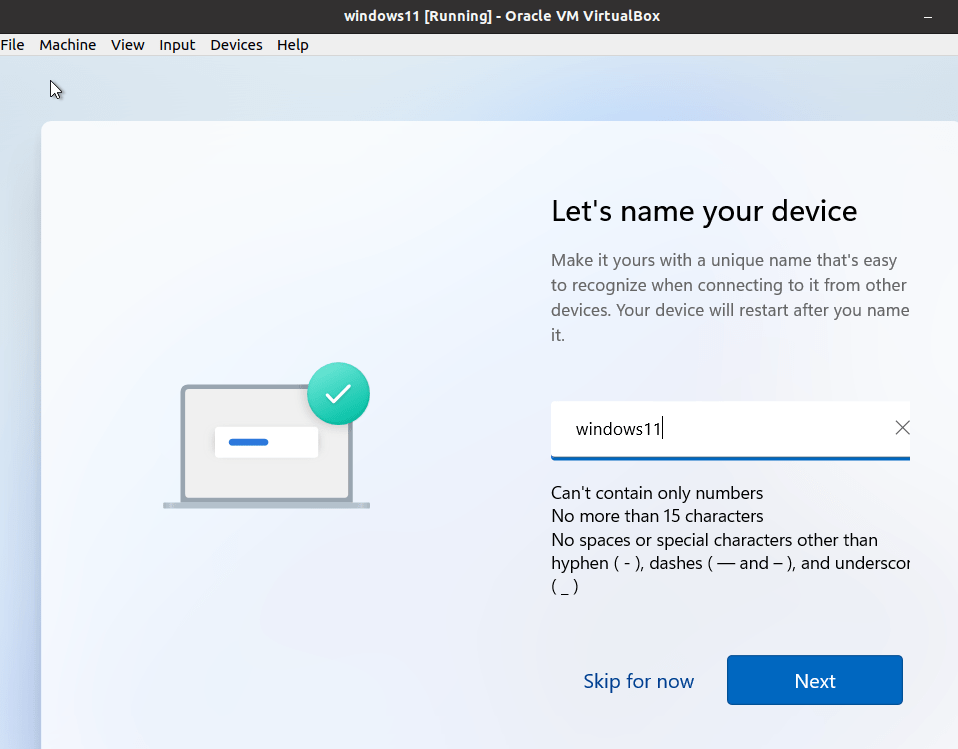
Now Windows will ask for the name that we will give the machine and information about the Microsoft account to perform the initial login in Windows 11.
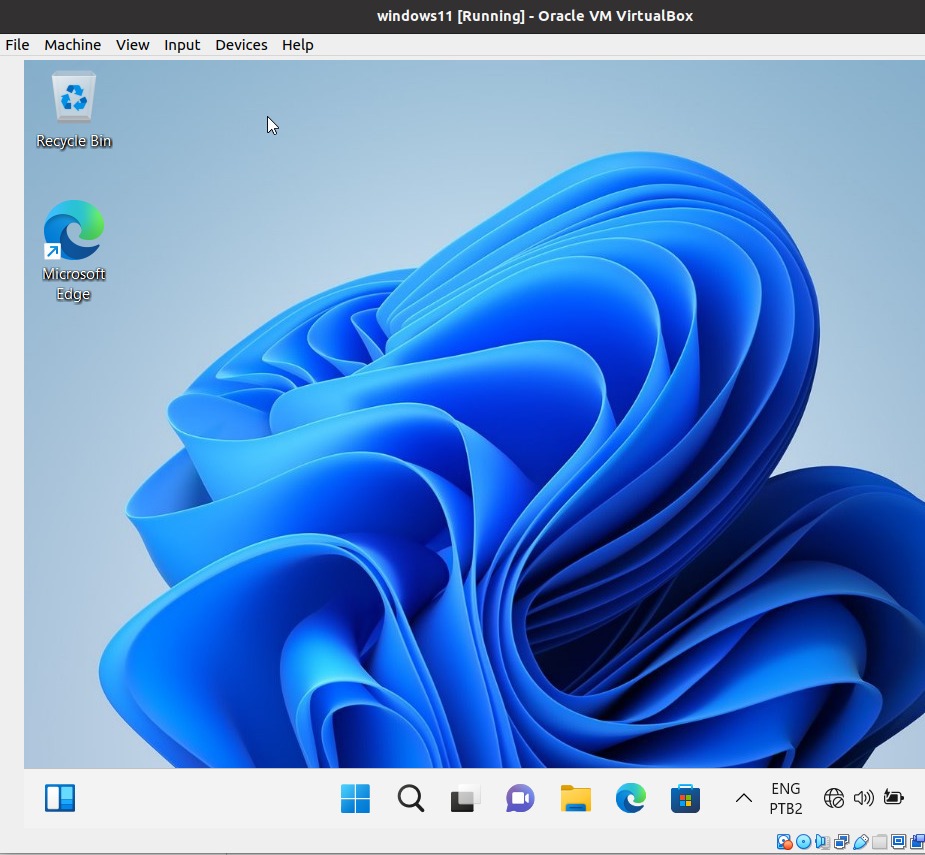
Once you’ve entered your Microsoft account login information, the virtual machine will restart, and we’ll have our Windows 11 virtual machine ready.
See more:
VirtualBox: Bridge Network – When to use it?

Juliana Mascarenhas
Data Scientist and Master in Computer Modeling by LNCC.
Computer Engineer