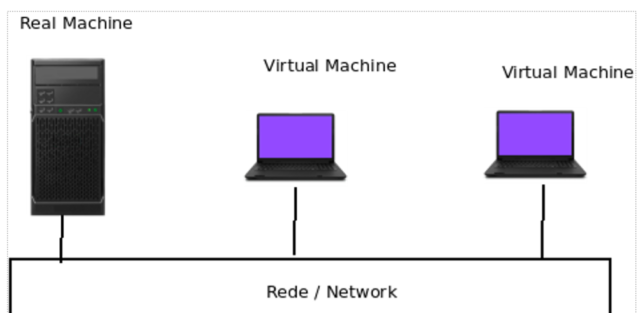
Do you need your virtual machines (VMs) in VirtualBox to communicate with each other, but also access the internet? And, at the same time, want to keep them isolated from your main physical network (your Wi-Fi or wired network)? The “NAT Network” mode is the ideal solution for this scenario.
Unlike the standard “NAT” mode (which isolates each VM), the “NAT Network” creates an exclusive private virtual network for your VMs, where they can “talk” to each other, while VirtualBox acts as a router, providing them with internet access.
In this complete guide, we will show you how to configure a NAT Network in recent versions of VirtualBox (7.x) and how to check if two VMs (for example, a Windows and a Linux machine) are communicating using the ping command.
Prerequisites
Before you start, ensure you have:
- Oracle VM VirtualBox (version 7.x or higher) installed.
- At least two virtual machines already created (in this guide, we will use VM-1 and VM-2). They can be powered off.
Step 1: Create the NAT Network in VirtualBox
The first step is to create the “parent” virtual network where your VMs will connect. This is a global VirtualBox setting.
Open Oracle VM VirtualBox.
In the top menu, click on File > Tools > Network Manager.

(Note: You can also access this menu by clicking the “three lines” icon at the top of the main interface and selecting “Network”).
In the window that opens, select the NAT Networks tab.
Click the + Create button to add a new network.

A new network, probably named NatNetwork, will be created. Select it.
Under “General”, you can keep the default name. The most important thing is to check the Network CIDR. The default (10.0.2.0/24) works perfectly for most cases. This means your VMs will receive IPs starting with 10.0.2.x.
Check if the Enable DHCP option is marked. This is crucial for your VMs to receive an IP address automatically.
Click Apply.
Done! Your private virtual network now exists.
Step 2: Connect Your VMs to the NAT Network
Now that the network is created, we need to “plug” each of your virtual machines into it.
Repeat this process for VM-1 and VM-2:
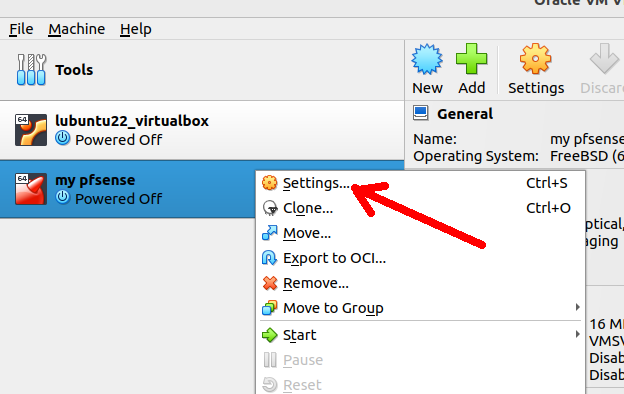
On the main VirtualBox screen, select the virtual machine (e.g., VM-1) you want to connect.
With the VM selected, click on Settings (the gear icon).

Go to the Network section.
On Adapter 1 (or another free adapter), check the Enable Network Adapter box.
In the Attached to: field, change the option from NAT (default) to NAT Network.
In the Name: field, VirtualBox should automatically select the network we just created (e.g., NatNetwork). If you created more than one, select the correct one here.

Click OK.
Important: Do the exact same process for VM-2. Both must be connected to the same NatNetwork.
Step 3: Testing Communication Between VMs (Ping)
It’s the moment of truth. Let’s check if the two virtual machines can communicate.
1. Start VM-1 and VM-2.
2. Finding the IP of VM-1:
Log in to VM-1. And open the terminal (on Linux/macOS) or the Command Prompt (on Windows).
On Windows: Type ipconfig and look for the “IPv4” address.
ipconfig
On Linux/macOS: Type ip a (or hostname -I) and look for your IP address.
ip a
Write down this IP. It should be something like 10.0.2.15.
Finding the IP of VM-2:
Log in to VM-2. Open the terminal or Command Prompt.
Use the same command (ipconfig or ip addr show) to find the IP of this machine.
Write down this IP. It should be different from the first one, something like 10.0.2.16. In my case, the IP was 10.0.2.4 .

Testing the Ping:
Go back to VM-1 and in the terminal/CMD, type ping followed by the IP of VM-2.
Example:
ping 10.0.2.16You should see replies arriving, like “Reply from 10.0.2.16…” or “64 bytes from 10.0.2.16…”.

(Optional) To confirm, go to VM-2 and ping the IP of VM-1.
Example: ping 10.0.2.15
Troubleshooting
“Ping failed” or “Destination host unreachable”. What to do?
The most common cause for the ping to fail, even with the network configured correctly, is the operating system’s firewall inside the virtual machine.
Windows Firewall: The Windows Firewall, by default, blocks “ping” requests (ICMP protocol).
For testing, you can temporarily disable the Windows Firewall (under “Private Networks”) inside the VM or, more correctly, create an inbound rule to allow “ICMPv4 Echo Request”.
Linux Firewall (UFW/Firewalld): If you are using a firewall like UFW on Ubuntu, check that it is not blocking incoming traffic from the 10.0.2.0/24 subnet.
Conclusion
Congratulations! You have successfully configured a NAT Network in VirtualBox. Your virtual machines are now on a private network, able to communicate with each other for client-server testing, security labs, or web development, and they still have internet access to download updates or packages.
This network mode is a powerful and essential tool for any IT professional or developer who uses virtualization in their daily work.
see more:
VirtualBox: Bridge Network – When to use it?
Install Windows 11 in VirtualBox
Why use Kali Linux inside VirtualBox?
How to Install Kali Linux on VirtualBox: Step-by-Step Guide for Beginners
Install ubuntu 24 on virtualbox

Juliana Mascarenhas
Data Scientist and Master in Computer Modeling by LNCC.
Computer Engineer
Tutorial: Using Port Forwarding in Packet Tracer
Tutorial: Web Server in Packet Tracer (Client-Server)

Email Server & Webmail Setup: Postfix, Dovecot, SnappyMail
Install Ubuntu Server 26 on VirtualBox (Step-by-Step)

How to Configure NAT in Packet Tracer (Step-by-Step)