Let’s introduce the installation and configuration of the Arpwatch tool. This tool allows you to identify new machines on the network and even identify man-in-the-middle attacks on your network.
In this way, Arpwatch monitors the ARP table and checks the occurrence of modifications in the tables and the traffic of anomalous packets.
Arpwatch Installation
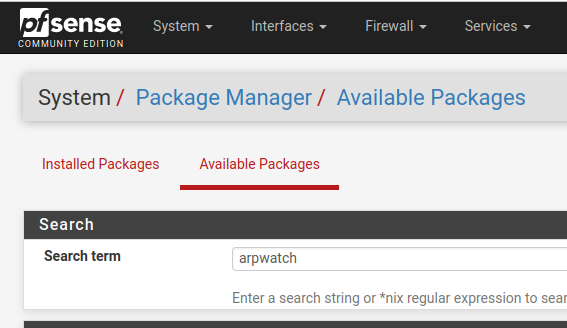
For this installation, we will install Arpwatch no pfSense. The installation is very smooth, and the user must go to the “System / Package Manager /Available Packages” tab and filter by arpwatch.
Arpwatch configuration
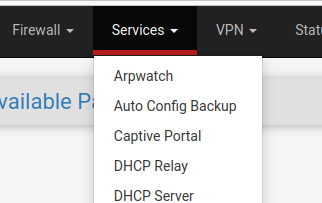
After installation, let’s go to the services tab and choose the Arpwatch option which should be among the first services options.
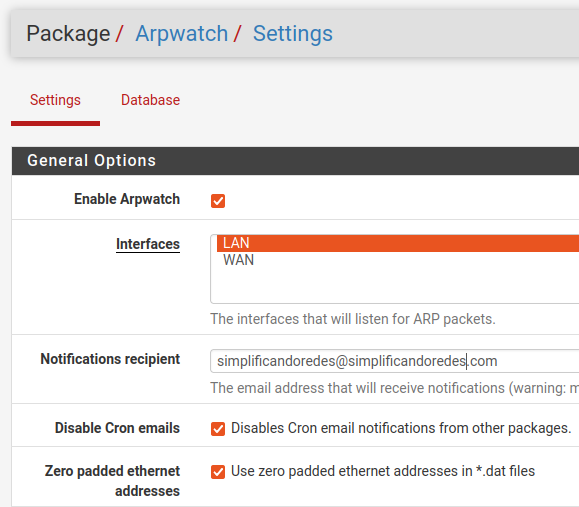
Now, let us set up Arpwatch. The first step is to enable Arpwatch, and then let us choose the interface on which Arpwatch will act. We usually choose the LAN interface as we want to analyze our internal network. However, Arpwatch can also act on other interfaces such as WAN.
The next step is to choose the email that the Arpwatch will use to send the notifications. Remember that PfSense must have an email registered in the notifications session for Arpwatch to send emails. We will leave a section at the end of this article explaining the process.
Next, we see Cron’s email notifications regarding other packages. After that, we will use zero-filled Ethernet addresses in “*.dat” files. These two fields are already selected by default in Arpwatch. However, the user can choose to deselect them.
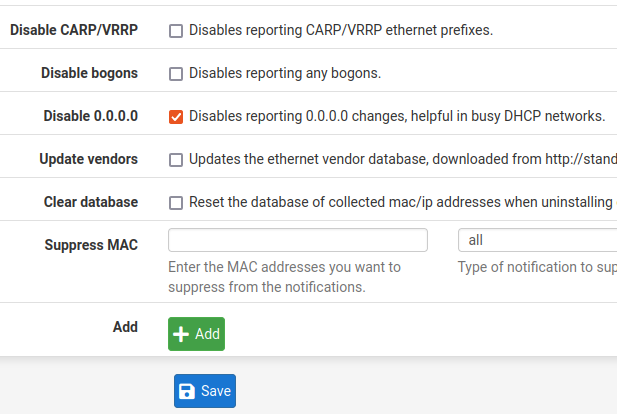
The next step is the option that disables CARP / VRRP Ethernet prefix reporting. This option is disabled by default. The user must check if he is interested in enabling it. The other option talks about disabling the reporting of bogons.
This part is interesting as Arpwatch will identify when devices try to communicate internally using another network. This way, machines with different IPs from those supported by the network/mask will be described as bogons.
The following field disables reporting of changes involving 0.0.0.0. We prefer to disable this option as it tends to generate many alerts regarding DHCP requests and DHCP updates.
The following field updates the ethernet provider database. We do not usually update this database. However, it might be interesting to check the types of devices on your network.
After that, we can delete the database with the MACs and IPs collected. This reset will happen when you uninstall Arpwatch or when you upgrade. However, we do not see a practical reason to check this option, as updates might occur.
Finally, we have the option to add MACs that will be suppressed for notifications. All of these notifications can be chosen, or specific notifications can be chosen.
The choice to suppress MACs will depend on the behavior of devices on your network. That way, we can choose to suppress some devices generating alerts despite their normal behavior.
After choosing the desired options, we must remember to save the configuration.
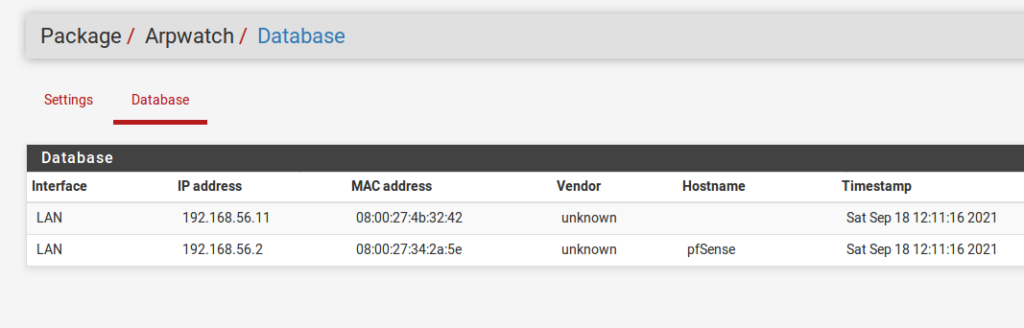
Arpwatch Database
The next tab, called “database”, shows us the IPs and MACs that have already been discovered on the network. Thus, using this table, we can check the device’s IP, the MAC, and the date followed by the time.
Checking Arpwatch alert logs
Once the filter is applied, we can check the information that Arpwatch presents. Among this information, we indicate new stations, bogons, flipflop, etc.
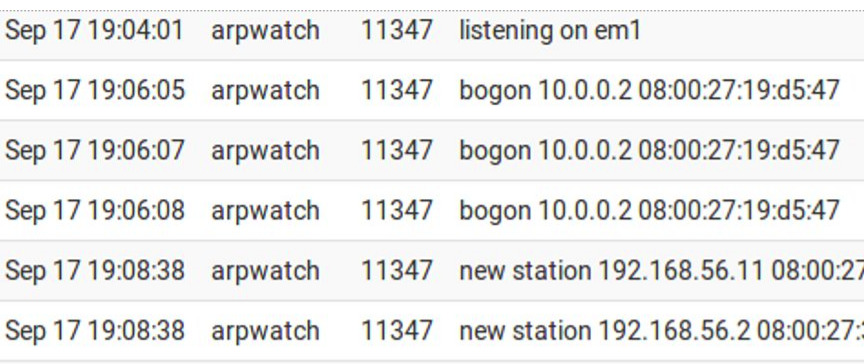

We will present a brief explanation of the main fields of the Arpwatch alerts:
new activity = MAC/ip address pair that was used for the first time in six months or more.
new station = New MAC address.
flip flop = The MAC has changed from the most recently viewed address to the second most recently viewed address. It means there is a possibility of a man-in-the-middle attack.
changed ethernet address = The device has changed to a new Ethernet address.
ethernet mismatch = The source MAC does not match the address inside the arp packet.
reused old ethernet address = The MAC address has changed from the most recently viewed address to the third, or greater, least recently viewed address. Much like the flip-flop.
ethernet broadcast : device’s MAC is broadcast.
ip broadcast : Device’s IP is broadcast.
Bogon: Source IP is not in local subnet.
Email Notifications
Email notifications show the host ID. Among the fields presented are the hostname, IP, MAC, manufacturer linked to MAC and the date and time of the event.
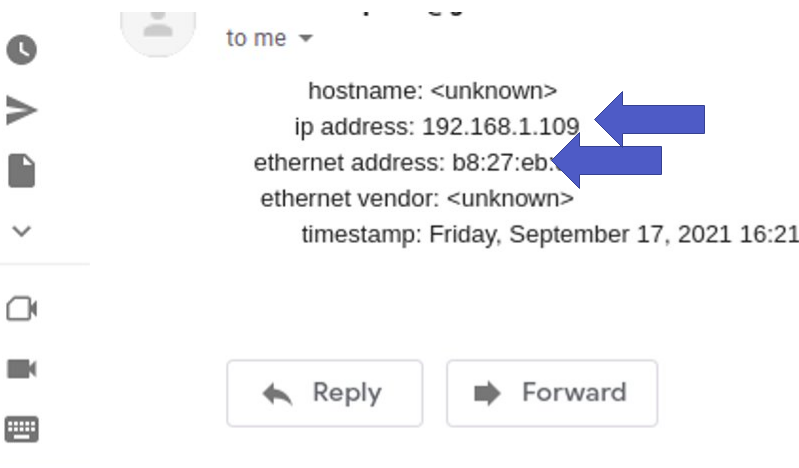
Configuring PfSense Notifications
It is noteworthy that to send an email with Arpwatch it is necessary to register an email in the pfSense notifications field. Below we present an example of an email registered in the pfsense notifications field.

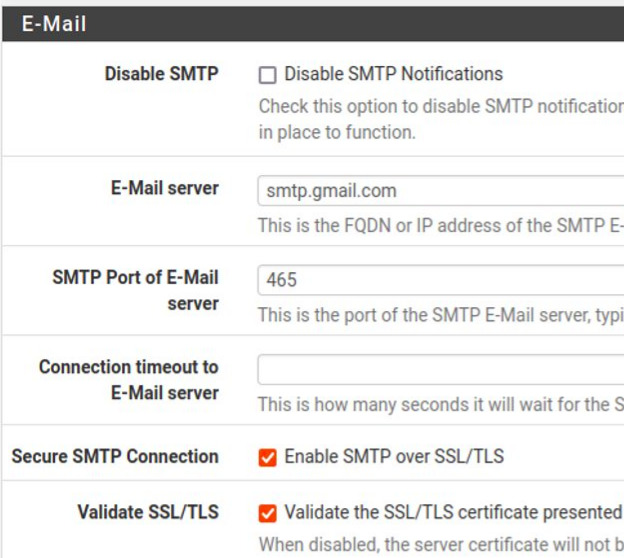
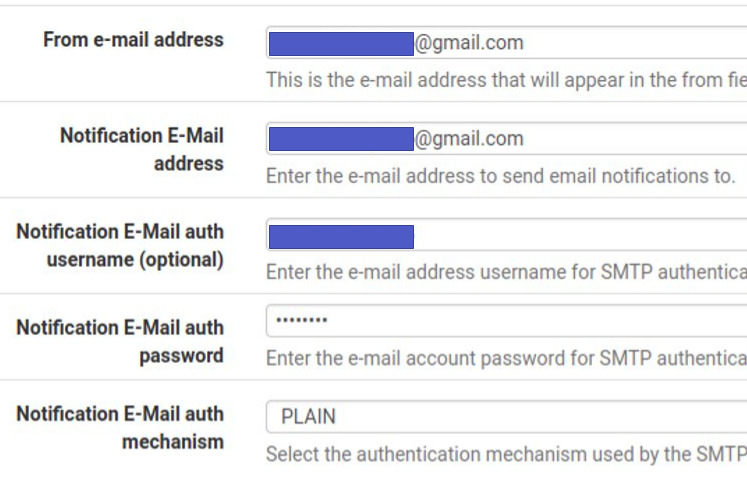
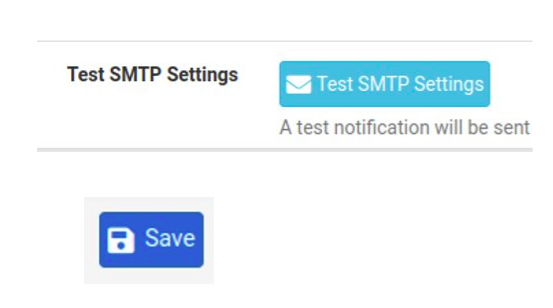
After registering the email in the notifications tab of PfSense, it is interesting to save and do the SMTP test. If you are not receiving the email, please ensure that you have entered the correct data for your email provider.
- PfBlockerNG: Exception List for Clients
- Squid Proxy for linux Installation and Configuration
- Virtualizing the Raspberry Pi – Raspbian
- Android with VirtualBox

Juliana Mascarenhas
Data Scientist and Master in Computer Modeling by LNCC.
Computer Engineer