In this tutorial, we will teach you how to install and configure the NGINX web server on a machine with the Linux operating system.
We will do a quick installation followed by the main commands so you can start operations on the NGINX server.
Installing NGINX on Linux
To install NGINX, we will start by updating the repositories and then upgrading the system. To perform this action, we will type the commands in a terminal.
sudo apt update && sudo apt upgrade -y
Next, we will use the command below to install NGINX.
sudo apt install nginx -y
Accessing NGINX through the browser
Now that we have installed NGINX, let’s test it using the browser. To test with the browser, we will open it and use a local loopback IP like “127.0.0.1“.
So, let’s type the IP below into the browser.
http://127.0.0.1
Managing NGINX
Now, let’s show some commands that are useful for managing NGINX.
Checking NGINX status
The command below is useful for checking if the NGINX server is operating normally and without errors.
sudo systemctl status nginx
To exit this screen, we can use the “Ctrl + c” keys.

Stopping the Nginx service
The command below is used to stop the NGINX service; this command can be useful when you want to perform maintenance on the web server.
sudo systemctl stop nginx
Starting the NGINX service
The command below is used to start the NGINX service; this command can be useful when you have stopped the NGINX service and want to start it again to check the state of the web server.
sudo systemctl start nginx
Restarting the NGINX service
The command below is very useful to use after making changes to the NGINX configuration. Thus, whenever there are changes that require restarting the NGINX service, you can use the command below.
sudo systemctl restart nginx
Reloading NGINX without losing connections
The command below is useful for reloading the configuration without interrupting connections. This can be useful if your server is in production.

Start Nginx on system startup
The command below starts Nginx on system startup. This command is useful when we want the NGINX server to start whenever the machine’s operating system is rebooted.
sudo systemctl enable nginx
Remove Nginx from system startup
The command below removes Nginx from system startup. This command is useful when we do not want the NGINX server to start when the machine’s operating system is rebooted.
sudo systemctl disable nginx
Modifying the NGINX home page
In this example, we will change the Nginx page with just one command. To do this, we will use the command below to change the content of the index.html file.
echo "<h1>NGINX server: $(hostname)</h1>" | sudo tee /var/www/html/index.html
Let’s detail the command above.
- hostname: This command gets your machine’s name
- echo “…”: The command creates a line of HTML text, already placing the machine name within the sentence.
- sudo tee /var/www/html/index.html : Receives the text provided by the echo command and saves it directly to the index.html file that Nginx reads, using administrator permission (sudo).
Testing the new page
Now let’s open the browser again and type the local IP.
http://127.0.0.1
In some cases, it may be necessary to press the “F5” key to refresh the page.
See more:
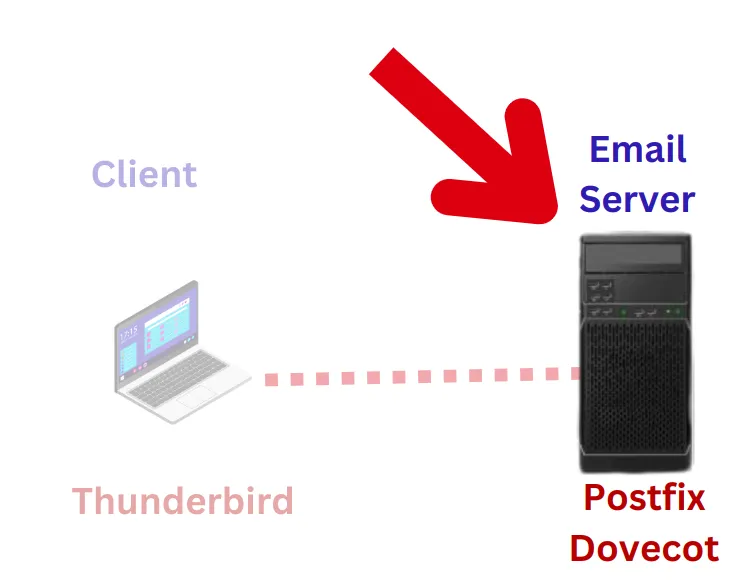
How to Set Up a Postfix and Dovecot Email Server on Linux: A Step-by-Step Guide
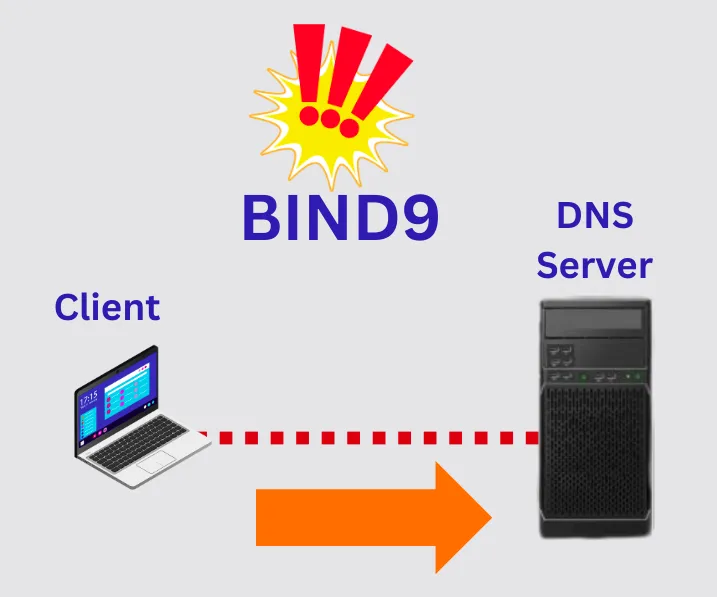
Build Your Own DNS Server: A Step-by-Step Guide using BIND9
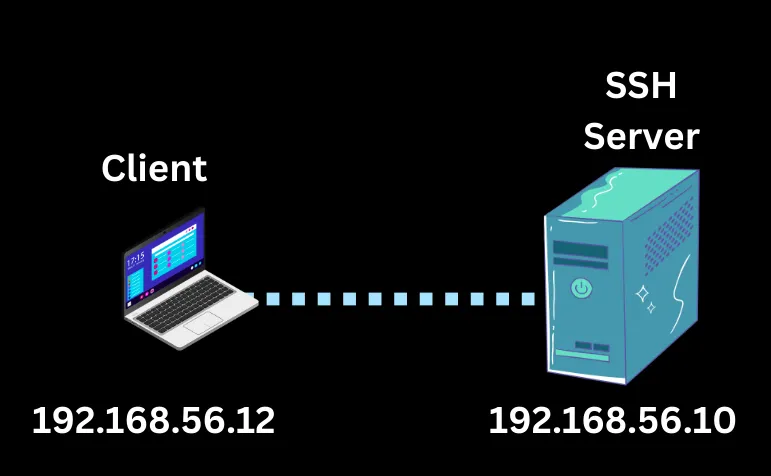
Tutorial for SSH Public Key Authentication
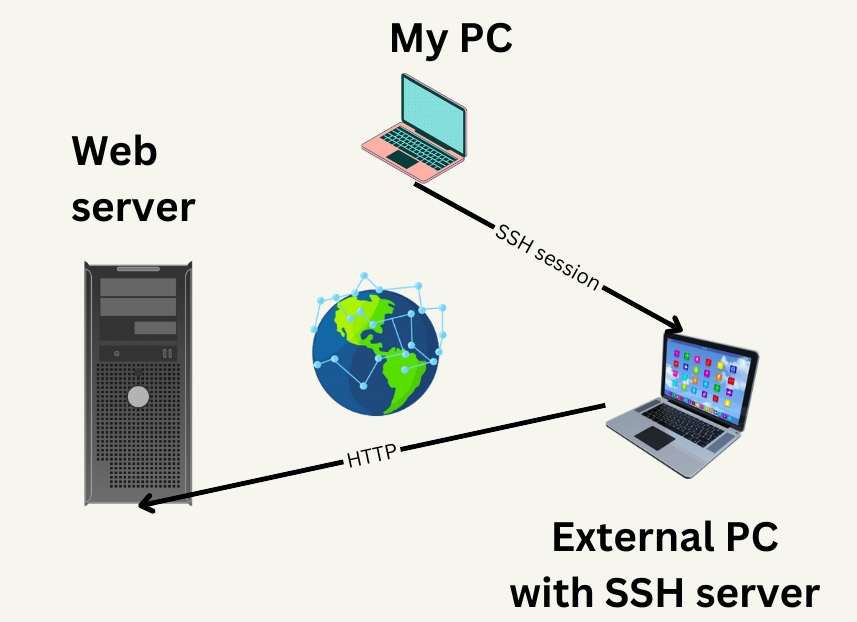
How to X11 Forwarding using SSH
https://github.com/nginx/nginx

Juliana Mascarenhas
Data Scientist and Master in Computer Modeling by LNCC.
Computer Engineer