
In this tutorial, we will use the HTTP Client API present in the java.net.http package. Continuing our HTTP communication protocol theme, we will use the Java programming language to create HTTP requests.
Other articles on the subject are listed at the end of this article.
HTTP Client
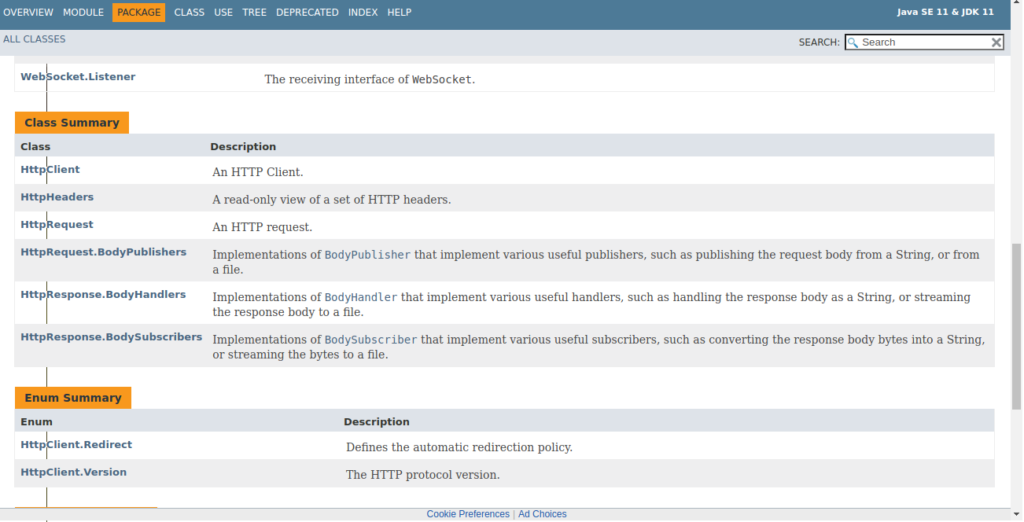
The HTTP Client API has four associated classes: HttpClient, HttpRequest, HttpResponse, and WebSocket. We can intuit the role of each class just by its name.
This example will present codes for sending requests to existing websites on the internet. Thus, we will be using the HttpClient and HttpRequest classes.
Listed below are the Java interfaces and classes the API.

The operation of the HTTP Client is defined by the versions of the HTTP protocol – HyperText Transfer Protocol, 2.0 and 1.1 – website article about HTTP. Remember, HTTP messages are of response and request type.
Thus, we will apply knowledge to requests using the GET and POST methods.
Why just these methods if there are so many? So, although there are several methods with different functions, the most used are the ones mentioned above.
The GET method concentrates the highest percentage of HTTP requests.
Starting to program
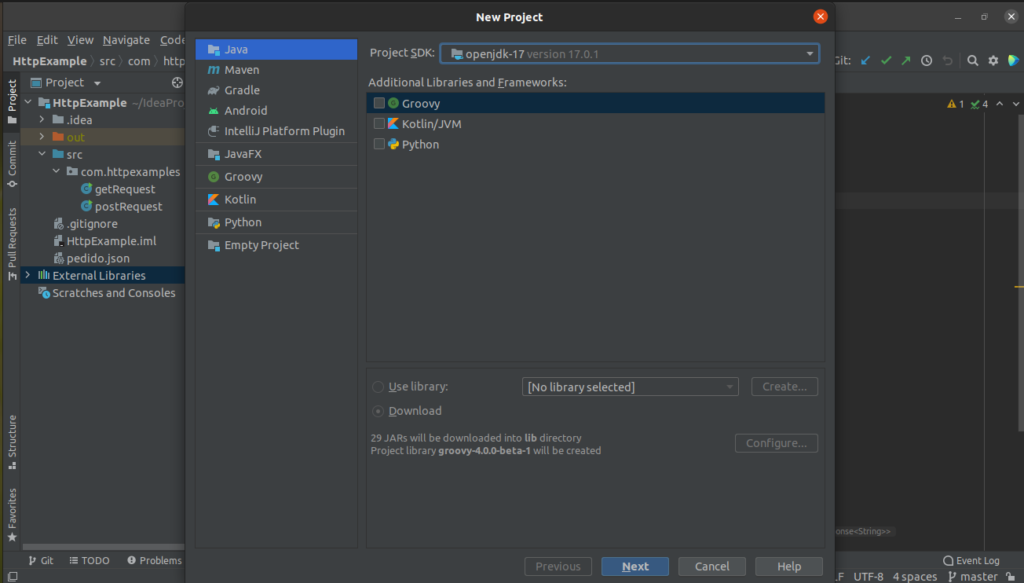
Open our IDE, create a Java project, and go to the new project file. In this tutorial, we will be using the Intellij IDE. However, the same steps apply to any other IDE.
There may be variations in the interface. Once we select a new project, a window like the one below will appear. Then we will select the Java and the JDK version.
Ok, now we will create the classes to make the request. However, first, let us think about it. We need a client to make the request and the destination URL.
So, the steps to create our first program are:
- Create the HTTP client
- Create the requisition and define its parameters
- Send request to url destination
- Print the content of the response message on screen
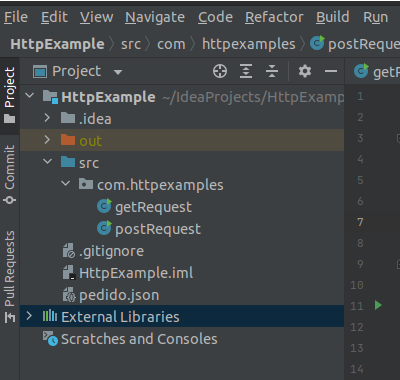
Using two examples, we will create two classes in our project. The first is called getRequest, and the second postRequest.
We define our classes in the com.httpexamples package in the image below. We can define the package name. However, ideally, it should represent our program well.
HTTP Client – Get Request
Let us start with the first example. As a reminder, the GET method asks the server for web objects related to a particular resource (or URL). The page itself is a web object.
To remind us of the theoretical concepts of HTTP, we access the “HTTP Protocol – How does it work?”. Then we will define the target URL of our GET HTTP requests.
public static final String URL_GET = "http://httpbin.org/get";
This URL is being defined as a constant of type string.
We use access modifiers to define that the constant can be used within the program as public, keeping its value for any use with static; and not allowing modifications through the end.
HTTP Client
Okay, now we are going to configure the client settings. For this, we will use the newHttpClient method, which returns an HTTP client with the default settings.
The default configuration includes:
“the “GET” request method, an HTTP/2 preference, a redirection policy of NEVER, the default proxy selector, and the default SSL context.”
// cliente HTTP
HttpClient client = HttpClient.newHttpClient();
Request creation
// creating the request

HttpRequest request = HttpRequest.newBuilder()
          .GET()
          .timeout(Duration.ofSeconds(10))
          .uri(URI.create(URL_GET))
          .build();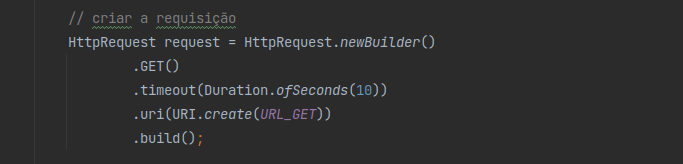
Note that we created a variable of type HttpRequest. In this variable, we will define the parameters of our request.
Note that defining the GET() method, the message time out, and the destination URL. Thus, to build the request, we end with .build();
Sending the request
Once the request has been created, it must be submitted. This way, our var client (HttClient type) will send the previously created request through the send() method.
// sending the request

HttpResponse<String> response = client.send(request,HttpResponse.BodyHandlers.ofString());
We must provide two parameters for the send method. The first, the request that will be sent, the second is a BodyHandlers. In this case, it will be treated as a string.
This method still blocks the program while the request is sent and the response is received.
To create an asynchronous send, use the sendAsync(HttpRequest, BodyHandler) method.
All information received from the sending of the HTTP message will be stored in the variable response of type HttpReponse. In this case, we are setting the content format to String.
Printing incoming content
To check the content just print the attributes related to the response. Here we are printing the status code and field of the HTTP package on the screen.
//printing

System.out.println(response.statusCode());
System.out.println(response.body());
After building the program and running, a window similar to the one below should be displayed on your screen.
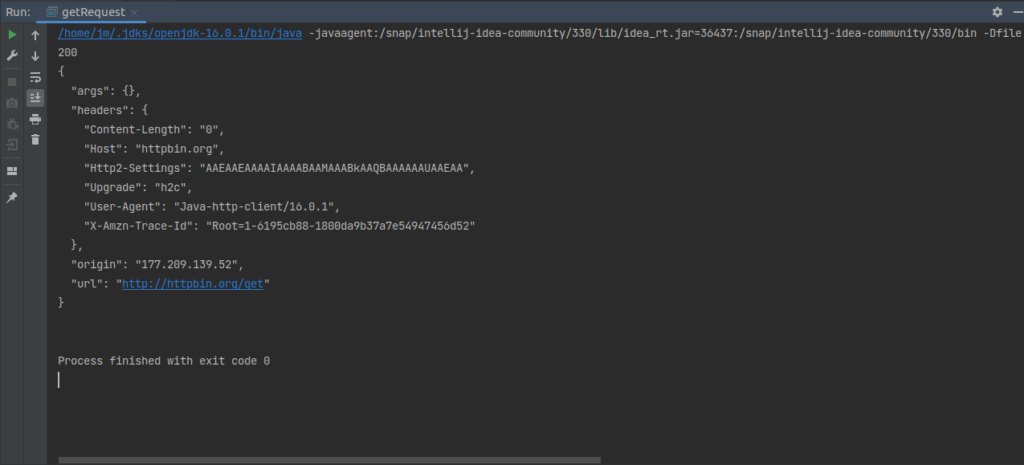
Note that the status code is 200, that is, 200 OK (request answered successfully). Afterward, the message payload is printed on the screen.
After that, we can observe some properties of the message, such as content size, host, agent that made the request, public IP, and URL.
Okay, you’ve just created your first Java request with HTTP Client. The full code is on github.
HTTP Client – POST Request
Moving on to the second example, we will use a request with the POST method. As a reminder, the POST submits the payload content to the server.
This type of method is mandatory, meaning the server must handle the packet’s contents.
Defining url and payload
We will notice that not all sites accept POST requests. In the course of the article, we will explain the subject better.
Next, we will define the target URL of our POST HTTP requests.
public static final String URL_POST = "http://httpbin.org/forms/post";As we are dealing with the POST method, we must send some content in the message payload. In this case, we will send a document in JSON format.
It contains information for filling out a form. The contents of this file are shown in the figure below.
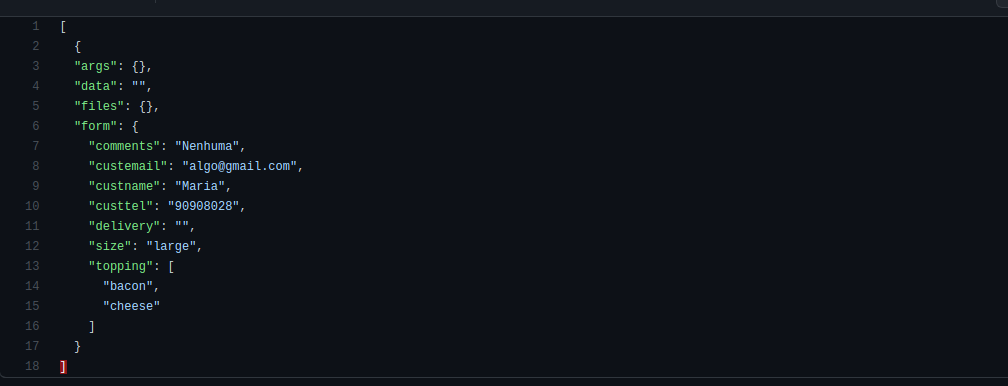
public static final String FILE_JSON = "/home/jm/IdeaProjects/HttpExample/pedido.json";In Java code the definition of the two constants remains as follows.

HTTP Client
Once the urls are defined, we will proceed with the previous example. First we create the client through the newHttpClient() method.
 // HTTP Client
 HttpClient client = HttpClient.newHttpClient();
POST Request
The next step will be to create the request with the POST method inserted. Here appears the main difference in the definition of parameters, the payload.
Unlike messages with the GET method, the POST method needs to send something in its payload.
The reason is precisely the function of the method, submitting to the server some content that should be treated.
// request creation
HttpRequest request = HttpRequest.newBuilder()
         .POST(HttpRequest.BodyPublishers.ofFile(Path.of(FILE_JSON)))
         .timeout(Duration.ofSeconds(10))
         .uri(URI.create(URL_POST))
         .build();
Through the method BodyPublisher.ofFile, we send the content from a file. Thus, we used Path.of to define which file will be used.
Since the file is in the same directory, there is no need to specify the entire path.
Similar to the first example, we define only the timeout features, and the url.

Sending a request
In the previous example, we perform synchronous communication. This communication means that we block the program until we receive the response.
In this case, we are dealing with asynchronous communication. Why that? The server needs to receive and process the content before responding.
This way, the code is as described below:
client.sendAsync(request, HttpResponse.BodyHandlers.ofString())
        .thenApply(HttpResponse::body)
        .thenAccept(System.out::println)
        .join();
Again we will use BodyHandlers, defining that the response should be treated as a String.
Then the response must be applied as the message body (thenApply(HttpResponse::body).
Thus, it can be printed on the screen. These are the Request parameters. Once the parameters have been defined we set the .join() to establish the connection.
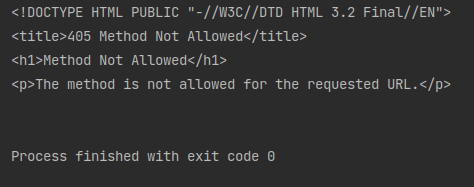
The result of this program follows below.
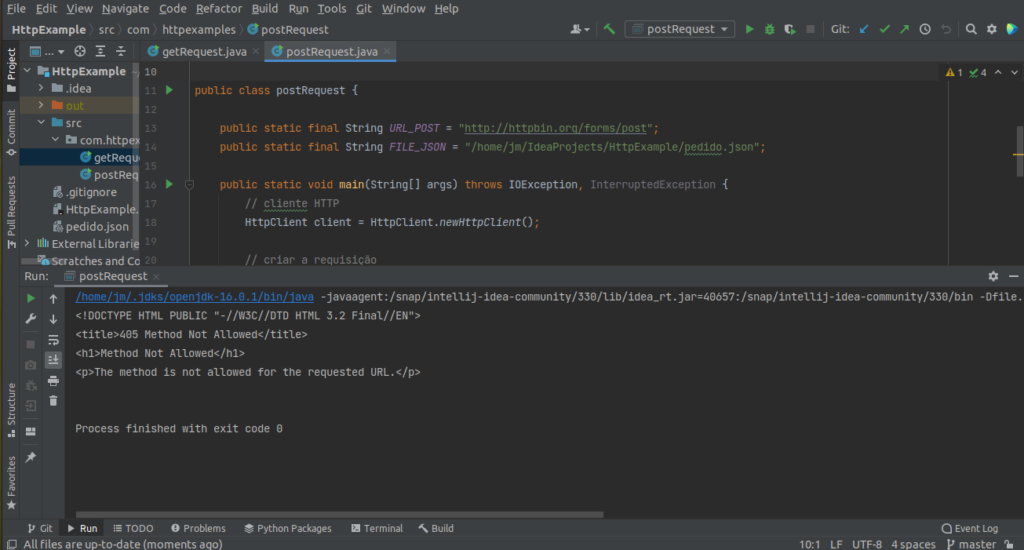
Post request result
Let us take a closer look at the message’s status code as 405 Method Not Allowed.
Remember that we mentioned the obligation of the server to handle the payload content.
We could have added any content, from images, files, or even malicious programs like Trojans.
On second thought, a server that allows this type of request is vulnerable. OK… However, how does the server side define which request it will block?
One of the information inside HTTP packets is associated with the agent requesting the action.
Analyzing the result
Let us add a line to our code to check this question. The request variable has methods linked to the class that it belongs.
We can print the status code, uri, or other associated parameters. In this case, what interests us is the bodyPublisher().

BodyPublisher will return the agent that made the HTTP request. Thus, in the image below we can see that the agent is specified as:
Optional[jdk.internal.net.http.RequestPublishers$FilePublisher@31ef45e3]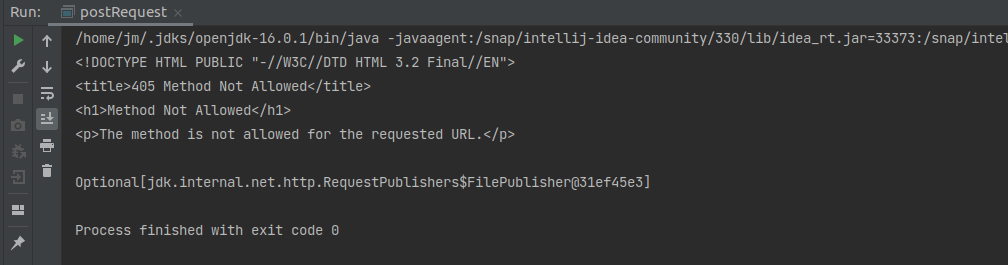
If the form is filled out via the web interface, the agent is associated with it. Only data types allowed by the web API can be appended.
That way, we have a controlled environment that does not allow sending suspicious files.
Our example shows that the agent is a jdk (Java), using the net.http API to perform the request.
Therefore, the request is refused because the server does not allow another interaction, via POST, with another agent besides the web.
As a practical case with POST, we would need access to a web server that allows requests via the Java agent.
We can implement or search the internet for one with this requirement. However, as we informed, this will lead to vulnerability. Therefore, the probability of finding such a site is low.
Full code
Below are the programs with the full code used in the tutorial.
Related articles
- HTTP Protocol – How Does It Work?
- HTTP Methods
- Cookies – HTTP Protocol
- Apache HTTPS Server configure

Juliana Mascarenhas
Data Scientist and Master in Computer Modeling by LNCC.
Computer Engineer
Simplificando Redes on the social media
Tutorial: Using Port Forwarding in Packet Tracer
Tutorial: Web Server in Packet Tracer (Client-Server)

Email Server & Webmail Setup: Postfix, Dovecot, SnappyMail
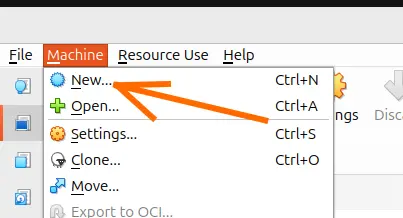
Install Ubuntu Server 26 on VirtualBox (Step-by-Step)

How to Configure NAT in Packet Tracer (Step-by-Step)


