Introduction to Portainer
We present the installation and configuration of the Portainer. So, we can use the Portainer to manage our Docker containers.
In addition, the graphical interface of the Portainer streamlines the network configuration and allocation of resources for the containers.
The Portainer is effective in managing multiple images and containers. Thus, in the future, we intend to make more articles presenting more features of the Portainer.
In addition to handling containers and docker images, the Portainer can also handle Kubernetes.
Portainer Installation and Configuration
Installing the Portainer is very simple. Additionally, the Portainer website presents information that can help to resolve any doubts about the platform.
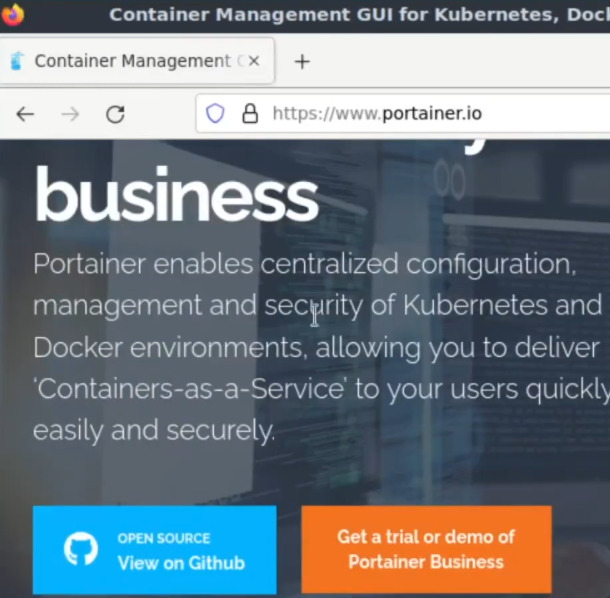
For example, to check the different types of installation available in Portainer, we can go to the Portainer website.
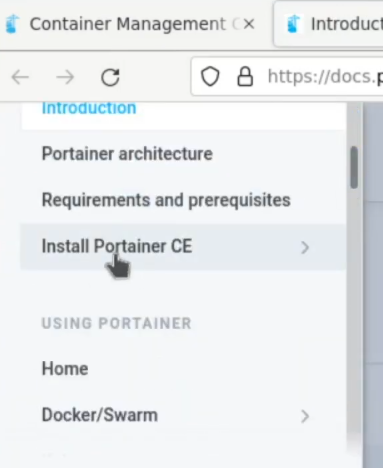
Once we have accessed the website, we can look up the field about the installation. So, inside the installation tab, we will look for the community version of Portainer CE.
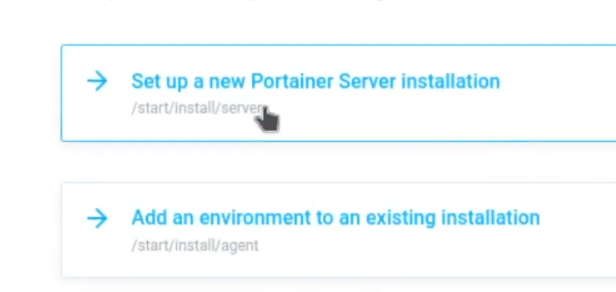
By accessing this tab, we have two possibilities, creating a new ‘Portainer’ installation server or adding an environment to an existing installation.
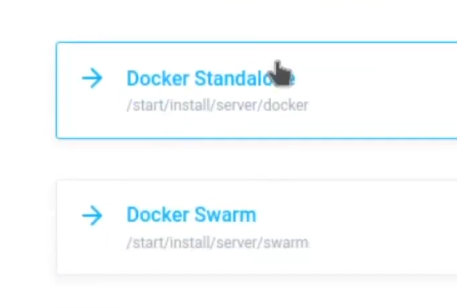
In our case, we are going to use a fresh install. After that, we have a screen that tells us whether we want to install Docker Standalone or Docker swarm.
In this project, we are going to use Docker Standalone. Soon after, we have a screen that informs the type of installation we want.
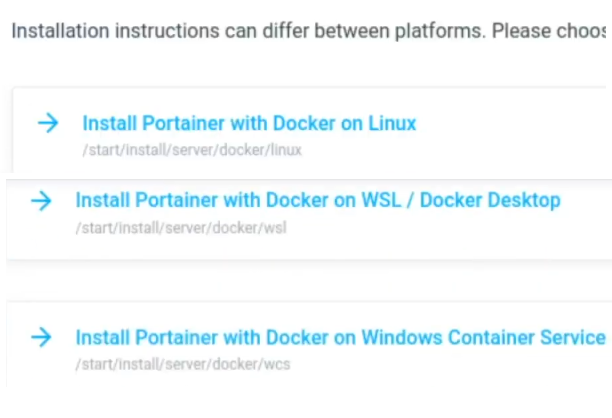
It is noteworthy that the Portainer allows us to install the Portainer with the docker on Linux, install it with the Docker on WSL / Docker Desktop, or use the Docker on Windows Container Service.
In our case, we will use the Install Portainer with Docker on Linux option.
Instalando Docker
Therefore, to install the Portainer on Linux, we will need to have Docker installed. However, if we have not installed Docker yet, we can perform the following commands:
sudo apt-get update sudo apt-get upgrade sudo apt-get install docker.io Installing Portainer on Linux
Now let’s install the Portainer on Linux.
For this, we will use the following commands:
sudo docker volume create portainer_data sudo docker run -d -p 8000:8000 -p 9443:9443 --name portainer \
--restart=always \
-v /var/run/docker.sock:/var/run/docker.sock \
-v portainer_data:/data \
portainer/portainer-ce:latest The first command creates the volume that the Portainer will use.
Additionally, the second command creates the container for Portainer and sets up published ports to allow WEB access to the Portainer.
Also, the command will download the image of Portainer from the repository.
This way, the Portainer uses ports 8000 for HTTP and 9443 for HTTPS. Remember that the holder automatically creates a self-signed certificate.
It is noteworthy that the certificate can be changed later.
Using the netstat command, we can verify that ports 8000 and 9443 are already open and waiting for connection.

Accessing the Portainer
Now let’s access the Portainer using a WEB browser. For that, let’s use Firefox and enter the following URL.
https://localhost:9443 
After that, we will see a warning screen because the certificate is self-signed. Then, before the configuration continues, we will have a screen requesting a password for the admin user.
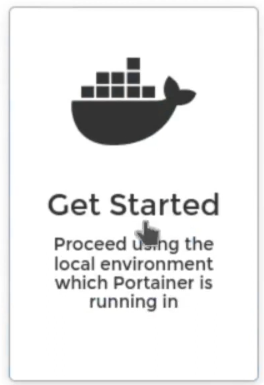
After that, let us click on the get started option. After that, let us click on the first local option of the Portainer, as in the figure below.
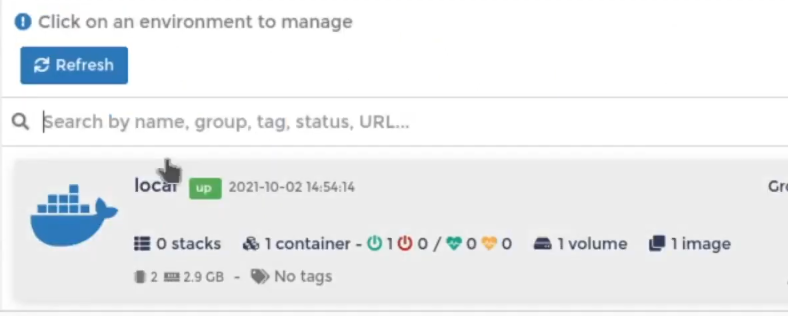
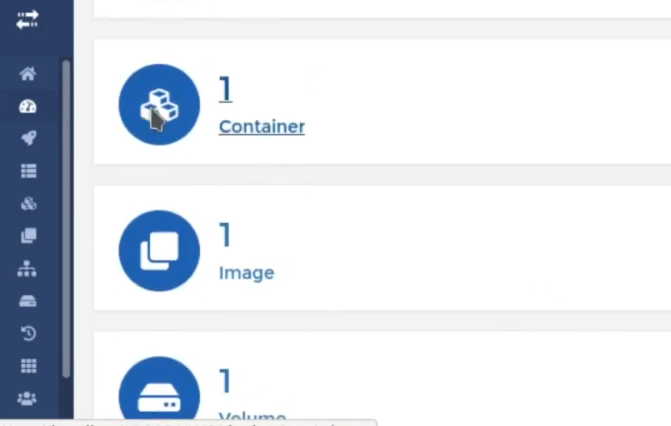
Now let’s select the container option. So, we can see that the container containing the Portainer is running. Also, we can see ports 8000 and 9443 mapped to the container.
Creating a Container with Portainer
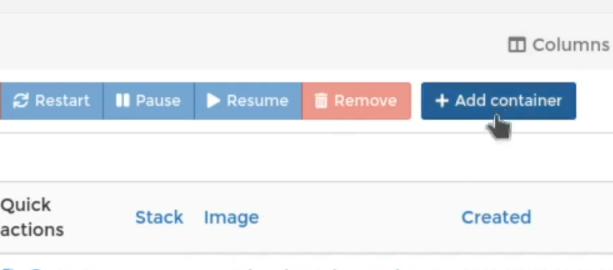
Now let us create a new container. To do this, we click on the +ADD container option.
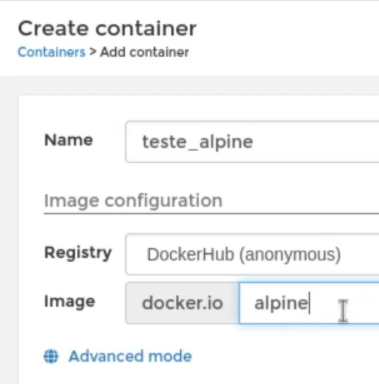
In this case, we will create a container named “test_alpine” and the image Alpine.
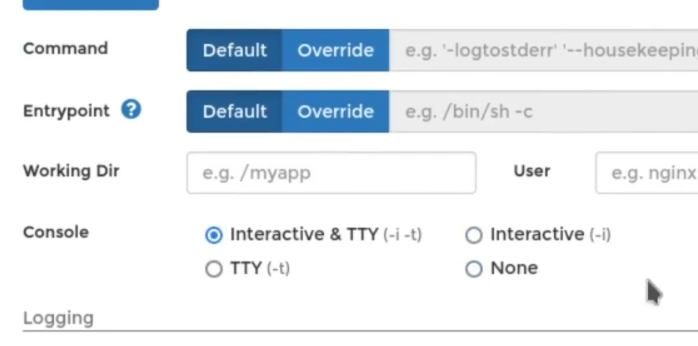
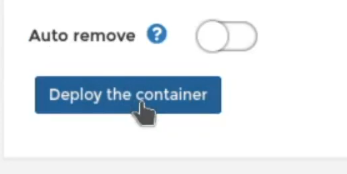
After that, we will check the option Interactive & TTY.
Finally, let’s click on the Deploy the Container option.
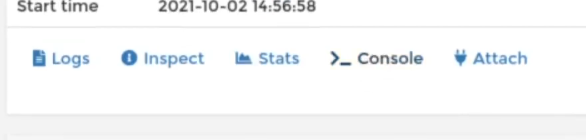
Accessing the new alpine container
Now we can see that the new container is already running. So, let us select the newly created container and the “>_Console” option.

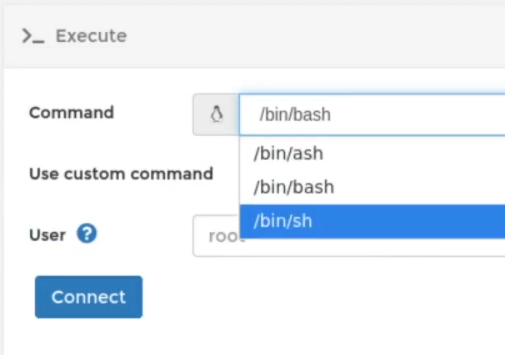
Next, let us select the command shell we’ll use to access the container’s terminal. So, let us use the /bin/sh option because the image used was an Alpine. Next, let’s select Connect.
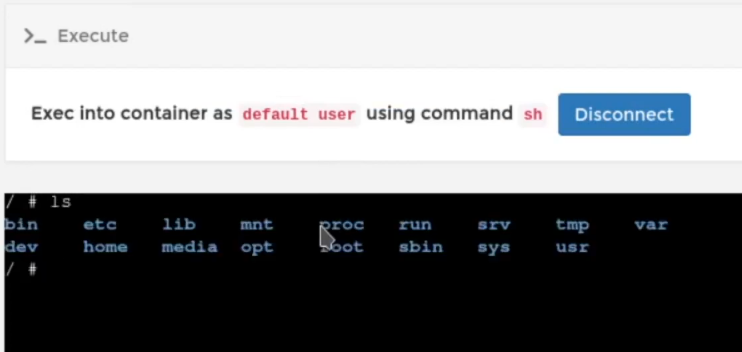
Now we have the terminal screen ready to receive commands. Additionally, it is worth mentioning that the user can use the docker terminal commands to access the containers created in the Portainer.
We finished the installation and congratulations on having done the installation. Comment if you liked the article or if you have any questions.
- See more posts from our Docker tutorial
- Article 01 – Docker Installation
- Article 02 – Docker: Handling Containers
- Article 03 – Docker: Installing servers in Docker
- Article 04 – Portainer : Installation and Configuration
- NMAP: Advanced Scan
- NMAP: TCP and UDP port mapping
- Arpwatch: Installation and Configuration
- What is Blockchain? Technology overview

Juliana Mascarenhas
Data Scientist and Master in Computer Modeling by LNCC.
Computer Engineer