
We will present a tutorial on how to install APACHE on a WINDOWS operating system.
In this case, we are using Windows 10 to host an Apache WEB server.
Download Apache for Windows
First, go to the apache website and download it. For that, let’s access the link below.
https://httpd.apache.org/download.cgi
Next, let’s click on the link that leads to the apache installation options on windows. The figure below shows the location of the link.
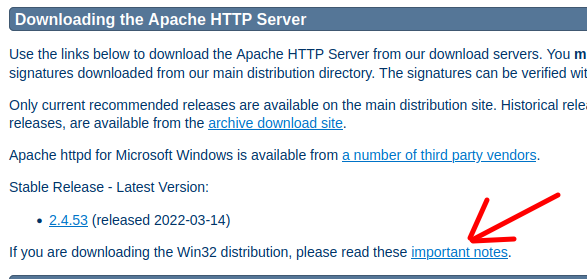
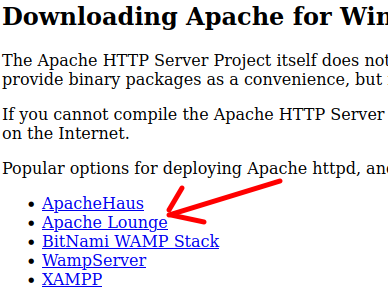
Then we will have package options for apache created by third parties. In this tutorial, we are going to use the Apache Lounge.
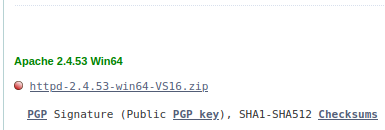
Next, let’s choose the newest version for Win64. In the figure below, we choose “Apache 2.4.53” and start the Download.
However, a newer version may already exist. If you have a newer version, you can use it.
Unzip Apache
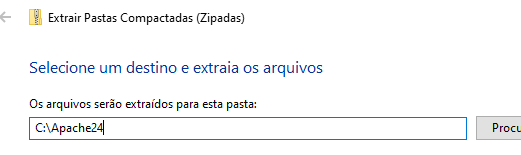
Now let’s unzip the file we downloaded. In this case, we have to unzip in a system root directory. So let’s unzip inside “C:\Apache24”.
Configuring Apache on Windows
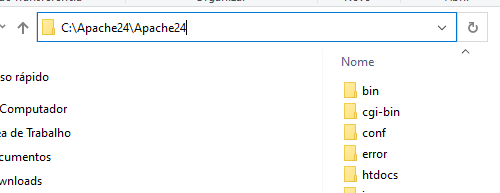
Now let’s enter the directory that we unzipped inside the APACHE installation file in this case it is the directory “C:\Apache24\Apache24”.
That way, to change the apache root directory, we go to the “conf” directory inside the Apache24 page.
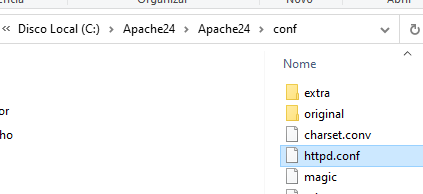
Next, let’s edit the file, opening it with Notepad.
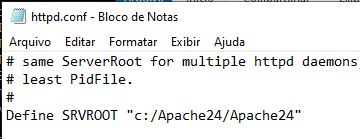
Then we will look for the line “Define SRVROOT” and we will enter the correct path of the Apache24 folder.
(Note) The path cannot have characters like “.”.
Installing apache as a service on Windows
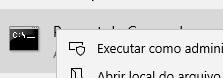
Let’s open a terminal in Windows. To do this, go to the start menu and type “cmd” in the lower left corner.

Next, choose the option to run the terminal as administrator.
(Note) Alternatively, you can create a separate account with the necessary privileges for APACHE. However, we are starting with a basic installation.
Let’s copy the path of the Apache directory and let’s enter the command “cd” and paste the path of the Apache directory in the terminal.
cd C:\Apache24\Apache24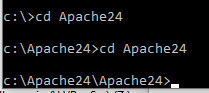
Now, let’s enter the “bin” directory. In this way, we will be able to execute the “httpd” file.
cd bin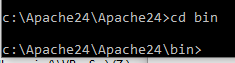
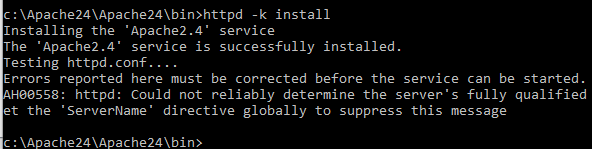
Inside the “bin” directory, let’s type the command below.
httpd -k installThis command, “httpd -k install”, installs Apache as a service. That way we can operate apache like other windows services.
The figure below shows that the installation was successful.
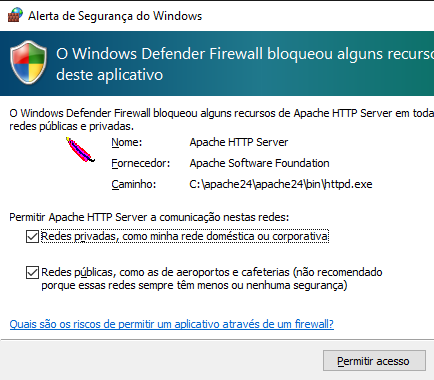
Allowing Access in Windows Defender Firewall
The figure below shows that we are allowing access to Apache on the internal and external network. For this we are granting permission in Windows Defender Firewall.
Starting the Apache service on Windows
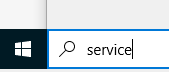
Now go to the start menu and type service and choose the service manager.
Inside the service manager, let’s look for Apache. Next, right-click and click start.

Testing Apache on Windows
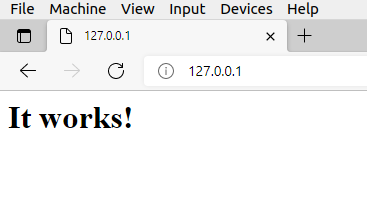
Now let’s open a browser and let’s test our apache.
For this we can enter a loopback IP such as 127.0.0.1.
The figure below demonstrates that apache is working properly and is exposing the homepage.
More tutorials
2 – Apache HTTPS Server configure
3 – Installing servers in Docker
See Also:
- Install OpenVPN Client on Windows
- Install Open VPN on Linux
- RabbitMQ #2 – RabbitMQ in docker-compose
- Group permission – docker compose not working

Juliana Mascarenhas
Data Scientist and Master in Computer Modeling by LNCC.
Computer Engineer

Congestion Control in Networks: Optimizing Efficiency and Bandwidth Allocation
This technical post breaks down congestion control mechanisms, focusing on the role of the transport…

AIDE : IDS for Linux Ubuntu Installation and Configuration
We present an IDS Installation and Configuration Tutorial on Linux Ubuntu. AIDE is also known…
Packet Tracer network with one router
In this tutorial, we will show you how to configure a network with just one…

How to Use Snap Behind a Proxy on Linux (Step-by-Step Guide)
In this guide, you’ll learn how to configure Snap to work behind a proxy, even…
How to Create a Network with a Switch in Packet Tracer – Step-by-Step Guide for Beginners
In this practical tutorial, I will show you how to create a simple switch network…
Why use Kali Linux inside VirtualBox?
In this article, we will see the main reasons for considering the use of Kali…