
In this article, we will demonstrate how to install servers in Docker. Therefore, we will perform the practical steps to install a server and access the server remotely.
Also, in this article, we assume that the reader already has previous knowledge of installing and configuring Docker.
If the reader does not have this knowledge, they can access the tutorial articles below.
Start a Docker Container
To start a Docker container, we will use the knowledge learned earlier in our tutorial. So let us start a container in the background.
Creating the Docker container
Let’s use the name “meu_webserver” with the name of the Docker container. Also, let’s create the container based on an image Debian .
To create the Docker container we will use the command below.
sudo docker run -td –name meu_debian webserver
“-t” Indicates that we are going to allocate a pseudo TTY
“-d” Indicates that we are going to run the Docker container in the background.
“–name” Indicates that we will pass a name to our container. In this case, the name of our Docker container will be “meu_webserver”.
“debian” Indicates the image we will use in our container.

Accessing the Docker container
Now that we have created the container, let us access that container. For this, we will use the command below.
sudo docker exec -it meu_webserver bash
“exec” Indicates that we will execute a container.
“-t” Indicates that we are going to allocate a pseudo TTY.
“-i” Indicates that we are going to use interactivity with the container.
“meu_webserver” This is the name we gave the container.
“bash” Indicates that we are going to use the shell.

Installing WEB server in Docker
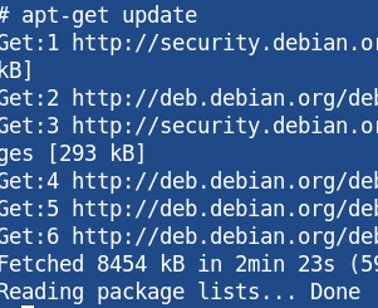
Now let’s install the Apache (apache2) server. For that, let’s update the repositories using the command below.
apt-get update
Next, let’s install apache and net-tools with the commands below.
apt-get install apache2 net-tools

We are installing net-tools to check the network parameters more easily. That way, we can use commands like ifconfig and netstat.
Starting Apache in Docker
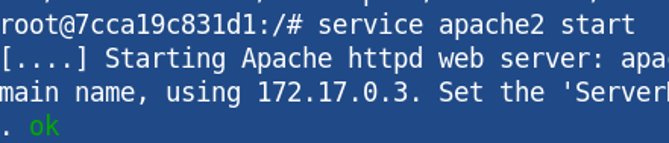
Now let’s use the command below to start the Apache server.
service apache2 start
Once the installation is finished, if you wish, we have a post HERE that details the server in more detail Apache.
Now, we can check how apache is working in our container. That way, we can use the netstat command to check if apache is listening on port 80 TCP. For this, we will use the command below.
netstat -anlt | grep :80

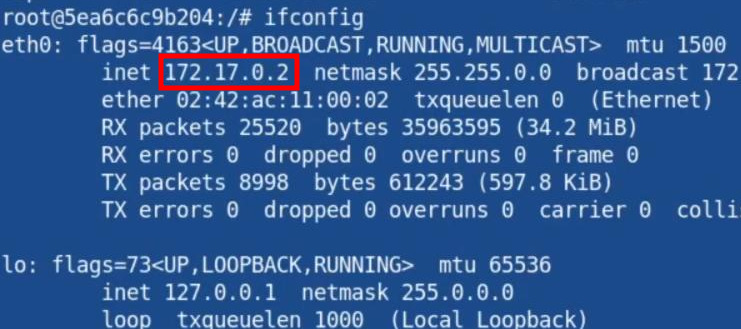
Besides, we can check the container’s IP where we install Apache using the ifconfig command. For this, we will use the command below.
ifconfig
Accessing the Apache page
Now let us connect a browser on the real machine and enter that container’s IP that we saw in the command ifconfig.
This way, we know that our IP is 172.17.0.2. So let us type this IP into the browser and hit enter.
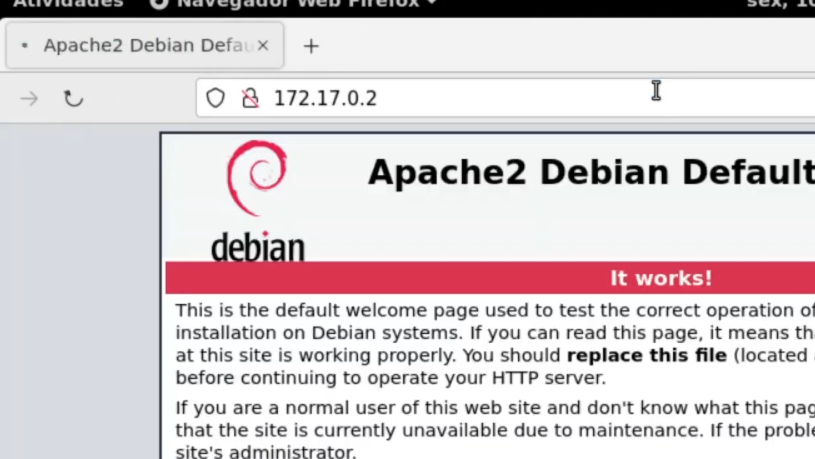
We can verify that the apache server is working properly.
Creating a container to access Apache
Let us create a second container using the image from alpine. This way, we will demonstrate that we can access the apache server using other docker containers.
So let’s use the command below to initialize a docker container named “client”.
sudo docker run -it –name alpine cliente
“-t” Indicates that we are going to allocate a pseudo TTY.
“-i” Indicates that we are going to use interactivity with the container.
“–name” Indicates that we are going to pass a name to our container. In this case, the name of our Docker container will be “cliente”.
“client” This is the name we gave the container.
“alpine” Indicates the image we will use in our container.

Accessing the web server page
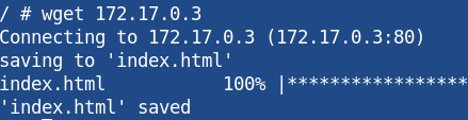
Now, let’s access the Apache server page using the client container we just created. For this, we will use the command wget demonstrated below.
wget 172.17.0.2
Creating a server docker image
Now, let us create an image of our Apache server’s container. That way, whenever we need to use Apache in Docker, we can raise a container with that image.
To create an image of a container that is running, we can use the command below.
sudo docker commit meu_webserver debian_img
“meu_webserver” This is the name of our current container with Apache installed.
“debian_img” This is the name of the image we are creating based on the container “my_webserver”.

- See more posts from our Docker tutorial
- Article 01 – Docker Installation
- Article 02 – Docker: Handling Containers
- Article 03 – Docker: Installing servers in Docker
- Article 04 – Portainer : Installation and Configuration

Juliana Mascarenhas
Data Scientist and Master in Computer Modeling by LNCC.
Computer Engineer


