Let us introduce how to use user authentication in Squid proxy. Therefore, in this configuration, only authenticated users can access WEB browsing.
Remember that this is our third post about squid proxy. Thus, we start from the point that the reader already knows the commands and settings previously presented.
At the end of the post we will have links to previous articles.
1) Installing apache2-utils
Initially, assuming squid is already installed. Let’s install apache2-utils.
sudo apt-get install apache2-utils or
sudo yum install httpd-tools 2) Creating user and password file
Let’s create a file where we will keep user and password data.
sudo htpasswd -c /etc/squid/squid_password Joao The “-c” will create the file and will introduce the user Joao. However, to add new users, it is not necessary to include the “-c” option. Thus, to add a new user maria, we can type:
sudo htpasswd /etc/squid/squid_password maria We can check the encrypted password file:
cat squid_password joao:$apr1$8jtduIhgh88PImX5o14XC2KPF1%k54v/
maria:$apr1$wCB778*i186c5O5KK5ZA4/7A/VI7&*/ 3) Testing users in Proxy Squid
Let’s look for the basic_ncsa_auth file
sudo find / basic_ncsa_auth | grep basic_ncsa_auth It’s usually in /usr/lib/squid/ or in /usr/lib/squid3/ or in /usr/lib64/squid/
In our case it’s in: /usr/lib/squid/basic_ncsa_auth .
Remember to replace it with where your “basic_ncsa_auth” is.
Now let’s test users and passwords. For this we will type the command below.
/usr/lib/squid/basic_ncsa_auth /etc/squid/squid_passwordAfter entering the command, enter the username and password
joao joao123

OK

maria maria123

OK
OK indicates that everything is fine with the password file and its users.
4) Configuring squid.conf
Now let’s introduce the rule into squid.conf. Let’s take advantage of the configuration file used in the post: Squid Proxy Installation and Configuration.
acl SSL_ports port 443
acl Safe_ports port 80 # http
acl Safe_ports port 21 # ftp
acl Safe_ports port 443 # https
acl CONNECT method CONNECT
http_access deny !Safe_ports
http_access deny CONNECT !SSL_ports
http_port 3128
#----------------------------

#(1)
auth_param basic program /usr/lib/squid/basic_ncsa_auth /etc/squid/squid_password

#(2)
auth_param basic realm Proxy Simplificando Redes

#(3)
acl usersquid proxy_auth REQUIRED

#(4)
http_access allow usersquid

#----------------------------
http_access deny all
Let’s describe the settings
(1) Defines the location “basic_ncsa_auth” and the password+user file we created. Remember to check the location of basic_ncsa_auth.
(2) “auth_param basic realm” demonstrates the proxy protection reported to the client. In our case it will be”Proxy Simplificando Redes”
(3) We created a usersquid ACL that indicates it requires user authentication.
(4) http_access allow usersquid , we allow http access for authenticated users from ACL usersquid.
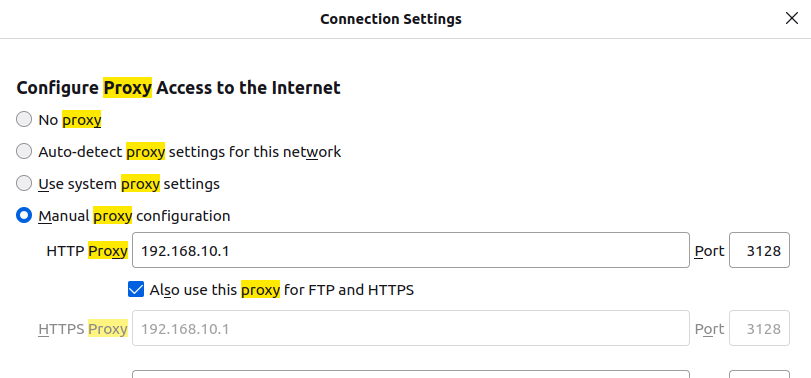
Let’s test it on the Client
More posts
Squid Proxy Installation and Configuration
Squid Proxy: Filter clients by IP and MAC
SquidGuard : Installation and Configuration

Juliana Mascarenhas
Data Scientist and Master in Computer Modeling by LNCC.
Computer Engineer