In this tutorial we will show you how to install AdoptOpenJDK on a Windows machine.
AdoptOpenJDK is an excellent tool to run programs written in Java.
Download the ADOPTOPENJDK installer
Let’s Download the ADOPTOPENJDK installer. For this, we can type ADOPTOPENJDK in google and most of the time the correct page will appear.

If you wish, you can use the direct link:
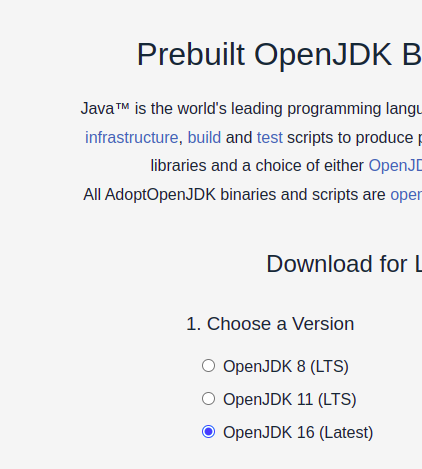
Next, let’s see the homepage and let’s select the latest version of OpenJDK
We can also select the installer for other platforms. To do this, we can click on the “Other platforms” link.

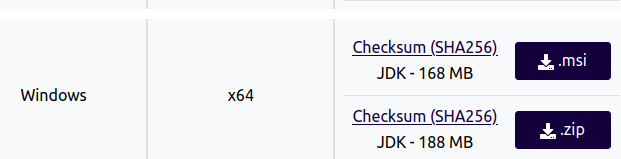
Next, let’s choose Windows x64.

Next, we will download the “.msi” installer, as shown in the figure below.
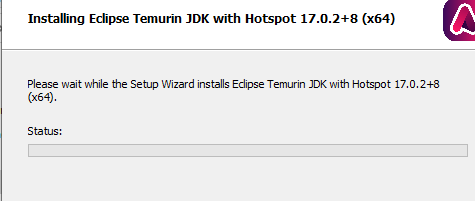
Installing AdoptOpenJDK
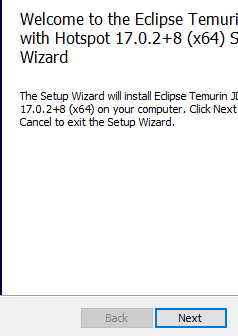
After downloading the installation file, let’s run the “.msi” file.

Let’s see the screen below and click on “Next”
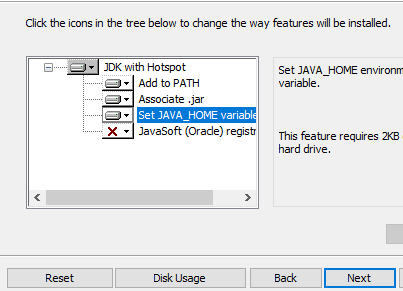
Now, let’s check the “Set JAVA_HOME variable” option. The figure below shows what our installation will look like. Then we can click on “Next”.
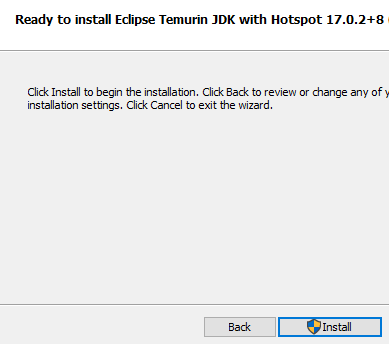
Now we will have a screen to click on “install”.
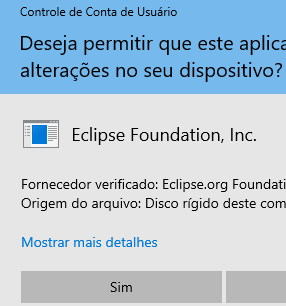
A message will now appear asking if you allow the Eclipse.org vendor to make changes to your computer’s hard drive. In this case we will answer yes.
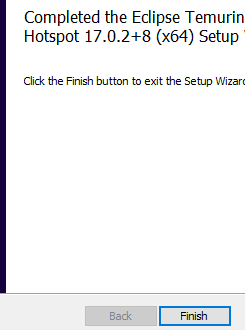
Okay, now we have the installation completed. And therefore we can click on “Finish”.
Testing Java
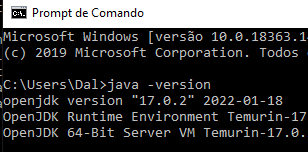
Now let’s open the terminal. To do this, click on the lower left corner and type CMD and press ENTER.

Then let’s type:
java -versionThe figure below shows the screen that will be displayed after typing the command “java -version”.