We will present a tutorial to install Ngrok and how to use Ngrok on Windows and Linux machines.
Ngrok is a fantastic tool to allow access to services running on a machine behind an internal network and consequently behind a NAT.
In addition, Ngrok can be an alternative for those who do not want or cannot do port forwarding on the router connected to the Internet.
For this tutorial, we assume you already have a WEB server installed on your machine. If not, see below how to install a WEB server.
Install WEB server on Windows.
Logging into Ngrok
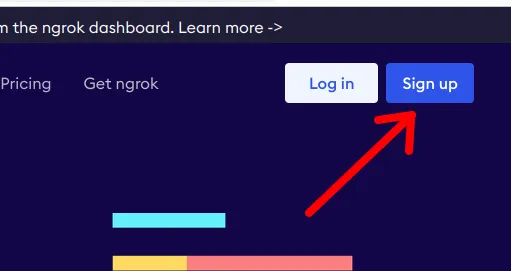
First, let’s access the Ngrok website. Then, we will create an account by clicking on “Sign up“.
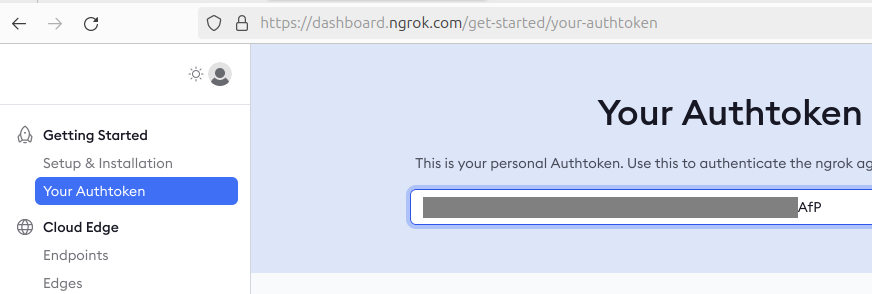
After registering the account and logging in, let’s copy our token. This token will be used to create tunnels with Ngrok.
Next, we will present the installation and use of Ngrok on Windows and Linux.
Installing Ngrok on Windows
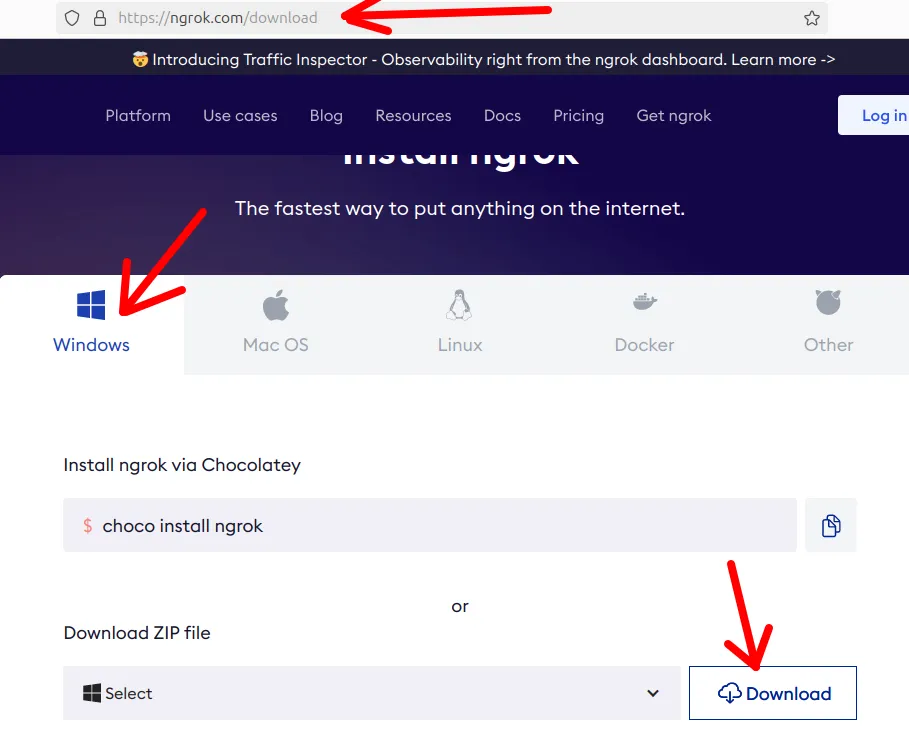
To install Ngrok on Windows, we will access the following site and click on the “Windows” icon. After that, click on “Download“.
After downloading Ngrok, go to the folder that contains the compressed file.
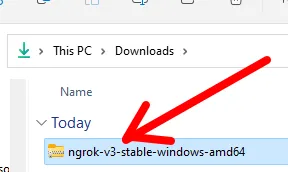
Then, right-click to extract the compressed file. In this case, choose the location where you want to extract it.
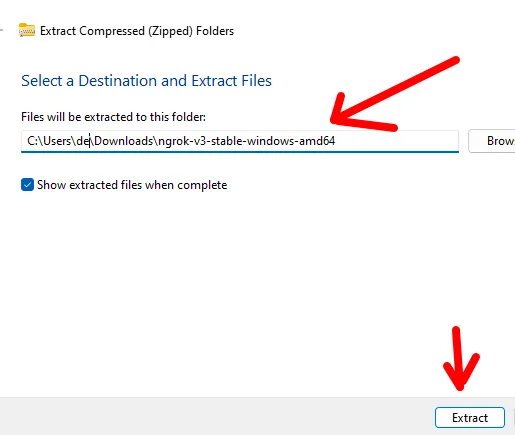
Once extracted, we now have the “ngrok.exe” file and need to use a terminal to access the functionalities.
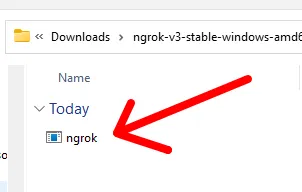
Configuring Ngrok Token on Windows
To access Ngrok via the terminal, open the start menu and search for “Command prompt”. Then, navigate to the directory containing your Ngrok file.

Alternatively, you can open the folder with the “ngrok.exe” file, right-click, and then click on the “open in Terminal” icon. In this case, we will open it using Windows PowerShell.
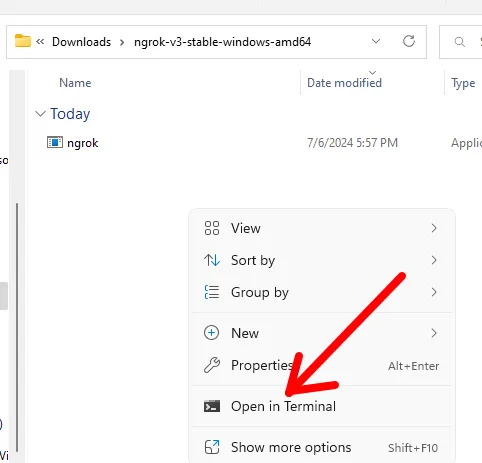
Once inside the folder, find the “ngrok.exe” file. If using Windows PowerShell, use the following command to configure the token you copied from the Ngrok page.
.\ngrok config add-authtoken your-token
If using the standard Windows terminal like the command prompt, use the following command.
ngrok config add-authtoken your-token
After entering the token, you will see a message like the one shown below.

Ngrok Port Mapping on Windows
Now, let’s do the port mapping with Ngrok. To do this, we will map the HTTP port to our local port 80.
Use the command below.
ngrok http 80
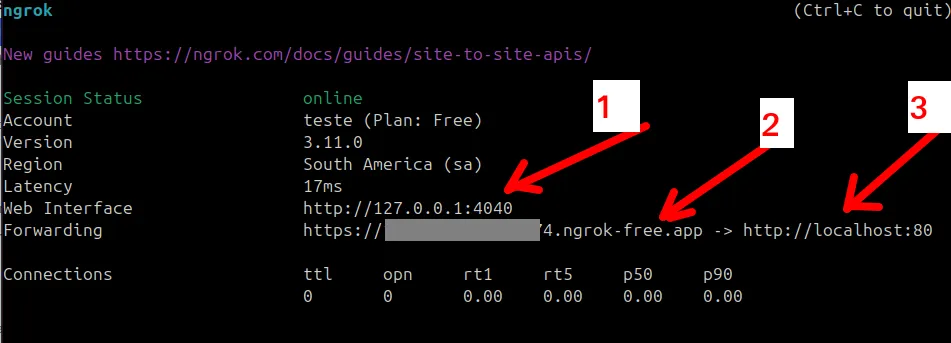
You will see a screen with some important information.
- 1 – Here we have the link to http://127.0.0.1:4040. This link can be used to check Ngrok’s internal page that shows information about the connections.
- 2 – Here we have the link to the public address that Ngrok is lending you. This will be the address used to access your machine from anywhere on the Internet.
- 3 – Here we have the loopback address “localhost” and the port we are using “80”. This means that whenever someone accesses the public address Ngrok lent you, they will be directed to your local address on port 80.
Testing Ngrok on Windows with a Browser
Now, open your browser and type the external address you got from the screen above (the address ending with “ngrok-free.app”). Then, enter this address in your browser.
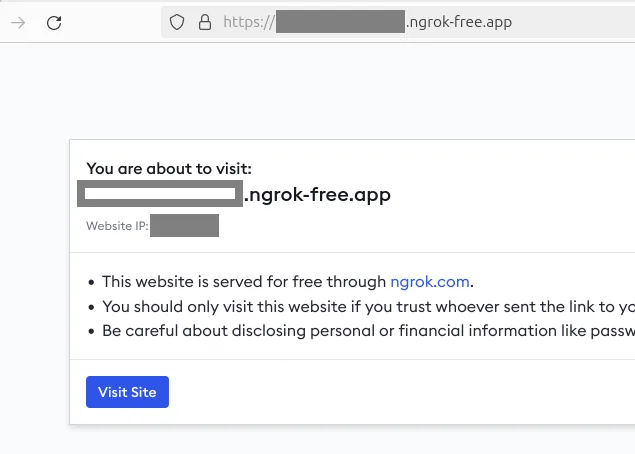
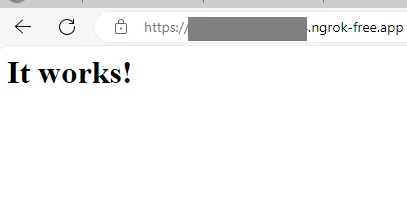
After you click on the “Visit Site” button to continue, you will access your local WEB server as shown in the figure below.
Installing Ngrok on Linux
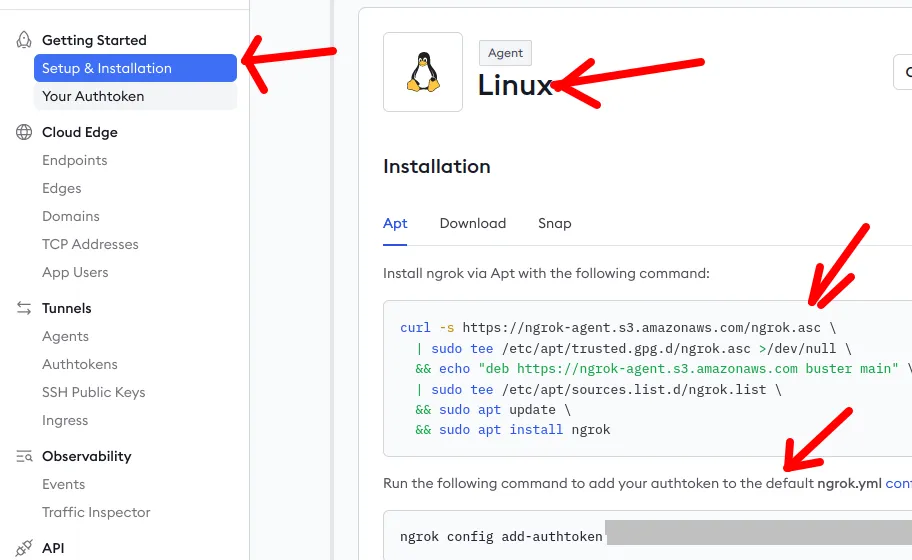
After logging into the Ngrok website, go to “Setup & Installation” and then choose Linux as the operating system. After that, choose the installation based on “apt” as shown in the figure below.
Now, we need to install “curl” on our Linux. To install “curl“, use the command below.
sudo apt install curl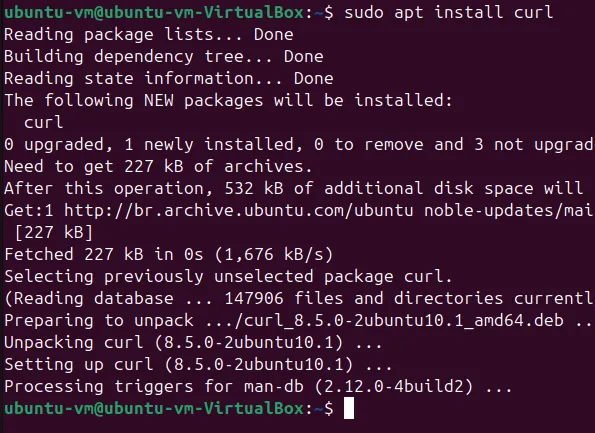
After installing curl, paste the installation command you copied from the Ngrok website.
curl -s https://ngrok-agent.s3.amazonaws.com/ngrok.asc \
	| sudo tee /etc/apt/trusted.gpg.d/ngrok.asc >/dev/null \
	&& echo "deb https://ngrok-agent.s3.amazonaws.com buster main" \
	| sudo tee /etc/apt/sources.list.d/ngrok.list \
	&& sudo apt update \
	&& sudo apt install ngrok

Configuring Ngrok Token on Linux
Now that we have installed Ngrok, let’s start configuring the token. Remember, the token is the one you copied from your Ngrok login page.
ngrok config add-authtoken your-token
Ngrok Port Mapping on Linux
Now, let’s do the port mapping with Ngrok. To do this, we will map the HTTP port to our local port 80 at the loopback address http://localhost.
Use the command below.
ngrok http http://localhost:80or
ngrok http 80
You will see a screen with some important information.
- 1 – Here we have the link to http://127.0.0.1:4040. This link can be used to check Ngrok’s internal page that shows information about the connections.
- 2 – Here we have the link to the public address that Ngrok is lending you. This will be the address used to access your machine from anywhere on the Internet.
- 3 – Here we have the loopback address “localhost” and the port we are using “80”. This means that whenever someone accesses the public address Ngrok lent you, they will be directed to your local address on port 80.

Testing Ngrok on Linux with a Browser
Now, open your browser and type the external address you got from the screen above (the address ending with “ngrok-free.app”). Then, enter this address in your browser.

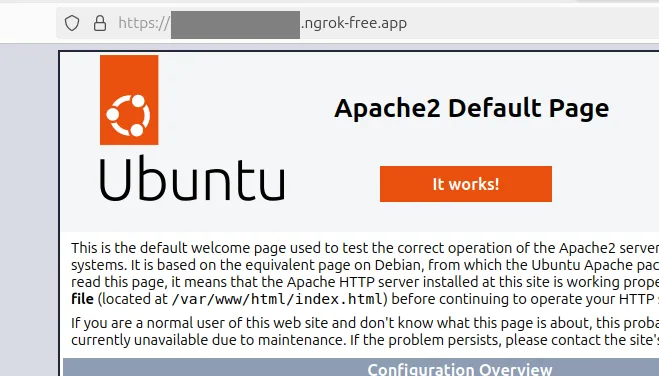
After you click on the “Visit Site” button to continue, you will access your local WEB server as shown in the figure below.
Summary of Ngrok Connections
If you want to see a summary of the requests to your public address, open a browser and type the address below.
127.0.0.1:4040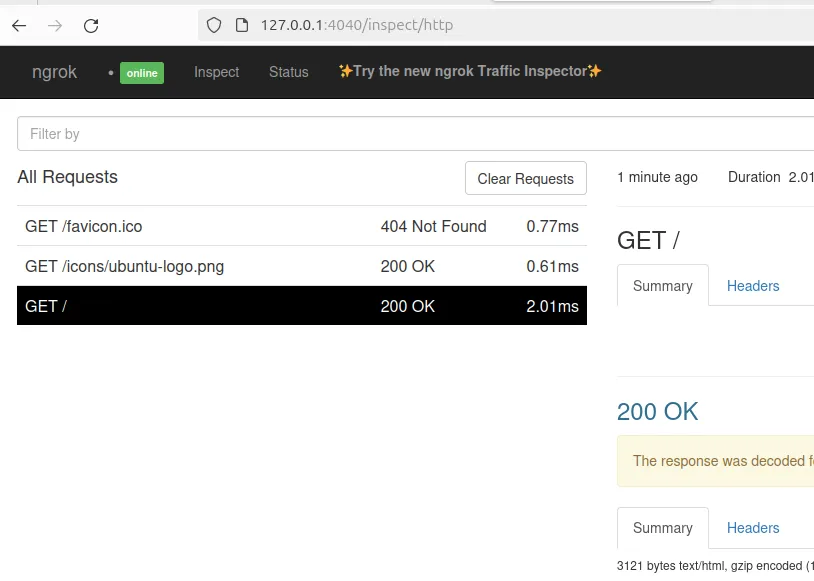
In the figure above, you will be able to see a summary of the connections to your Ngrok tunnel.
See more:
How to X11 Forwarding using SSH
Install and Configure OpenVPN Server on PfSense

Juliana Mascarenhas
Data Scientist and Master in Computer Modeling by LNCC.
Computer Engineer

